Hours: 3
I riveted the bottom skin to the aileron. It only took an hour this time. I was able to use the special bucking bar for all but 2 of the rivets.
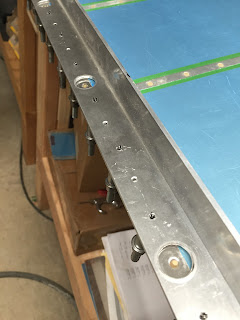
I used the same procedure to close the trailing edge - cleco the aluminum straight edge, squeeze 8 rivets, remove the straight edge, smooth out the shop heads with rivet gun and back plate, cleco the straight edge moved over 4 holes, squeeze 8 rivets, etc. until done.
Backplate and rivet gun with flat set for finishing the shop heads.
As far as I can tell both ailerons came out flat. The trailing edges match and I can't measure any warp using the digital inclinometer.
Ailerons back to back- trailing edges match up perfectly. Woody approves.
Hours: 3
I still had a couple hours before quitting time so I pulled out the flap parts and started work on section 21. I started by riveting the doublers and hinge brackets to the nose ribs. I tried squeezing the 3-4.5 rivets for attaching the nut plate, but could not get the rivets to set flush due to the small amount of clearance between the shop head and the rib flanges. I drilled out the rivets and back riveted them with much better results.
I used the squeezer to set remainder of the 4-4 rivets. I've been keeping the matched pairs of hinge brackets together through the priming and now assembly process.
Make sure you put the manufactured head on the rib side (inside the flanges) otherwise you will warp the ribs.


No comments:
Post a Comment