Showing posts with label Section 21. Show all posts

Monday, December 7, 2015

Section: 21
Hours: 6.5

Today I finished up the right flap. All the trailing edge portions of the wing are done. I now have ailerons so I can bank. I have flaps so I can slow down to land. All I need is the rest of the wing, the forward fuselage, an engine, avionics, paint and a bunch of other minor details and I'll be flying. God is in the details though.

I started out the day riveting the bottom skin to the nose skin and spar. It was easier to lay the flap on the table than to leave it in the jigs. I clamped the top skin to the table to hold it in place and reached in between the skins to hold the tungsten bucking bar in place.


After the bottom skin is attached to the spar, you rivet the nose ribs in place with pull rivets. Woody really wanted to set a couple rivets, but we found the pull rivet tool just wasn't designed for someone without opposable thumbs.

Woody was upset at not being able to help so he ran off with the cleco pliers when I wasn't looking. It doesn't matter if you have opposable thumbs or not, you need the pliers to insert clecos. I found him in the back yard blowing off steam gnawing on the handle. I told him he may not be a great mechanic, but he can smell a bad rivet a mile away. That's why he's in charge of QC.

After pull riveting you glue the trailing edge wedge in place. Here are the trailing edge pieces with the adhesive tape applied to both sides.

You peel the tape off one side of the wedge and glue it to the flap skin. Then you pull the paper off the wedge and close up the assembly.

A couple hours and many rivets later and the another flap is together.

Here's s couple shots of the completed right flap.


The trailing edge came out straight and nicely sealed up with the adhesive tape. Here's the left and right flap lined up trailing edge to trailing edge- either they both came out really straight or they both warped symmetrically the same amount. My measurements with the inclinometer and the flat table make me think they came out pretty true! I can't believe the flaps took me 91 hours to construct. Time flies when you are building an RV-14 :-)


Sunday, December 6, 2015

Section: 21
Hours: 5

The trailing edge of the flap felt firmly attached this morning, I guess the adhesive tape worked. I started out by riveting the bottom skin to the ribs using pull rivets for all but the end ribs. Then I set the trailing edge rivets. I first set about 24 evenly spaced rivets using the aluminum straight edge in combination with the squeezer so that the trailing edge was securely locked down and straight. I then finished up the remainder of the rivets using the back rivet plate. I initially set the rivets using the back rivet set in the rivet gun. I was able to form the shop heads so they were almost to the surface of the dimple. I then switched to the mushroom set and finished the shop heads flush with the skin.


I spent the rest of the day working on the right flap. As usual it was easier the second time around. I only had to drill out 1 rivet the rest of the day. I bet you could get pretty good at this by your 2nd or 3rd RV kit :-)
Start with the spar and ribs

Slip the nose skin over the hinge braces

Cleco the nose skin and set up in the jigs.

Top skin clecoed and ready for riveting.

Spar / skin and rib rivets finished. Setting up to back rivet the last 2 rivets on the ribs.

Back riveting the back 2 rivets in the ribs.

Top skin riveted to nose skin, spar and ribs.

Spar rivet line.

Spar and rib rivet detail.

Bottom skin clecoed in place and ready for riveting tomorrow.

Saturday, December 5, 2015

Section: 21
Hours: 4

I can honestly say that I am enjoying building the RV-14, however, some tasks are more fun than others. For instance, I don't look forward to the whole parts prep and priming process. Another task I find less enjoyable is counter sinking the trailing edges. I was thinking about this last night and two things occurred to me:

1) When I finish the trailing edges for the flaps that will be the last time I have to do this - there aren't any more trailing edges left to do!

2) Maybe I could improve the counter sinking process.

So this morning I spent some time on the drill press setup. I still used the angled backing block to hold the wedge flat, but I added a piece of 2" x 2" aluminum angle to accurately hold the edge of the wedge. The aluminum angle also provides a flat surface to the side of the wedge which gives better support for the counter sink cage for more accurate depth control. The other little innovation I added today was to pencil in the large lightening holes on the wood block. The pencil marks made it much easier to advance the T.E. wedge to the next hole- all I had to do was align the lightening holes with the penciled marks.

The aluminum angle also nicely supported the countersink cage when I got to the end of the strip. You can see the penciled in hole outlines on the wood block on the left. 


I carefully dialed in the cutting depth and tested on some scrap trailing edge pieces. When the counter sink was deep enough to just allow the dimpled skin to sit flush, the countersinks from both sides meet at a knife edge- i.e. the trailing edge is just thick enough to counter sink from both sides with nothing left over.
If you click on this picture you will see the dimpled skin fits flush in the counter sink.

The counter sinks from top and bottom meet in a knife edge.

On previous counter sinking sessions I had had problems with holes elongating when I did the back side. This is because when the backside countersink cuts in, there is not much material left to hold the guide pin in the hole. With the setup I used today, the aluminum bar held everything accurately in place so the counter sink could not wonder off. I didn't get any elongated holes today!
Here's what 2 hours of counter sinking looks like.

The manual specifies that the trailing edge wedges be glued in before riveting. The instructions generally specify that you clean the surfaces before bonding. I've been using the double sided bonding tape 3M F9460PC VHB for the trailing edges with mixed success. I did a little research last night and found the spec sheet for the bonding tape here: http://multimedia.3m.com/mws/media/326683O/vhbtm-adhesive-transfer-tapes-f9460pc-f9469pc-f9473pc.pdf

Pretty impressive stuff. It can develop 690 kPA (100 lb/in²) of normal tensile strength in aluminum bonding applications. It is impervious to splashes of gasoline and JP4 and works up to 500° F. I guess if I ever end up upside down on fire in the weeds I won't have to worry about the trailing edge coming unglued. :p

The spec sheet also says the tape has a shelf life of 18 months and is best applied between 70° and 100°. It is not recommended to be applied when temps are 50° or lower. I checked my tape and it is less than 18 months old. The temps in the garage are marginal- it was 62° this afternoon, so I turned the space heater on high and hoped for the best. As far as I can tell, the bonding should occur fairly rapidly after mating the bonding surfaces. The spec sheet did not specify a cure process or time for developing maximum strength. All it specifies is that the bond strength is dependent upon the amount of adhesive-to-surface contact and that firm application pressure helps develop better adhesive contact and improves the bond. Well- the trailing edge has all these holes so bonding surface area is not optimal. I already made sure the dimples would fit so the mating should be optimal for the bonding area that is available. Now I just have to make sure I get the skins clamped with enough pressure to maximize the bond. If the clecos don't do it, the rivets will.

I wiped down the trailing edge of the skins and the trailing edge wedge pieces with acetone to remove any oils or contaminants. I then applied adhesive tape to both sides of the trailing edge wedge. It's easier to apply the tape to the trailing edge than to the dimpled skins. After I had the tape on both sides of the wedge, I rubbed the tape down to firmly attach it and remove any air bubbles. The training edge wedge extends slightly past the edges of the skins when it is riveted in and the tape is slightly narrower than the wedge. Rather than run the tape down the middle of the wedge widthwise, I aligned it on the thick edge of the wedge to maximize the amount of tape under the skins.

I carefully removed the paper backing from one side. If you pull the paper off too fast, it will rip the adhesive when you get over the lightening holes,  so I went slow and made sure the adhesive stayed attached to the wedge.
Here you can see the adhesive sticking to the paper.

I then inserted the wedge in the flap and pressed it into alignment with the dimples in the skin. After it was properly aligned, I then pulled the tape off the other side of the wedge and clecoed the trailing edge to my 2" x 2" aluminum straight edge guide. The manual says to weight down the flap on a flat surface. I started out with weights, but they got in the way of the clecos. The flap was already lying nice and flat on the table so I removed the weights because I was a little worried about oil canning the skins between the ribs.

Chief inspector Woody gave the assembly a paws up and we called it a day!

Friday, December 4, 2015

Section: 21
Hours: 7.5

Lots of rivets were set today, both solid and pulled. I spent the first half of the day riveting the top skin of the flap to the spar. To start I shot the 3-4.5 rivets that are set where the ribs come into the spar. Since clecoes were in the way, I used my small titanium bucking bar to reach into the rib to set these first couple rivets.
It took me a couple tries to get a properly set rivet at the end of the flap. It was hard to get the skin to pull in and get the rivet flush. I gave up on bucking and went to the squeezer with the rubber washer to finally get a good rivet with all the layers pulled tight together.
The rest of the rivets were 3-3.5's and were easy to set. Here's the top skin to spar rivet line.
Next I riveted the top skin to the ribs. I did the rivet closest to the spar for each rib, then I did the next one out for each rib, etc.  I did it in this order to make sure I didn't get oil canning and also to make sure the skin stretching went towards the trailing edge. Seemed to work. It was hard shooting the aft most rivets because there isn't much support that far out from the spar. I had to drill out several and try again.
The engineers at Van's cleverly cut reliefs in in the rib flange so you can back rivet the 2 rearmost skin rivets. I don't think I could have set them using a bucking bar. This afternoon at lunch I looked through the RV-6 review plans that I purchased back in 1998 when I was originally going to build an RV. It's really amazing how much better the RV-14 is than the RV-6. I'm glad I waited! Some things improve with age :-)
Next I attached the bottom skin and shot the rivets that attach it to the spar. After clecoing the skin on, I measured the angle of the hinge braces to make sure there was no twist in the D tube leading edge section. They measured within a couple 1/10ths of a degree so I proceeded. The plans have you do the riveting while the flap is upright in the jigs. I found it was much easier to lay the flap down on the table and clamp it down so it wouldn't move around. This holds it flat and makes it very stable while riveting so you can't accidentally add twist.

I was going to use the special long bucking bar from the elevator, but I could not reach the 3-4.5 rivets under the ribs. I ended up squeezing my hand and arm in with my titanium bucking bar and that actually worked pretty well. I had just the right amount of edge break in the nose skin to allow it to pull down very nicely with no gaps.


Luckily I had read through the wing section a month ago and ordered all the special tools that were called out. Today I used the 6" long #33 drill bit that was needed to enlarge the holes for the rivets that attach the nose ribs. It turns out it's tough to reach the holes next to the flap hinge braces without it.

I spent the remainder of the afternoon pulling a bunch of rivets to attach the nose ribs to the nose skin. I felt like I was building a Sonex there for awhile :-)


Those pulled rivets sure are ugly! Maybe I can fix them up with some filler when it is time for paint.

I was able to use solid rivets on the open ends of the flap.

The next step is to clean and insert the trailing edge wedge. My plan was to do the cleanup, adhesive tape the trailing edge, cleco the whole assembly and let it set over night to allow the adhesive to cure. Then I realized I hadn't counter sunk the trailing edge wedge yet, so I called it a day.

Thursday, December 3, 2015

Section: 21
Hours: 8

The first task today was assembling the flap hinge braces. Each pair of braces is double flush riveted. I initially tried back riveting, but I ran into problems because it was hard to position the hinge brace on the back rivet plate without marring the joggle bend. I switched to using the squeezer and the results were much better.


I assembled the spars and ribs for the left and right flaps. I initially thought riveting today would be an easy job- it looked like all the rivets could be squeezed. I started out by clecoing all the parts together to make sure I had everything in the right place for both flaps. I had to pay special attention to the aft ribs- they can easily be inserted upside down since they are nearly symmetrical.

The manual advises you leave off the end rib to facilitate using the squeezer. I discovered there were more interferences for the squeezer than just the end rib. After puzzling over assembly order, I settled on squeezing the nose ribs on first. I removed several of the aft ribs so I could easily reach the nose ribs. Since the ribs are thinner than the spar, I placed the manufactured heads on the rib side. I used a standard yoke on the squeezer and was able to reach all the rivets for all the nose ribs.


Then I riveted the aft ribs. I again placed the manufactured heads on the rib side which meant I had to switch to my 2.5" flange nose yoke for the squeezer to reach around the spar flange. I wasn't able to squeeze the two inboard ribs or the last outboard rib.
Two inboard aft ribs (clecoed ribs in pic) couldn't be squeezed.

Outboard end rib couldn't be squeezed.

Because of the way the rib flanges overhang, I had to use the bent stick set in the rivet gun to reach the rivets for the problem ribs. I bumped the air pressure up to 60 psi and used the tungsten bucking bar with good results. I didn't have to drill out any rivets today. Whoo-hoo!!!
I clamped a couple blocks to support the spar during riveting.


Here's a couple more shots showing orientation of rivet heads.


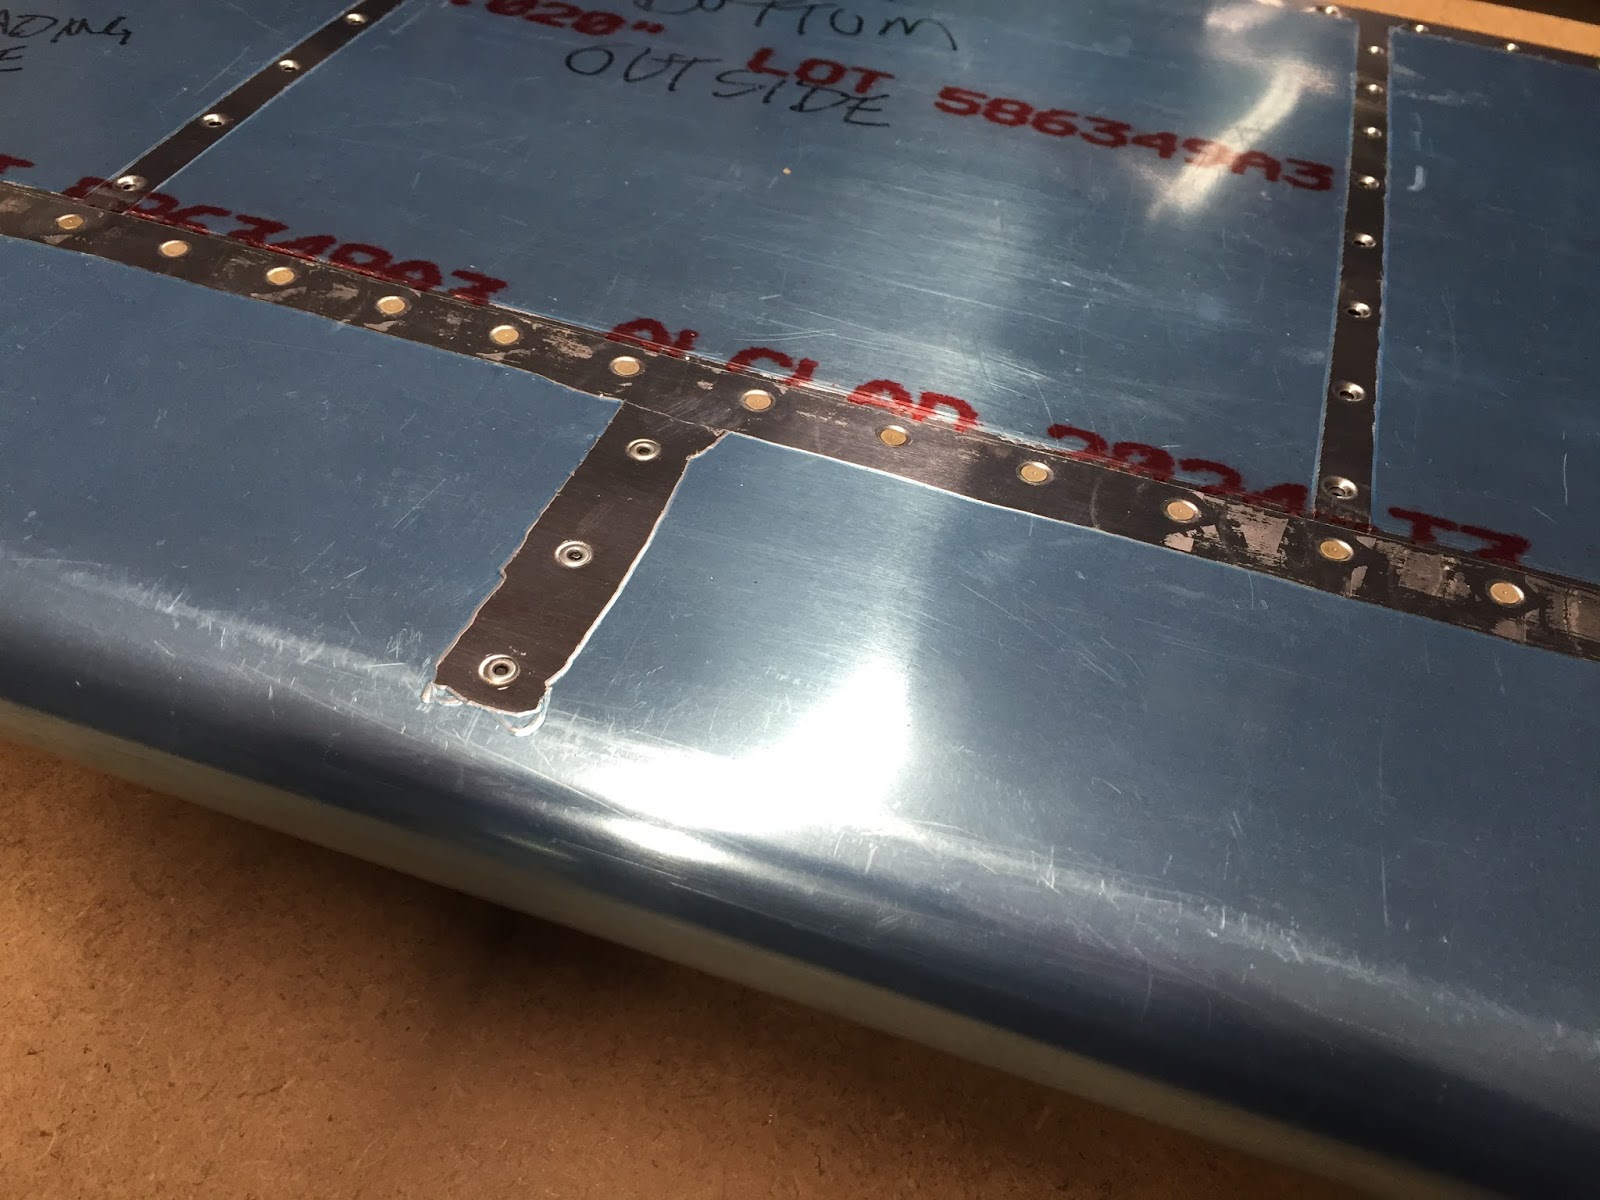
Next I stripped the blue plastic from the rivet lines of the nose, top and bottom skins. Then I slipped the nose skin on the flap frame and clecoed it. I finished up for the day by clecoing the top skin onto the frame to prepare for riveting tomorrow. I checked for twist in the D box - the digital inclinometer is showing less than 1/10 a degree difference between the inboard and outboard flap brackets- so far so good!

Woody says it's quitting time! Time for dinner!