Saturday, November 13, 2021

 Section:

Hours: 6

I borrowed / rented electronic scales from the Placerville EAA Chapter. The scales come in a solid shipping box and include a couple of ramps for rolling the wheels up onto the scales.

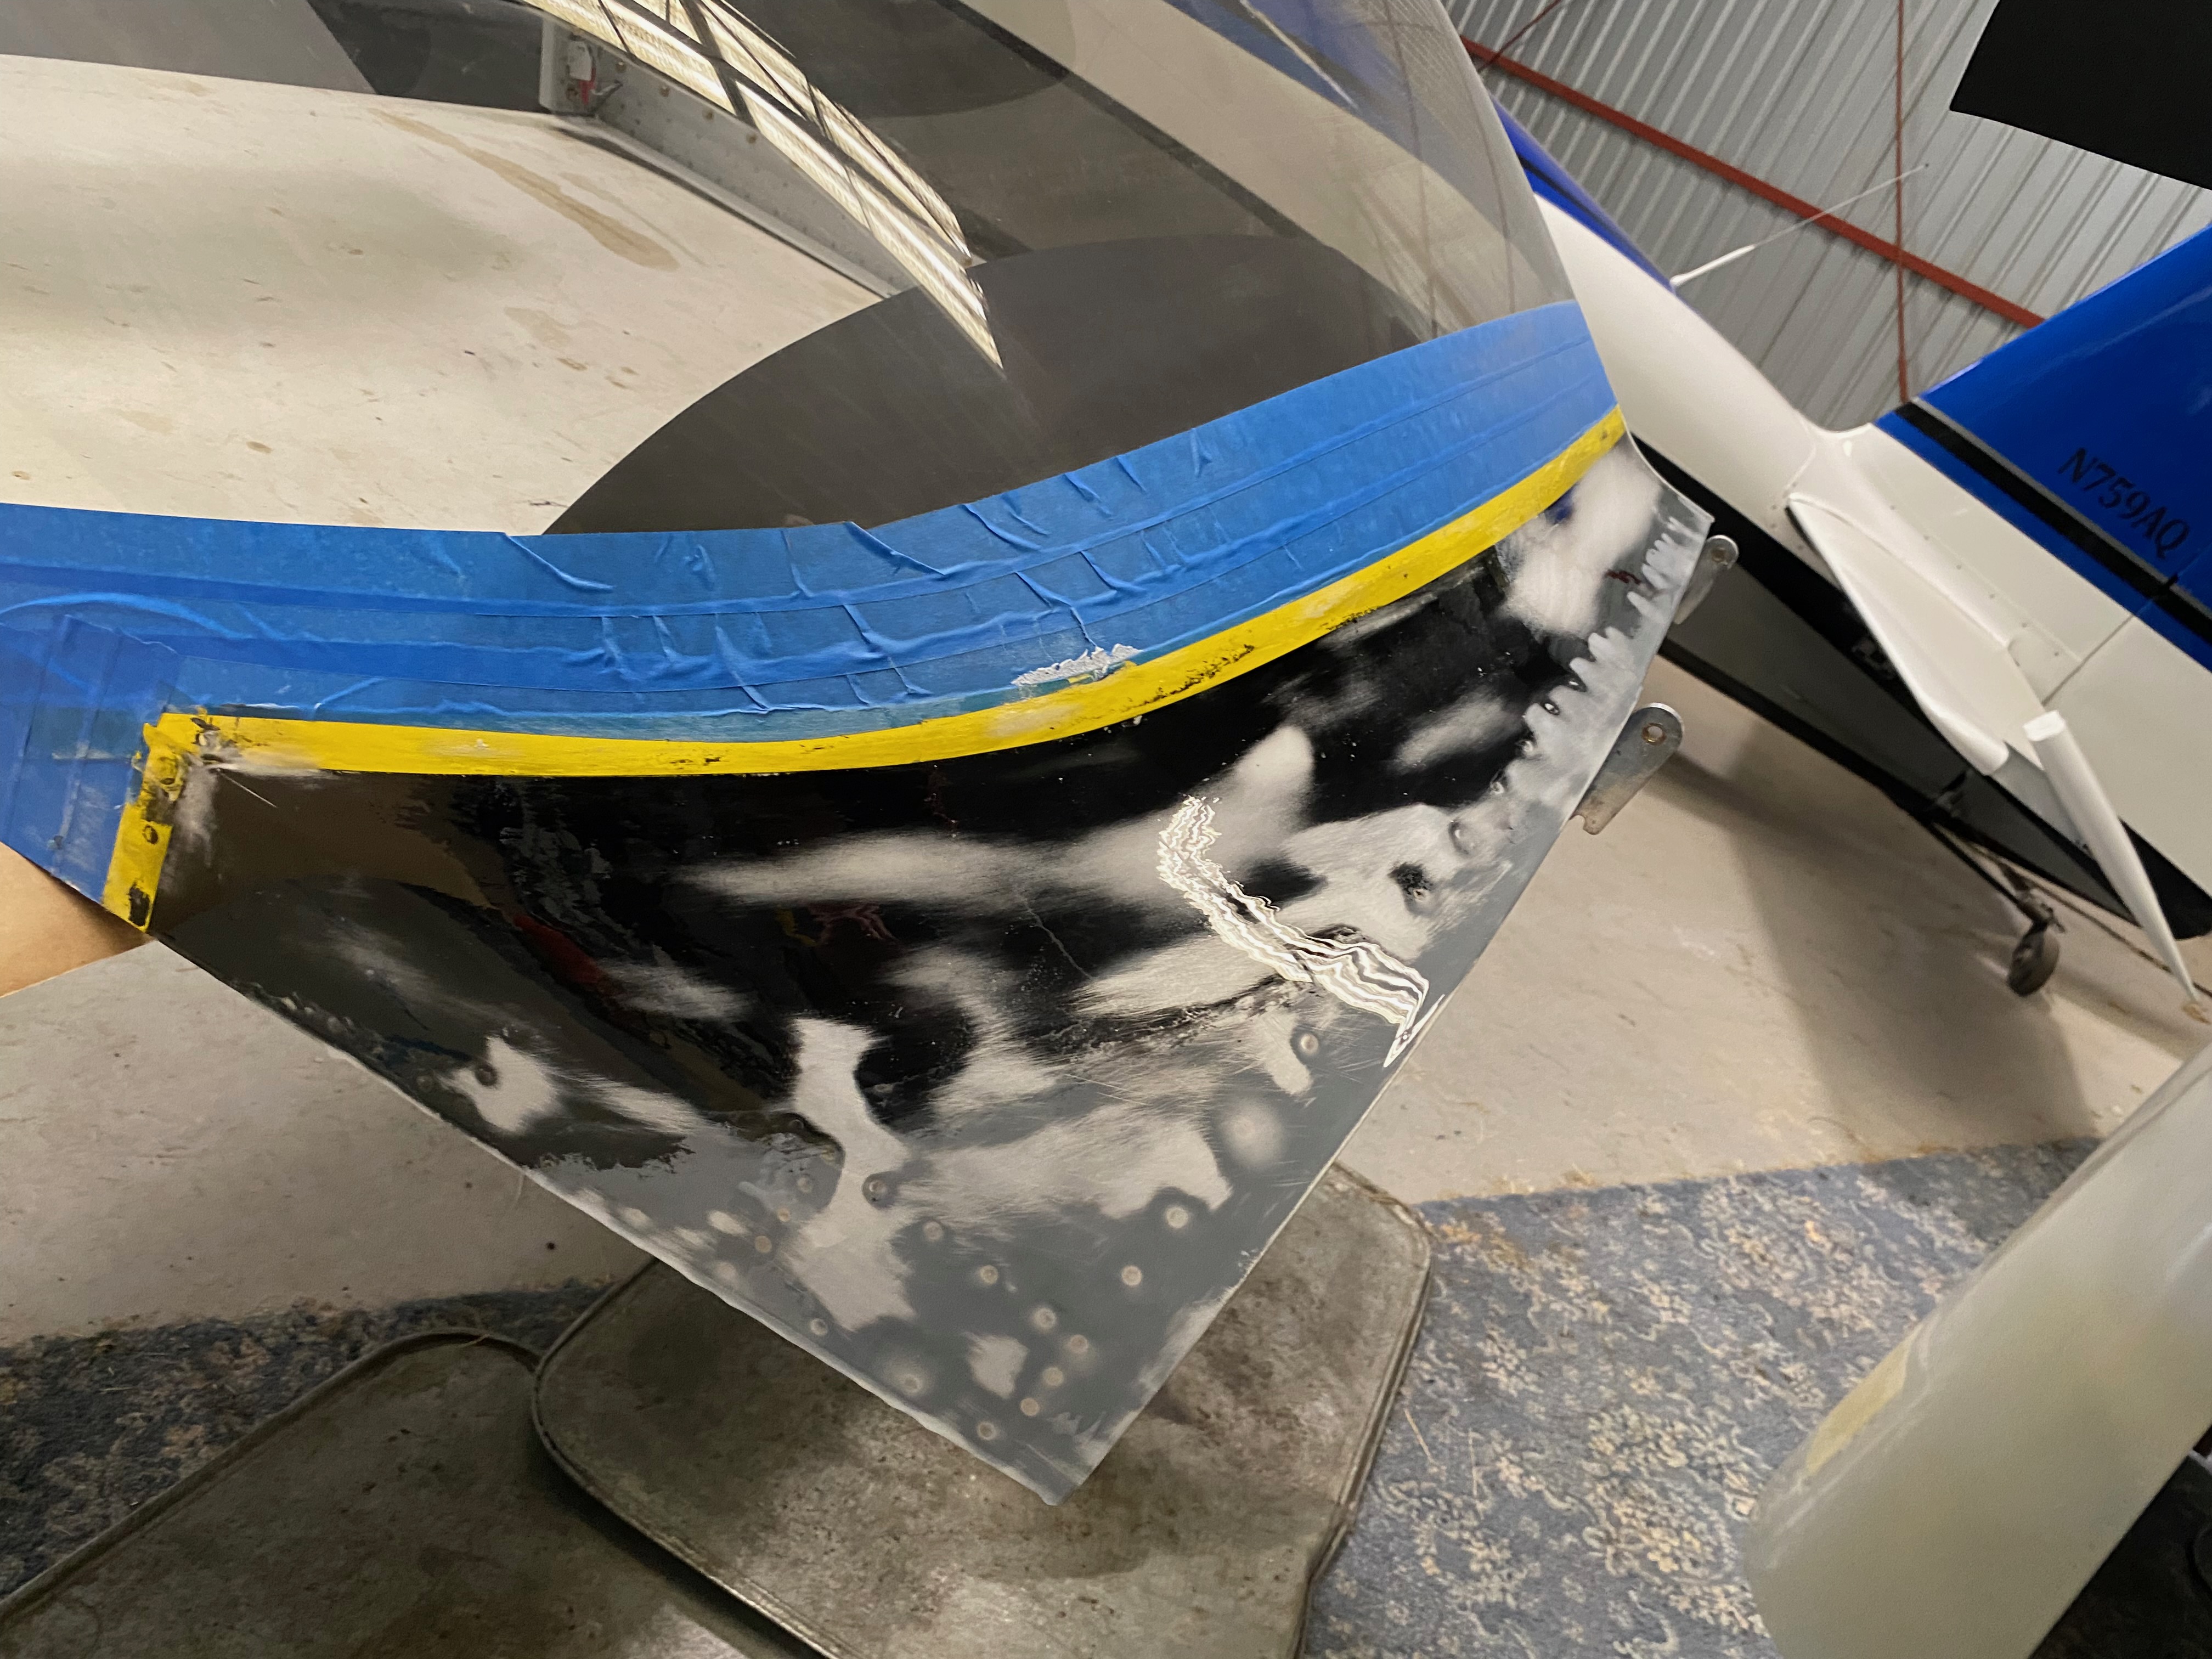
I assembled all the access covers, put in all the interior (seats, carpeting, side panels), topped off the engine oil and added the wheel pants so the weight would reflect the actual flying condition of the airplane. 

I enlisted some friends from the airport to help lift the tail onto some saw horses to put the airframe in flying attitude. After carefully adjusting the tail height to level the canopy rails, we and rolled the airplane onto the scales. Unfortunately, on the first try I forgot to push the tare button before we rolled the wheels onto the scales so we had to roll the airplane off the scales and start over. Lesson learned...
And here is the result:

Combining the information from the Vans weight and balance worksheet, here are the numbers for my RV-14


Wednesday, November 10, 2021

 Section:

Hours: 8

I had a local sign shop prepare registration number decals and I applied them to the vertical stab. I used masking tape on the top edge of the decal to position and hold it in place. Then I removed the back carrier layer and rubbed the letters down and finally I peeled off the top carrier film.


Today I also finished sanding the canopy fillet and spayed on a couple of primer coats. The fiberglass is now completed on the rebuild.

I recently got the replacement foam seals from Van's. They had been back ordered for some time. Today I installed the foam seals and installed the canopy back on the airplane.


Saturday, November 6, 2021

Section:

Hours: 2

Today I hooked up the static lines to the Garmin ADAHRS and G5


Friday, November 5, 2021

Section: 38

Hours: 6

I sanded and profiled the canopy skirt to final shape and applied a top coat of clear epoxy to seal the micro balloon filler.


Thursday, November 4, 2021

Section:

Hours: 4

When I looked at the cockpit this morning I noticed there was brake fluid on the floor. I had left the parking brake on for several days and it looks like pressure caused the line to disconnect at the firewall connection. It appears the line was not inserted far enough into the ferrel before I tightened the nut. I replaced the existing ferrel with a new one, inserted the line more securely and re torqued the nut. For good measure, I replaced the ferrel on the other firewall connection also. After refilling the brake lines it appears to be holding the pressure with the parking brake on.


Monday, November 1, 2021

Section:

Hours: 6

I added the control linkages to the tail wheel. The chains as supplied were too long so I removed a couple links from both sides.


I also installed the scat tubing from the plenum to the oil cooler.

The aileron servo is not working. I believe the mini molex connector has some bad wiring so cut off the connector and crimped on a set of pins to the exiting wires and plugged them together and applied shrink tubing over the pins to ensure they don't pull apart. The servo now works.


Tuesday, October 26, 2021

Section:

Hours: 4

Recovery from kidney donation surgery took a little longer than I had hoped but I'm back at the airport today. I thought I would start with an easy project like filling the brake lines (ha ha). I used the back fill system where you pump fluid from the lowest point at the brake caliper back up to the fluid reservoir. I attached section of clear vinyl tubing to the top of the reservoir so I could see when it was filled. This worked out really well as I was easily able to see when the fluid level reached the top of the tank.

The brakes seem to work great and the parking brake also works.

Saturday, August 21, 2021

 Section: 38

Hours: 4

Here is the new canopy frame next to the old frame. Next up is painting.


Friday, August 6, 2021

Section: 38

Hours: 8

I sanded down the fiberglass layup to match the contours specified in the manual. Then I applied epoxy glass bead filler to smooth over pinholes and build up the contour in a couple low spots. Then I mounted the canopy back on the fuselage and buttoned everything up because I will be taking at least a month off while I go through surgery to donate a kidney to my brother up in Seattle.


Section: 38

Hours: 8

I sanded and roughed up the canopy frame skirt area and plexiglass for fiberglassing, applied an epoxy and  glass bead fillet and then layed up the fiberglass skirt. I used lots of black pigment this time to ensure the view from inside the cockpit will not show any light areas at the fillet area.


Tuesday, August 3, 2021

 Section: 38

Hours: 6

I riveted the side skirts on, inserted the back shims and bolted the plexiglass in place. Everything fit really well and the canopy opens and closes smoothly.


Monday, August 2, 2021

Section: 38

Hours: 6

I transported the plexiglass to the airport and fitted it on the canopy frame. Luckily the rebuilt frame almost exactly matches the original so I did not have to do any reshaping of the plexiglass.


Monday, July 26, 2021

Section: 38

Hours: 7

I was able to fit the canopy frame in the back of my Rav4 and transport it to the airport today. The canopy to fuselage fit appears satisfactory although perhaps not quite as good as the original.


Friday, July 23, 2021

Section: 38

Hours: 2

I applied the anti glare black for the under plexiglass area.


Thursday, July 22, 2021

Section: 38

Hours: 4

I sprayed on epoxy enamel to match the cockpit interior. I used Stewart Systems EcoPoxy Enamel. To get a good finish you lay down a couple mist coats and then do a flood coat which hopefully will flow out to a smooth finish. Hard to do without getting runs.


Tuesday, July 20, 2021

 Section: 38

Hours: 7

I signed the canopy frame and left a message for prosperity before closing out the inner skin.

Final drilling the inner skin.
All skins riveted. The inner skin cannot be bucked so it gets pull rivets.


Monday, July 19, 2021

 Section: 38

Hours: 7

More counter sinking and riveting on the canopy frame today.


Friday, July 16, 2021

Section: 38

Hours: 8

The 2nd canopy hinge part arrived today!

After clecoing the frame and skin pieces together, I hung it between my 2 work benches to make sure there is no twist before doing the final hole size drilling. This insures a straight canopy frame that will properly fit on the fuselage.

Here is the frame assembled with all holes drilled to final size ready for riveting.