Saturday, September 29, 2018

Section: 45
Hours: 5

I worked on the cowl hinges today. First I trial bent the upper hinge parts to match the fuselage curvature. The hinge pins also get a slight bend and the ends of the pins are slightly tapered to aid insertion. Some builders use quik-lock screws for the cowling attachment, but I prefer the clean looks of the hinge method. Once you get the proper bend in the pins, insertion and removal is pretty easy and I think quicker than quit-lock screws.

Here are the hinges attached to the fuselage.


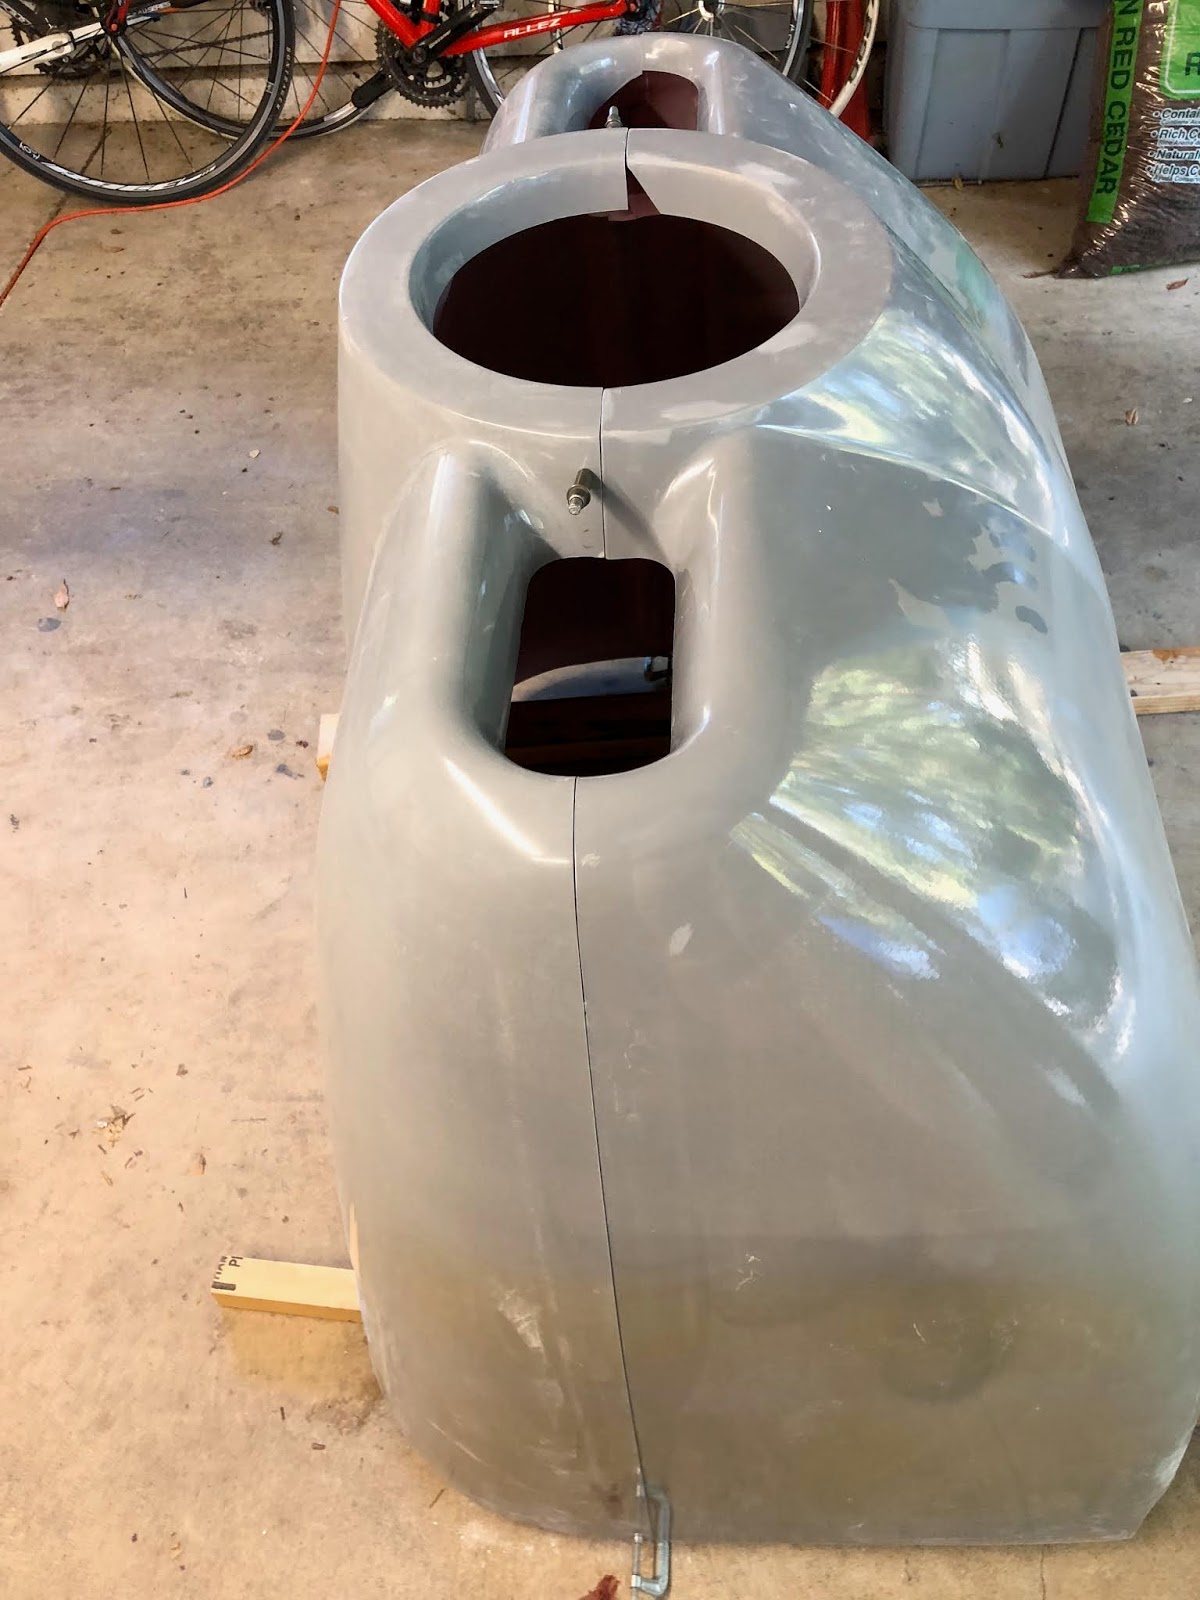
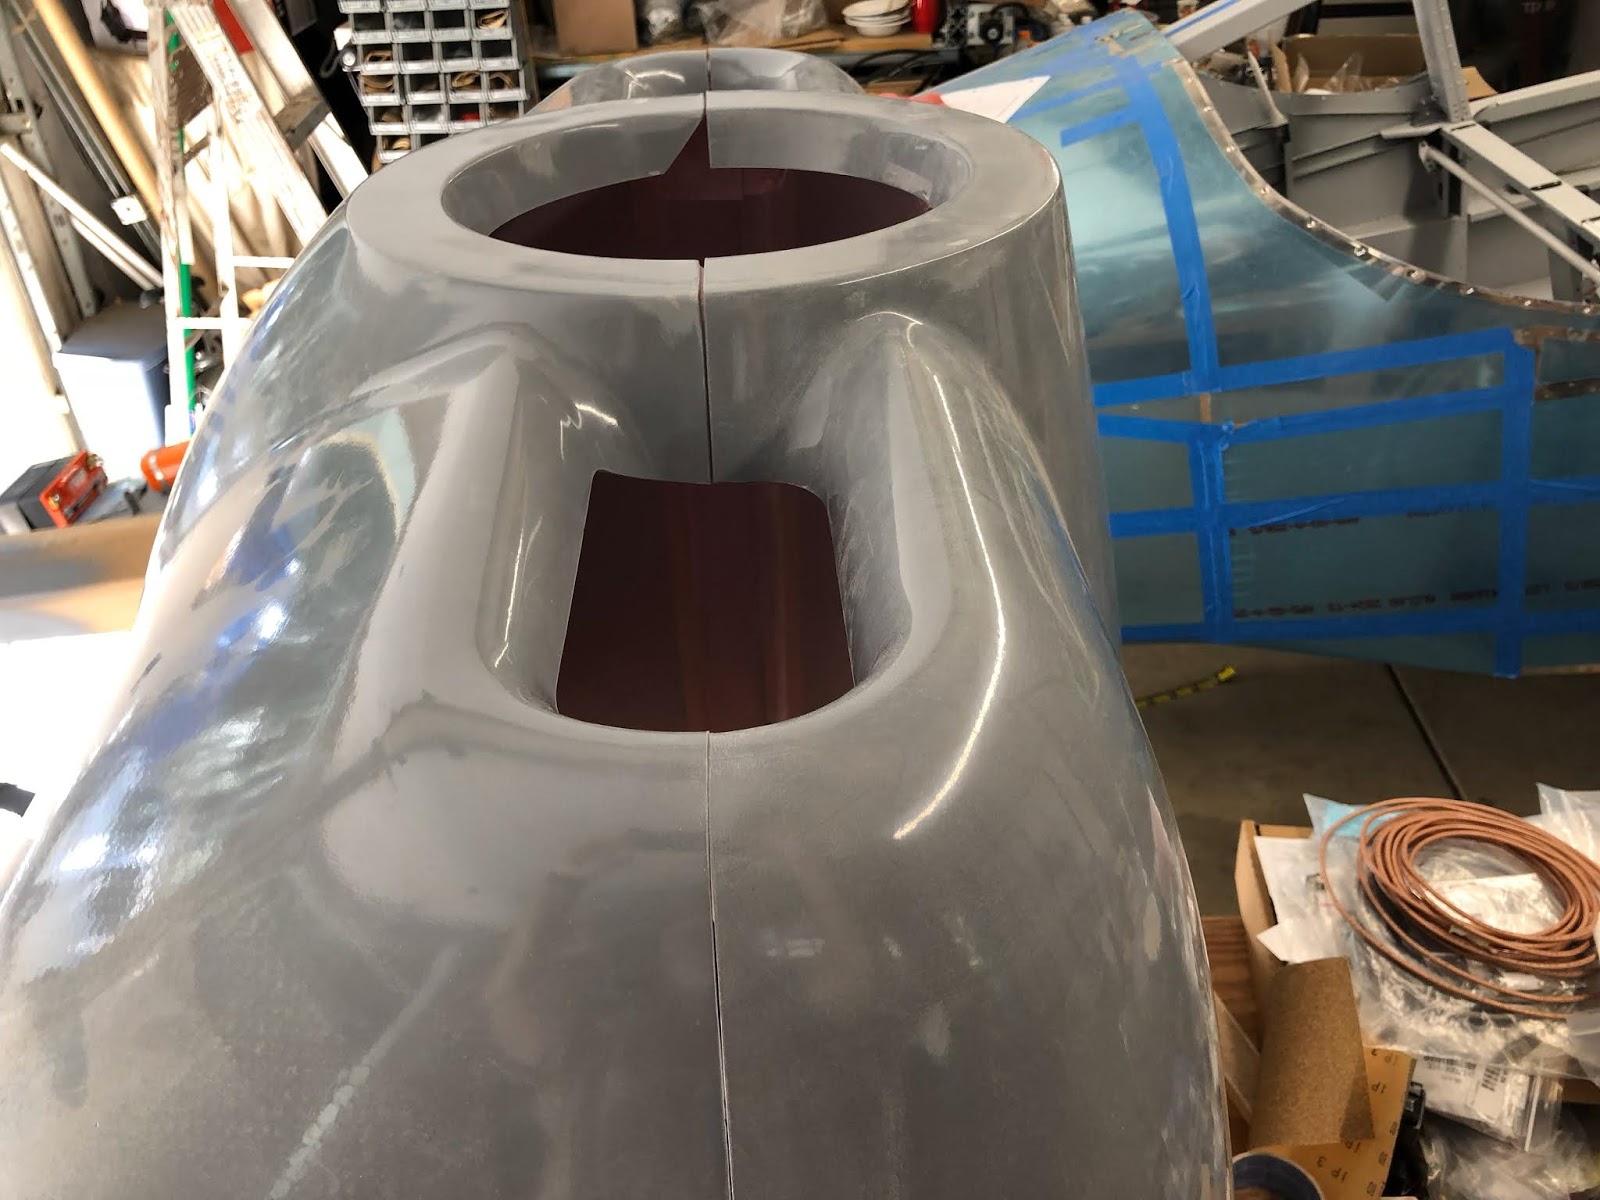
I was pleased that the upper cowl fit very nicely between the fuselage and the back of the spinner with no additional trimming.

The instructions advise that you fit the upper cowling to allow for the engine sagging as the rubber mounts break in. Here I've attached some aluminum angle with the specified offset. The aluminum angle will rest on the spinner and insure the proper offset.


Friday, September 28, 2018

Section: 45
Hours: 6

I iterated a few more times on the sand and check fit and decided the cowling fit was good enough. Here is where I got it to:


I finished up the day cutting the piano hinge parts. Aluminum fabrication is a lot less itchy than fiberglass ;-)

Tuesday, September 25, 2018

Section: 45
Hours: 6

I spent some quality time with the cowling parts today working on getting a good fit between the parts. Sand, check fit, sand, check fit, etc. Some places it only takes a very little to make a big difference in the fit so I went slow and checked the work often. Here is the fit mid way through the process. The sides are fitting pretty well at this point, but the inner ring still has a gap. More sand, check fit, sand, check fit and it will be perfect!

Sunday, September 23, 2018

Section: 45
Hours: 8

Sand, sand, sand, etc. Today I started work on the cowling. I marked and then laid out masking tape on the trim lines. I then used the Dremel tool with a cut off wheel to trim to within 1/8" of the tape. Then I used a long sanding block to sand the parts down to the tape line.

When I cut with the Dremel tool, I always anchor the part to the table with clamps to keep it stable. I also run the shop vac while cutting to collect the fiberglass dust as it is generated. I hold the vac hose with one hand and the Dremel with the other. Nothing worse than fiberglass dust all over the workspace...


One corner of the center ring of the lower cowl gets a 45 degree cut.

Saturday, September 15, 2018

Section: 44
Hours: 6

Today I mated the spinner and gap fillers to the prop and prop bulkheads. This involved drilling holes into the bulk heads and adjusting the opening around the blades to allow for full travel in pitch adjustment.

A couple days ago I added some fiberglass to the edges of the gap fillers so I could create a better fit.

Friday, September 14, 2018

Section: 44
Hours: 1

I will be drilling more holes in tight spaces in the spinner and other places soon and my current 90 degree drill attachment is not working very well because the gears are slipping. I searched for a higher quality angle drill and found one from Aery Tools.


Tuesday, September 11, 2018

Section: 44
Hours: 4

I started work on the prop spinner. First I cut out the slots for the prop blades using the scribed marks on the spinner.

Then I marked where the bulk heads go and roughed up and sealed the areas that contact the bulkheads with resin.

After running my head into the prop blades a couple times, I got smart and added some cushioning to the blade edges. I'm sure I will continue to run my head into the prop, but at least now it won't hurt as much :-)

Monday, September 10, 2018

Section: 44
Hours: 4

I mounted the prop today. I'm not sure if I will need to remove prop later so the bolts are not final torqued or safety wired yet.

Saturday, September 8, 2018

Section: 44
Hours: 3

The IO390 ships with an expansion plug in the prop shaft. Before installing the prop, you must remove the plug. One method to remove the plug is to carefully drill a hole in the plug, expand the hole slightly using a screw driver and then use a slider hammer to pull it out. I found a slider hammer at Harbor freight.
To remove the plug, insert the hooked end of the slider hammer and then slide the weight on the hammer forcefully to the end of its travel. Have some rags on hand to catch the oil that dribbles out. Also, take care to remove any metal filings left behind in the shaft.