Section: 49
Hours: 6
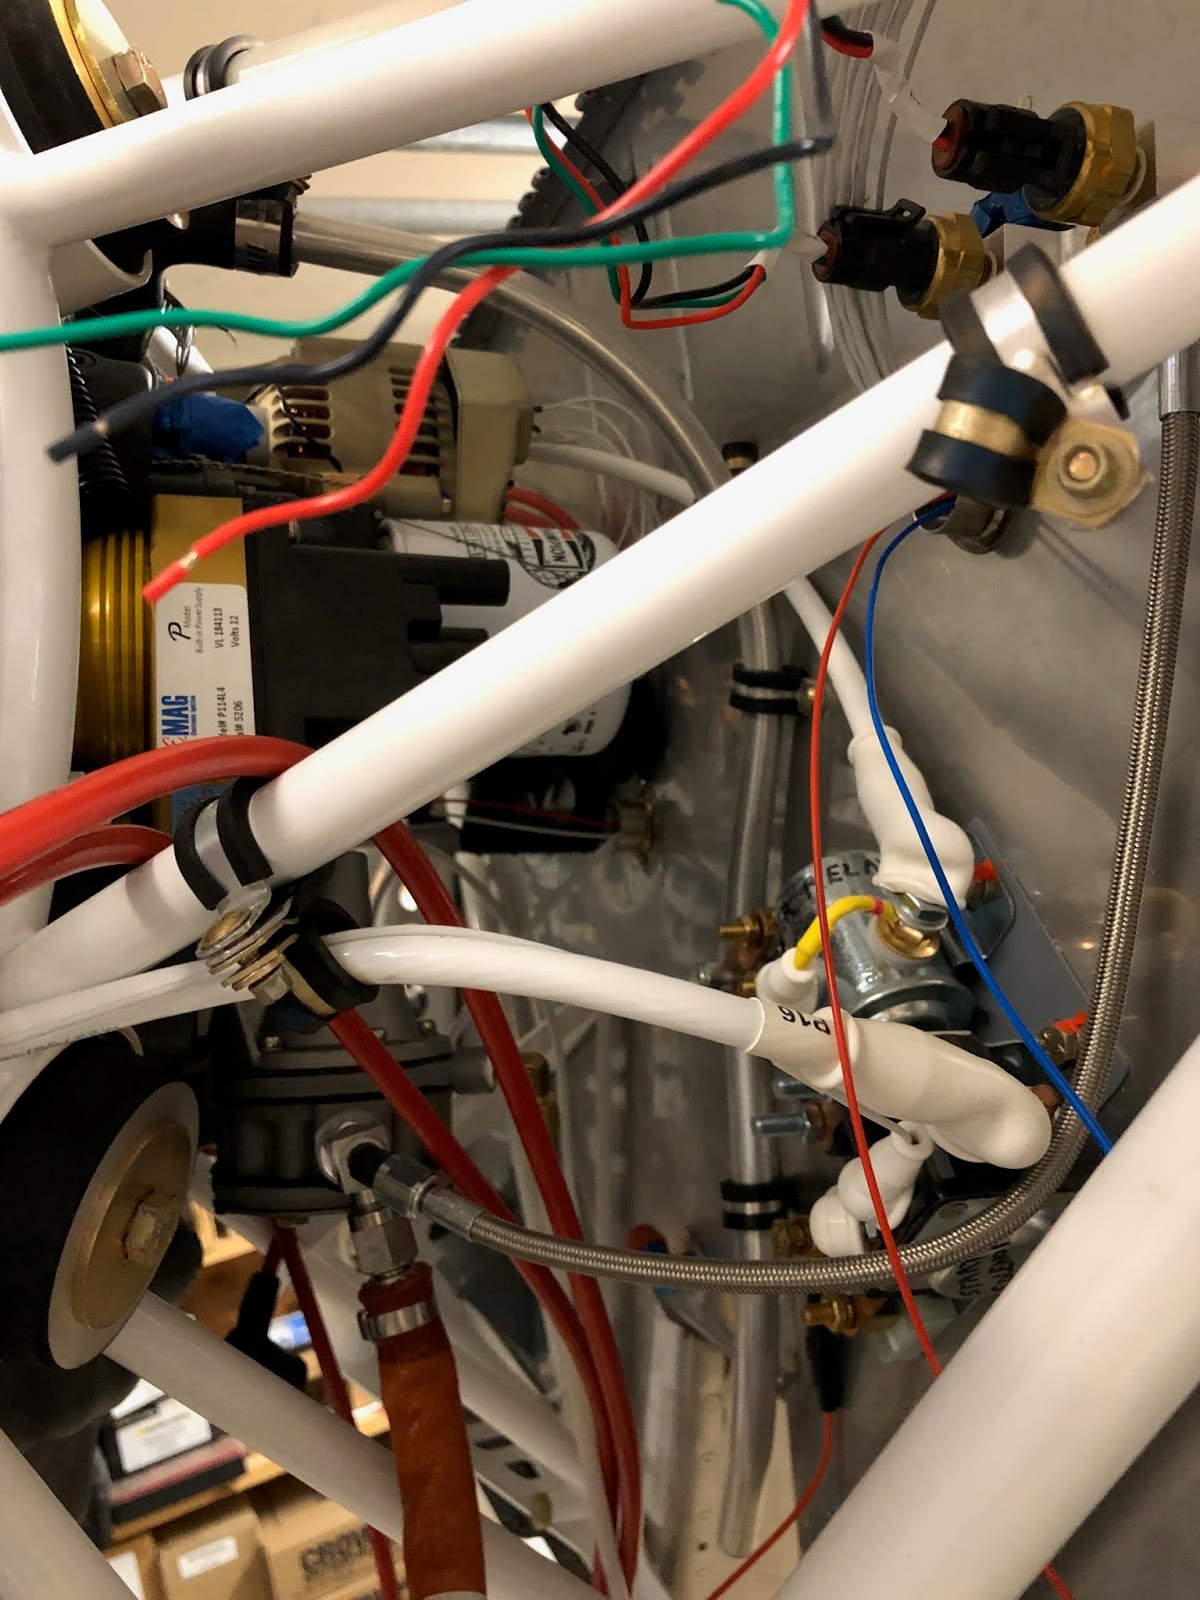
I continued work on plumbing the engine.
Firewall to fuel pump hose.
Fuel pump to fuel transducer (red cube) and transducer mounting.
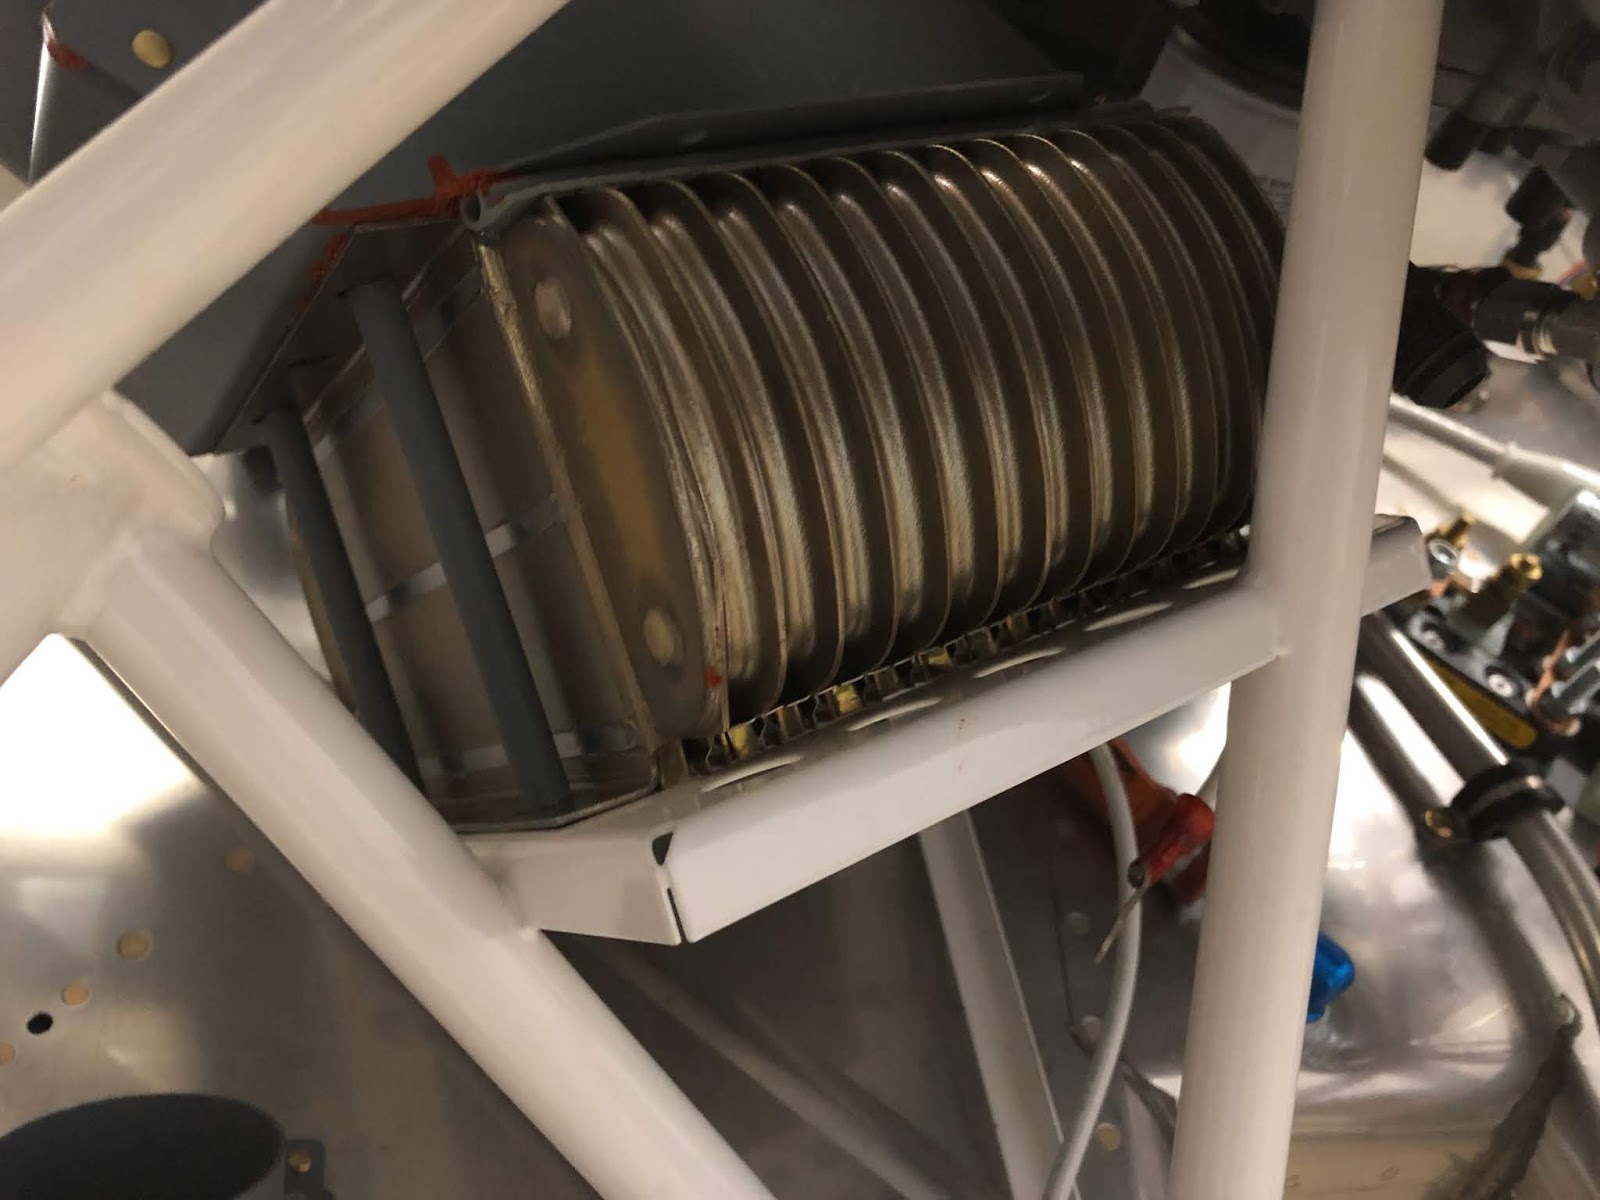
Oil cooler an fittings. The firewall forward kit provides aluminum an fittings but the oil cooler calls out for metal. I purchased the metal fittings from Spruce.
The plans specify the clocking for the fittings.
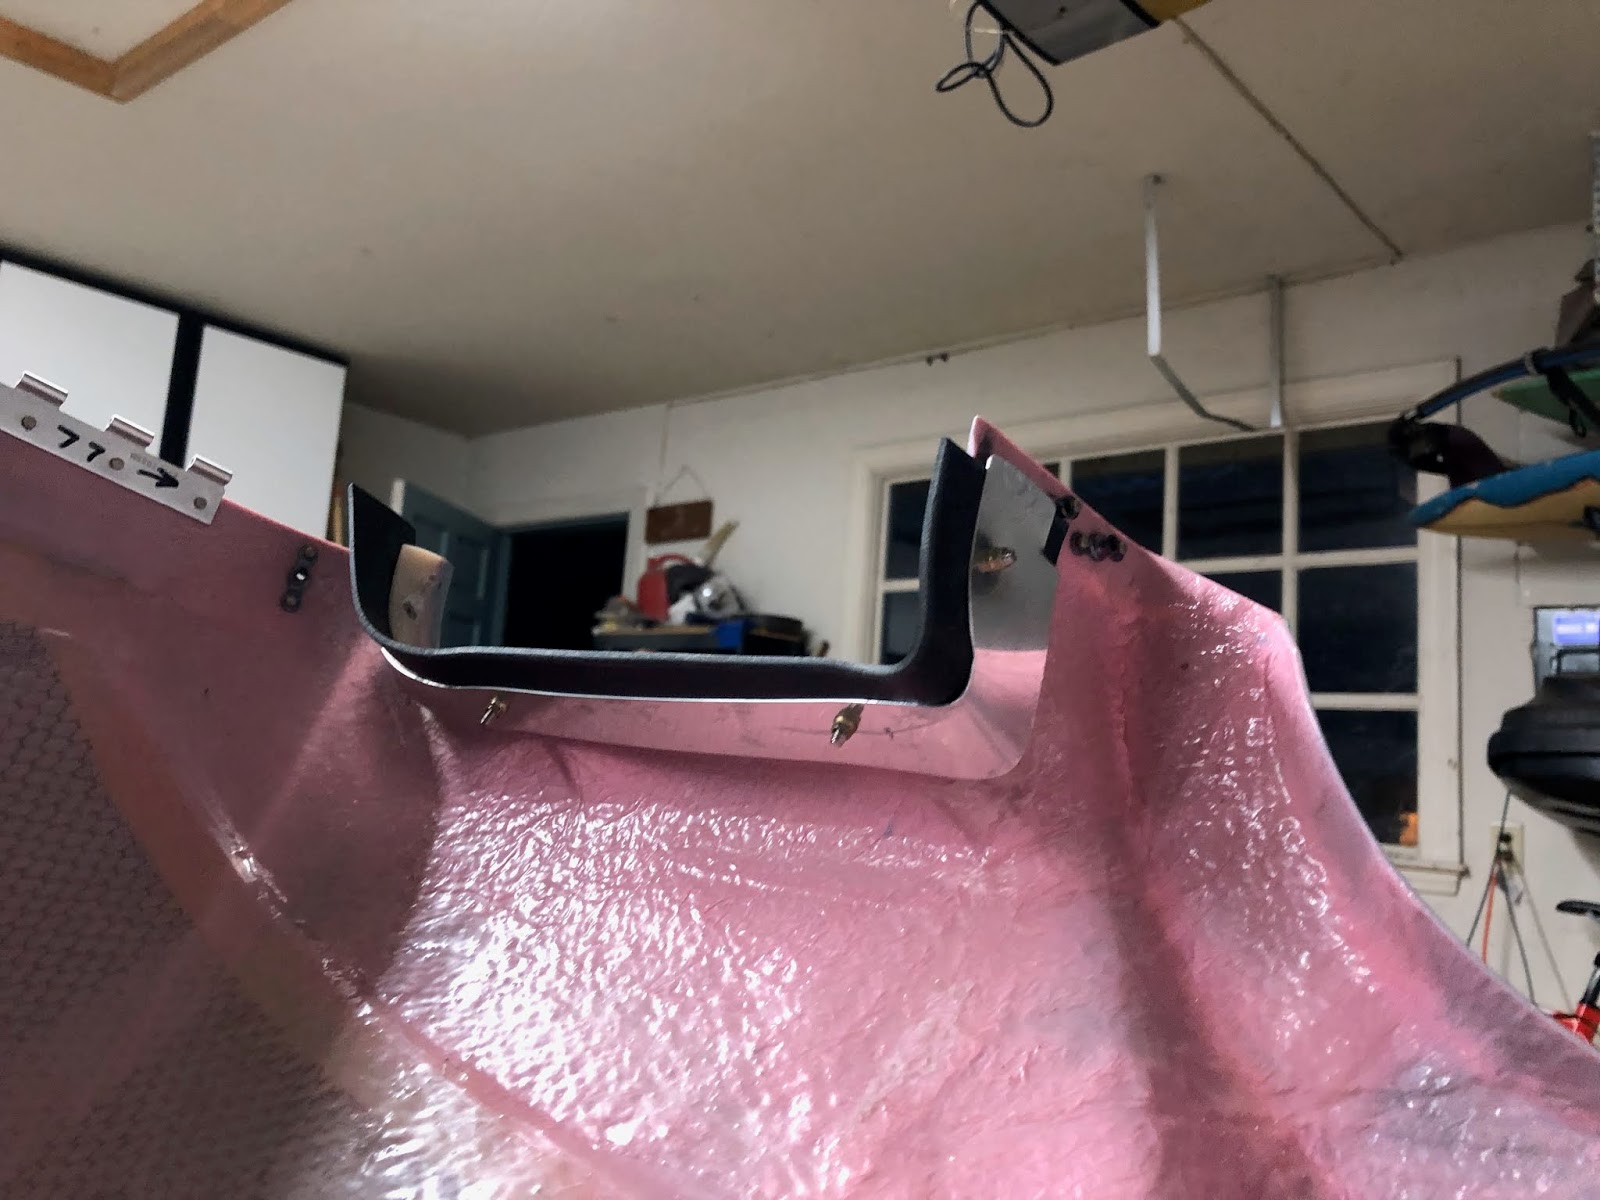
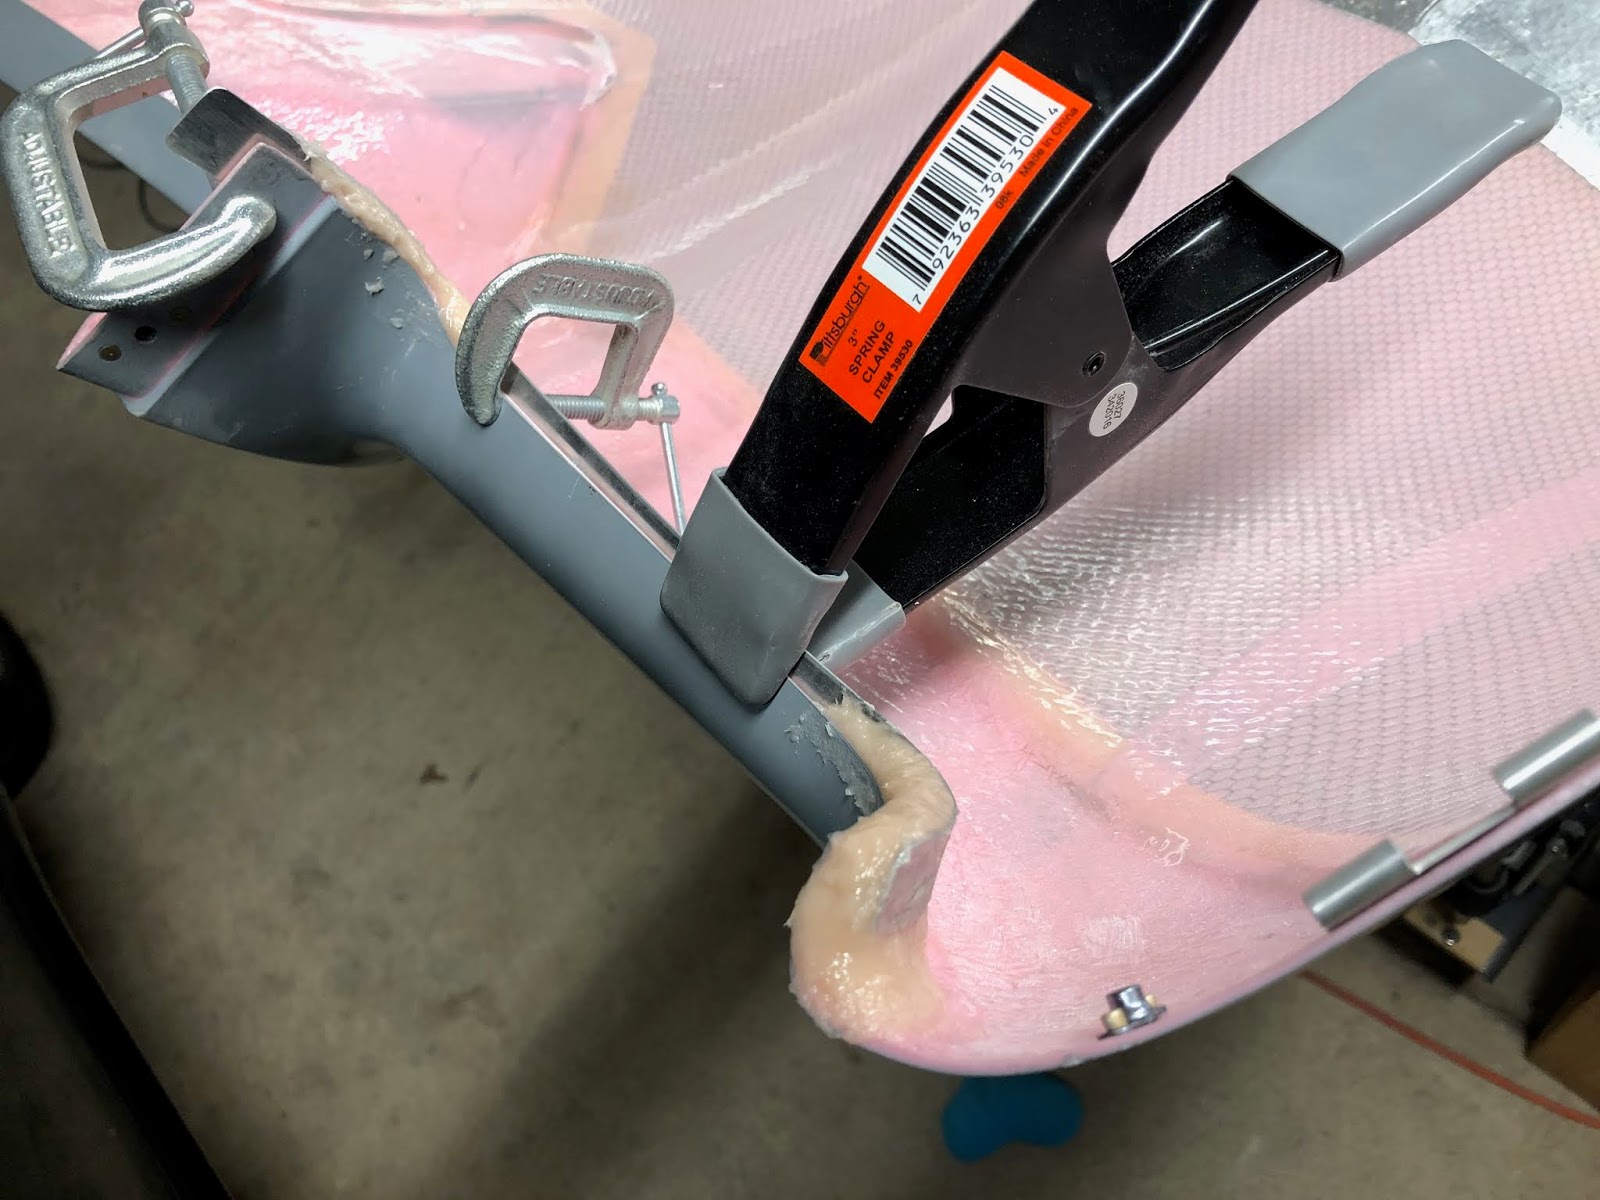
Here is the air inlet transition with sealant applied in the corners.
The oil cooler mounted on the engine mount shelf.
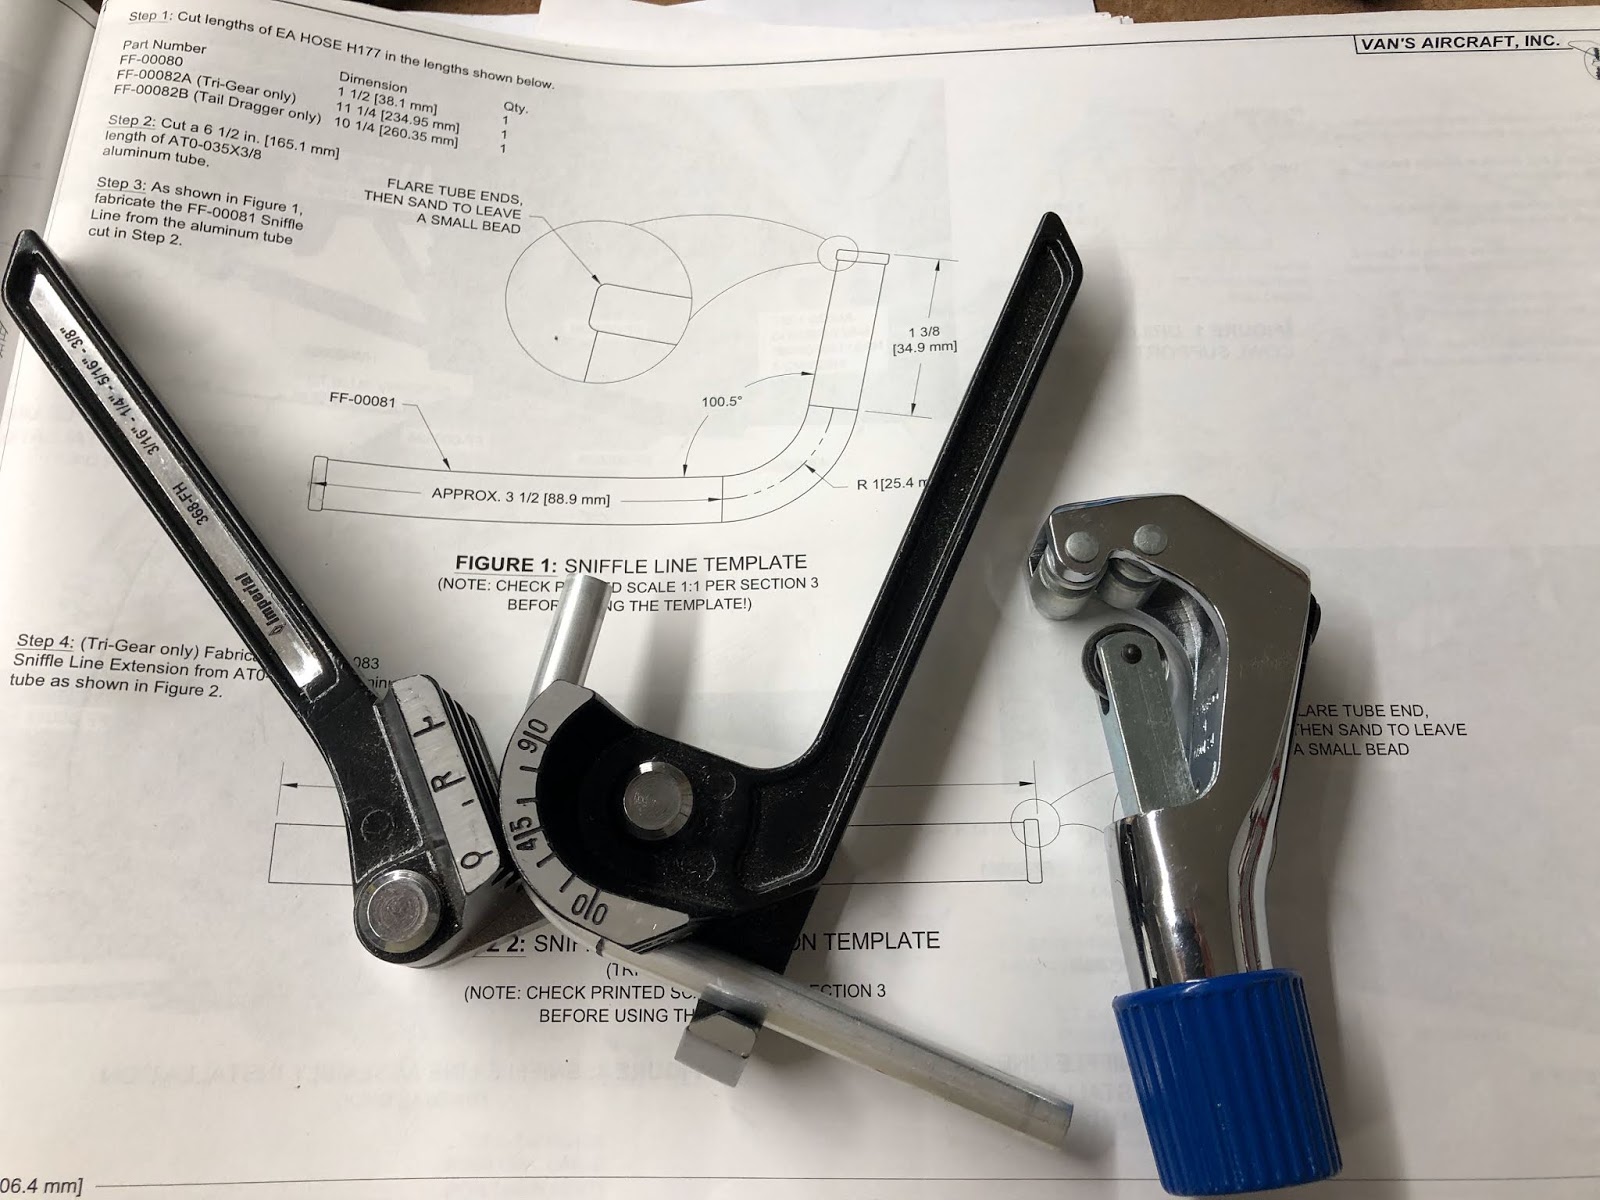
Sniffle tube assembly.