Showing posts with label wings. Show all posts

Wednesday, January 1, 2020

Section: wings
Hours: 4

The standard wiring harnesses are set up for AeroLed nav lights so I had to make modifications to hook up my AeroLeds. I completed rewiring the connector on the wire bundle coming from the fuselage.


Then I connected the remaining lines to the connectors at the ends of the wings.

I ran a twisted pair of black/red wire for the power going to the pitot heat regulator to mitigate interference with the magnetometer. I tied this ground to the root rib just above the other ground. Hopefully this will work- check in later after magnetometer calibration...

Monday, December 30, 2019

Section: 41
Hours: 4

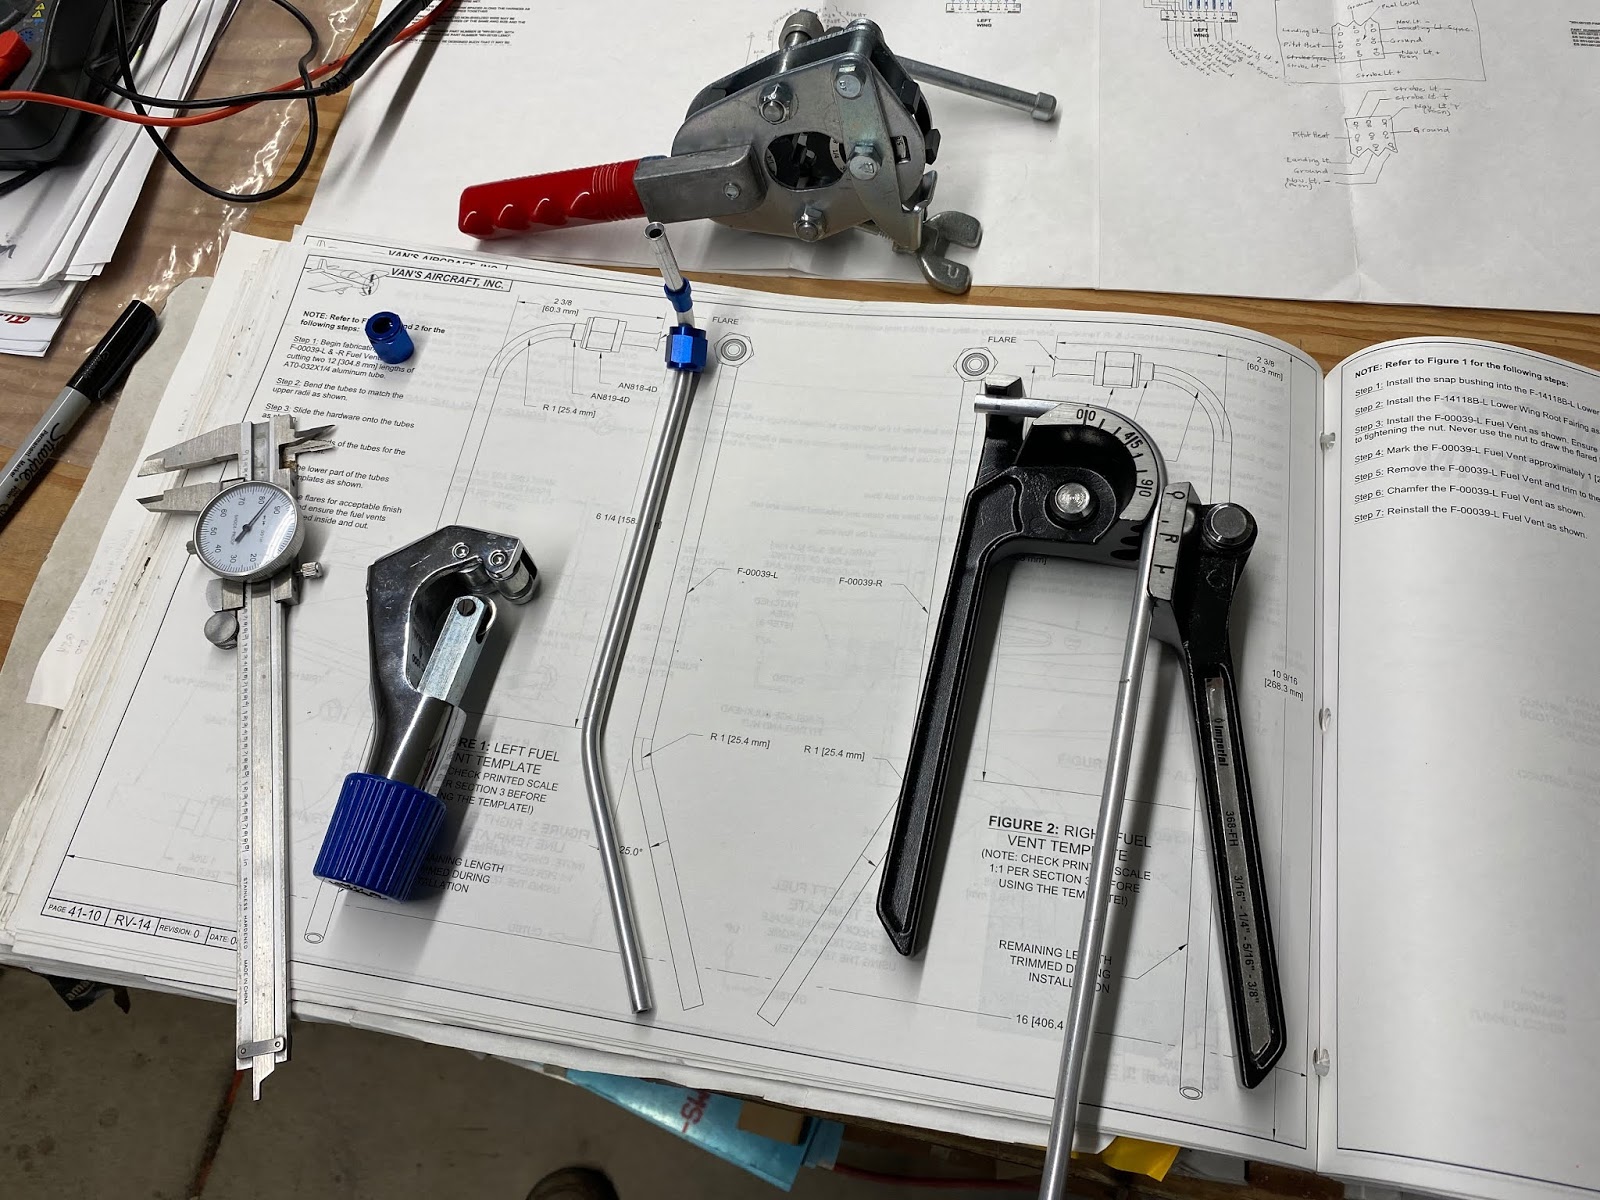
I fabricated the fuel vents from AT0-032X1/4 aluminum tubing.


Sunday, December 29, 2019

Section: wings
Hours: 3

My avionics configuration does not have enough discrete inputs to support the vane stall warning and I have the AOA pitot so it is not required, so I decided to remove the vane and cover over the hole in the leading edge. The vane and micro switch are (barely) accessible through an access plate in the wing. The vane assembly is attached using 2 screws with allen head slots. It was very difficult to reach in and get an allen wrench in the screw head and the screws were rusted and very difficult to break loose. If I were to do it again, I would skip installing the vane assembly in the first place...

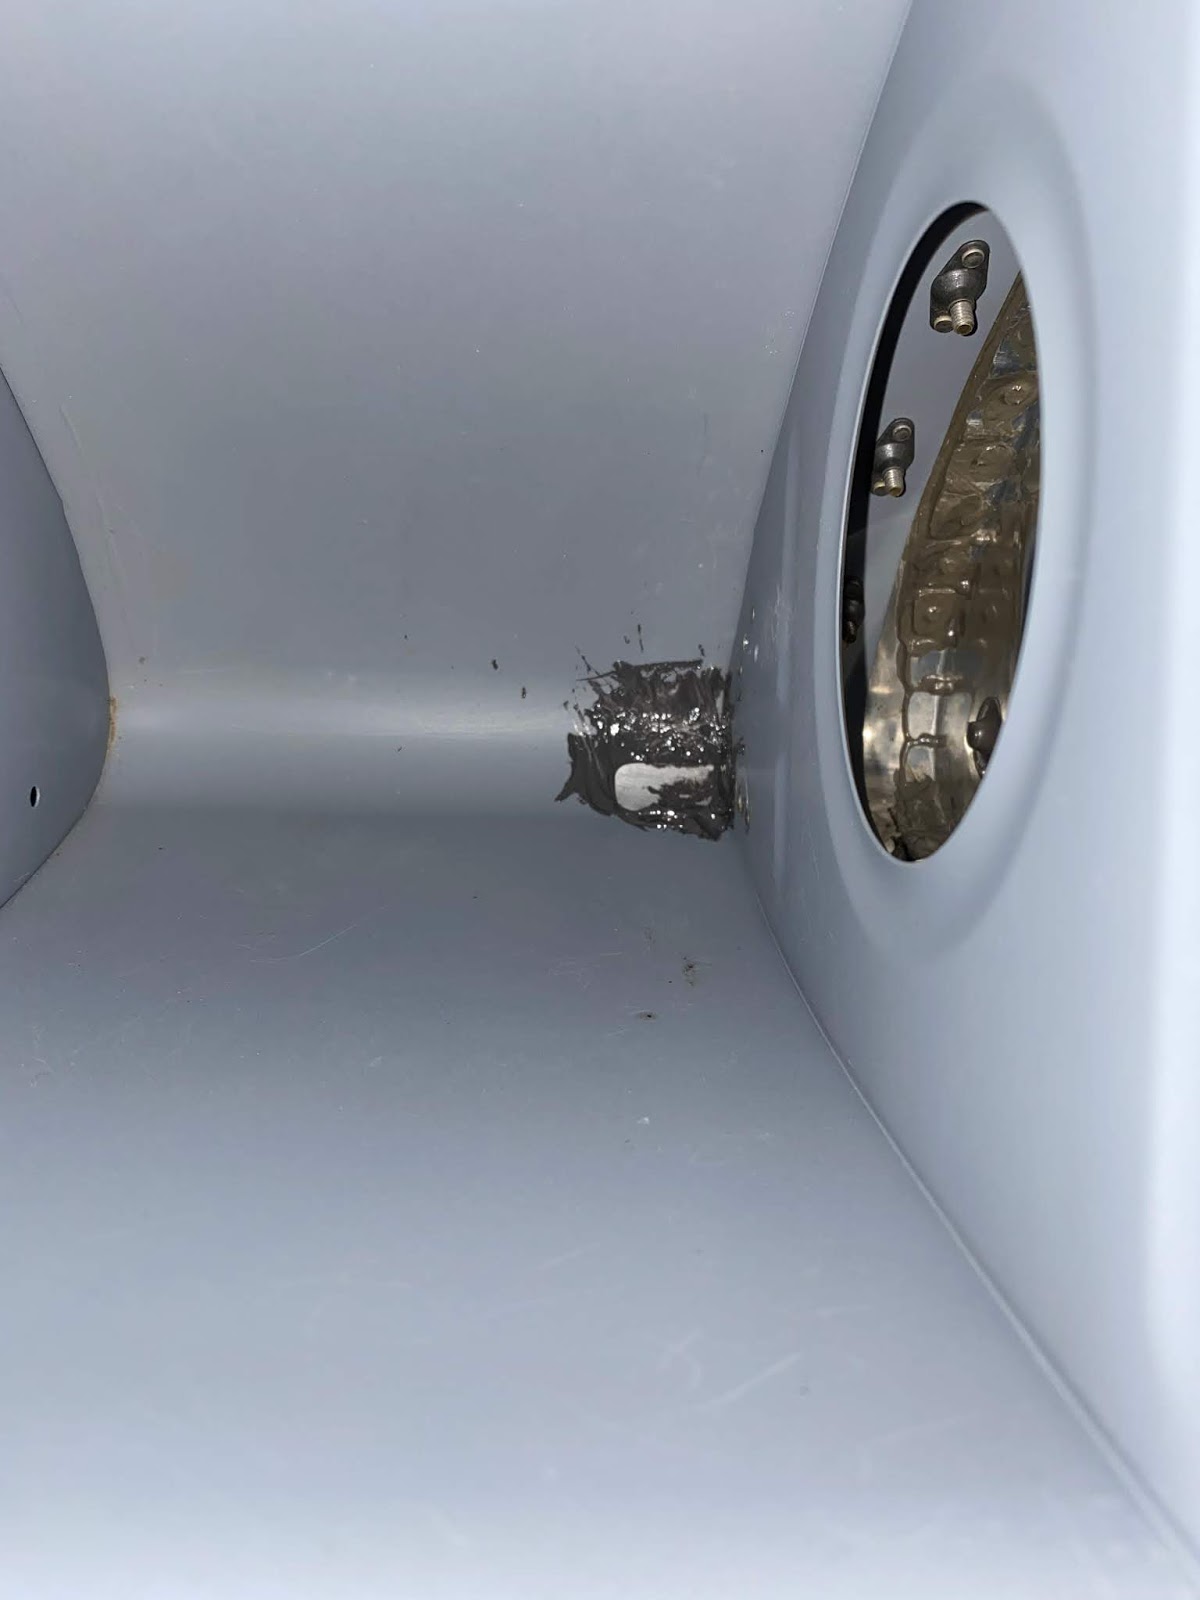
I fashioned a piece of aluminum to match the curve of the leading edge. I didn't want to have rivets on the leading edge, so I used some pro-seal to hold the aluminum filler piece in place. Later I will use some epoxy/micro balloon on the outside to smooth out the hole and after paint it will not be visible.


Saturday, December 28, 2019

Section: 23
Hours: 4

I'm working on finishing up the odds and ends for the wings. First up today, I added an Adel clamp to secure the wiring for the roll servo.

Then I installed the aileron connecting rod for the other wing.

And finished up by pressing the bushings into the flap struts. Looks like I will need to touch up with some primer around the bushing where the socket pressed into the metal.

Friday, December 27, 2019

Section: 17
Hours: 2

I installed a landing light. The final angle adjustment will be made after the wing is attached to the fuselage.

The lens is covered with clear packing tape for now to prevent scratching during the upcoming move to the airport and mounting on the fuselage.

Sunday, December 22, 2019

Section: avionics, wings
Hours: 5

I finished up the installation of the pitot tube.

Here are the fittings for attaching the plastic lines to the aluminum lines from the pitot. I decided to use 90 degree connectors so the plastic tubing will not have to make a sharp bend at the end.

I bundled up the excess wiring and laced it up.

Here's the inside view of where the plastic tubing attaches.

The pitot wiring would not fit through the existing wiring bushing so I wrapped it with spiral wire protector and ran it through the rib opening.

Here is the mast and pitot after installation. The controller box is under the access plate to the right of the pitot mast.

Friday, December 20, 2019

Section: wings, avionics
Hours: 4

Earlier I installed doublers and cut holes on the inboard side of the aileron belcrank for the pitot mast.  The pitot tubing runs into the aileron push/pull tube unless you bend the tubing out of the way. Today I figured out how to bend the tubing to keep it out of the way of the aileron tube but still allow the pitot tube to be removed from the mast for future maintenance.

I mounted the regulator electronics box to a wing panel access door. Since I am using counter sunk screws for the mounting and the flange on the regulator box is not counter sunk, I fabricated a couple aluminum bar spacers with counter sinks to place between the access door and the box.


Here is the pitot tube inserted in the mast with the tubing bent to avoid interference with the aileron push/pull tube.

Thursday, December 5, 2019

Section: wings
Hours: 2

I cleaned up the wing tip layup to final shape today.

Wednesday, December 4, 2019

Section: wings
Hours: 3

The top forward skin of the right wing does not match up evenly with the wing tip so today I added some glass to the wing tip to close the gap. First I sanded the wing tip in the area to be glassed to ensure a good bond. The area to be added is a thin long strip. Regular fiberglass cloth will not fit and flox would not be strong enough, so I used some unidirectional rovings pulled from fiberglass cloth. This will produce a strong high fiber content layup that should resist chipping or breaking.


Tuesday, December 3, 2019

Section: 38
Hours: 2

I did last minute touch up sanding and surface prep on the canopy skirt and then primed it.


Section:
Hours: 3

I mounted the aileron trim servo and added the spring clips to the aileron actuator tube. First I mounted the servo to one of the wing access panels and ran the actuator arm to center. Then, with the actuator tube connected to the aileron, I set the aileron to the center position using the rigging template attached to the end of the wing. Finally I lined up the mounting plate to the hole in the wing and used a drafting triangle and angle measure tool to transfer the center point to the actuator tube.


I then removed the actuator tube from the wing, marked the positions for the spring clips and drilled the rivet holes for the clips.
I used the provided pull rivets to attach the clips and then installed the aileron actuator tube back in the wing. I won't attach the springs until after I attach the wings to the fuselage and get the final rigging set.

Sunday, December 1, 2019

Section: 41
Hours: 4

I fabricated pushrods for the flaps and aileron connections between the fuselage and wings.


Saturday, November 30, 2019

Section: avionics
Hours: 4

Today I finished up some wiring projects. First up was adding the connector cable to the roll servo in the wing.

I discovered the hole in the servo bracket that the connector mounts in was too small. Luckily I was able to reach in with the Dremel and enlarge the hole.

The db connector attaches to the back of the servo and the other connector goes through the servo mounting bracket and then plugs into the wiring harness from the wing.

I also finished up mounting the GMU22 magnetometer in the wing. I used the mounting kit that came with my panel from SteinAir. This kit fits into the ADAHRS mounting plate which inserts into rails built into the wing.

Section: 41
Hours: 1

I had previously prepped and primed the wing/fuselage intersection panels. The panel that wraps around the leading edge must be bent to match the curvature of the wing. I found some PVC pipe of the proper diameter, chucked it up in my vise and easily applied the specified radius bend.

Saturday, August 11, 2018

Section: 41
Hours: 6

The weather is good and I have a just enough primer left to finish the wing root covers and stiffeners and the prop spinner bulkhead.

Saturday, April 21, 2018

Section: 56
Hours: 5

I installed the Garmin autopilot servos today. I found it was easiest to remove the servo bracket from the wing and install the servo on the bench.


I was going to remove the elevator servo bracket but realized that I would not be able to get several of the screws at the back in place once the servo was mounted. So I mounted the servo in place.
 I had to add some washers to space the end bearing a little further away from the crank arm because the jamb nut was rubbing on the crank arm.

Tuesday, April 17, 2018

Section: 23
Hours: 5

I worked on the aileron actuator today. The belcrank rides on a brass bushing which is captured between 2 brackets that bolt to the main spar. I had installed the belcrank some time ago but not torqued it to final values. Today I measured 15 inch pounds of drag on the lock nut and the specs call for 85 inch pounds of torque combined for 100 inch pounds. When I applied that much torque, the belcrank no longer rotated freely. I spent much of the day adjusting, pulling the belcrank and bushing apart and trying to figure out what was wrong. I determined that with that much torque applied, the bushing had deformed on the ends which caused it to bind inside the belcrank tube. I tried to file down the bushing with out any luck. I wish I had a lathe about now...

I ordered a new bushing from Van's and moved on to the second wing. In reading the blogs about installing the belcrank several builders had commented about the lack of a washer between the bushing and the bracket, potentially causing wear between the bracket and the bushing end. This time I added a washer between the bushing and the bracket and lowered the torque to 90 inch pounds. The second belcrank freely moves. I think the combination of the washer and lower torque helped.

I'll have to wait for the replacement bushing before completing the other wing.


Monday, April 9, 2018

Section: 24
Hours: 5

I spend some time researching how to install the nav antenna in the wing tip. It should be strongly electrically bonded to the wing skin. I decided to rivet it to the piano hinge which will provide a good connection to the skin. Apparently it is best to place the antenna further forward, but I was worried about getting it too close to the nav and strobe lights at the front.

Here is the wing tip with the piano hinge riveted in place. I had some trouble getting the hinge to seat flat to the fiberglass which I solved by using the rubber washer trick- I put the rubber washer on the back of the rivet before squeezing it. The washer pushes the piano hinge into the fiberglass as the squeezer closes the rivet.