Section:
Hours:
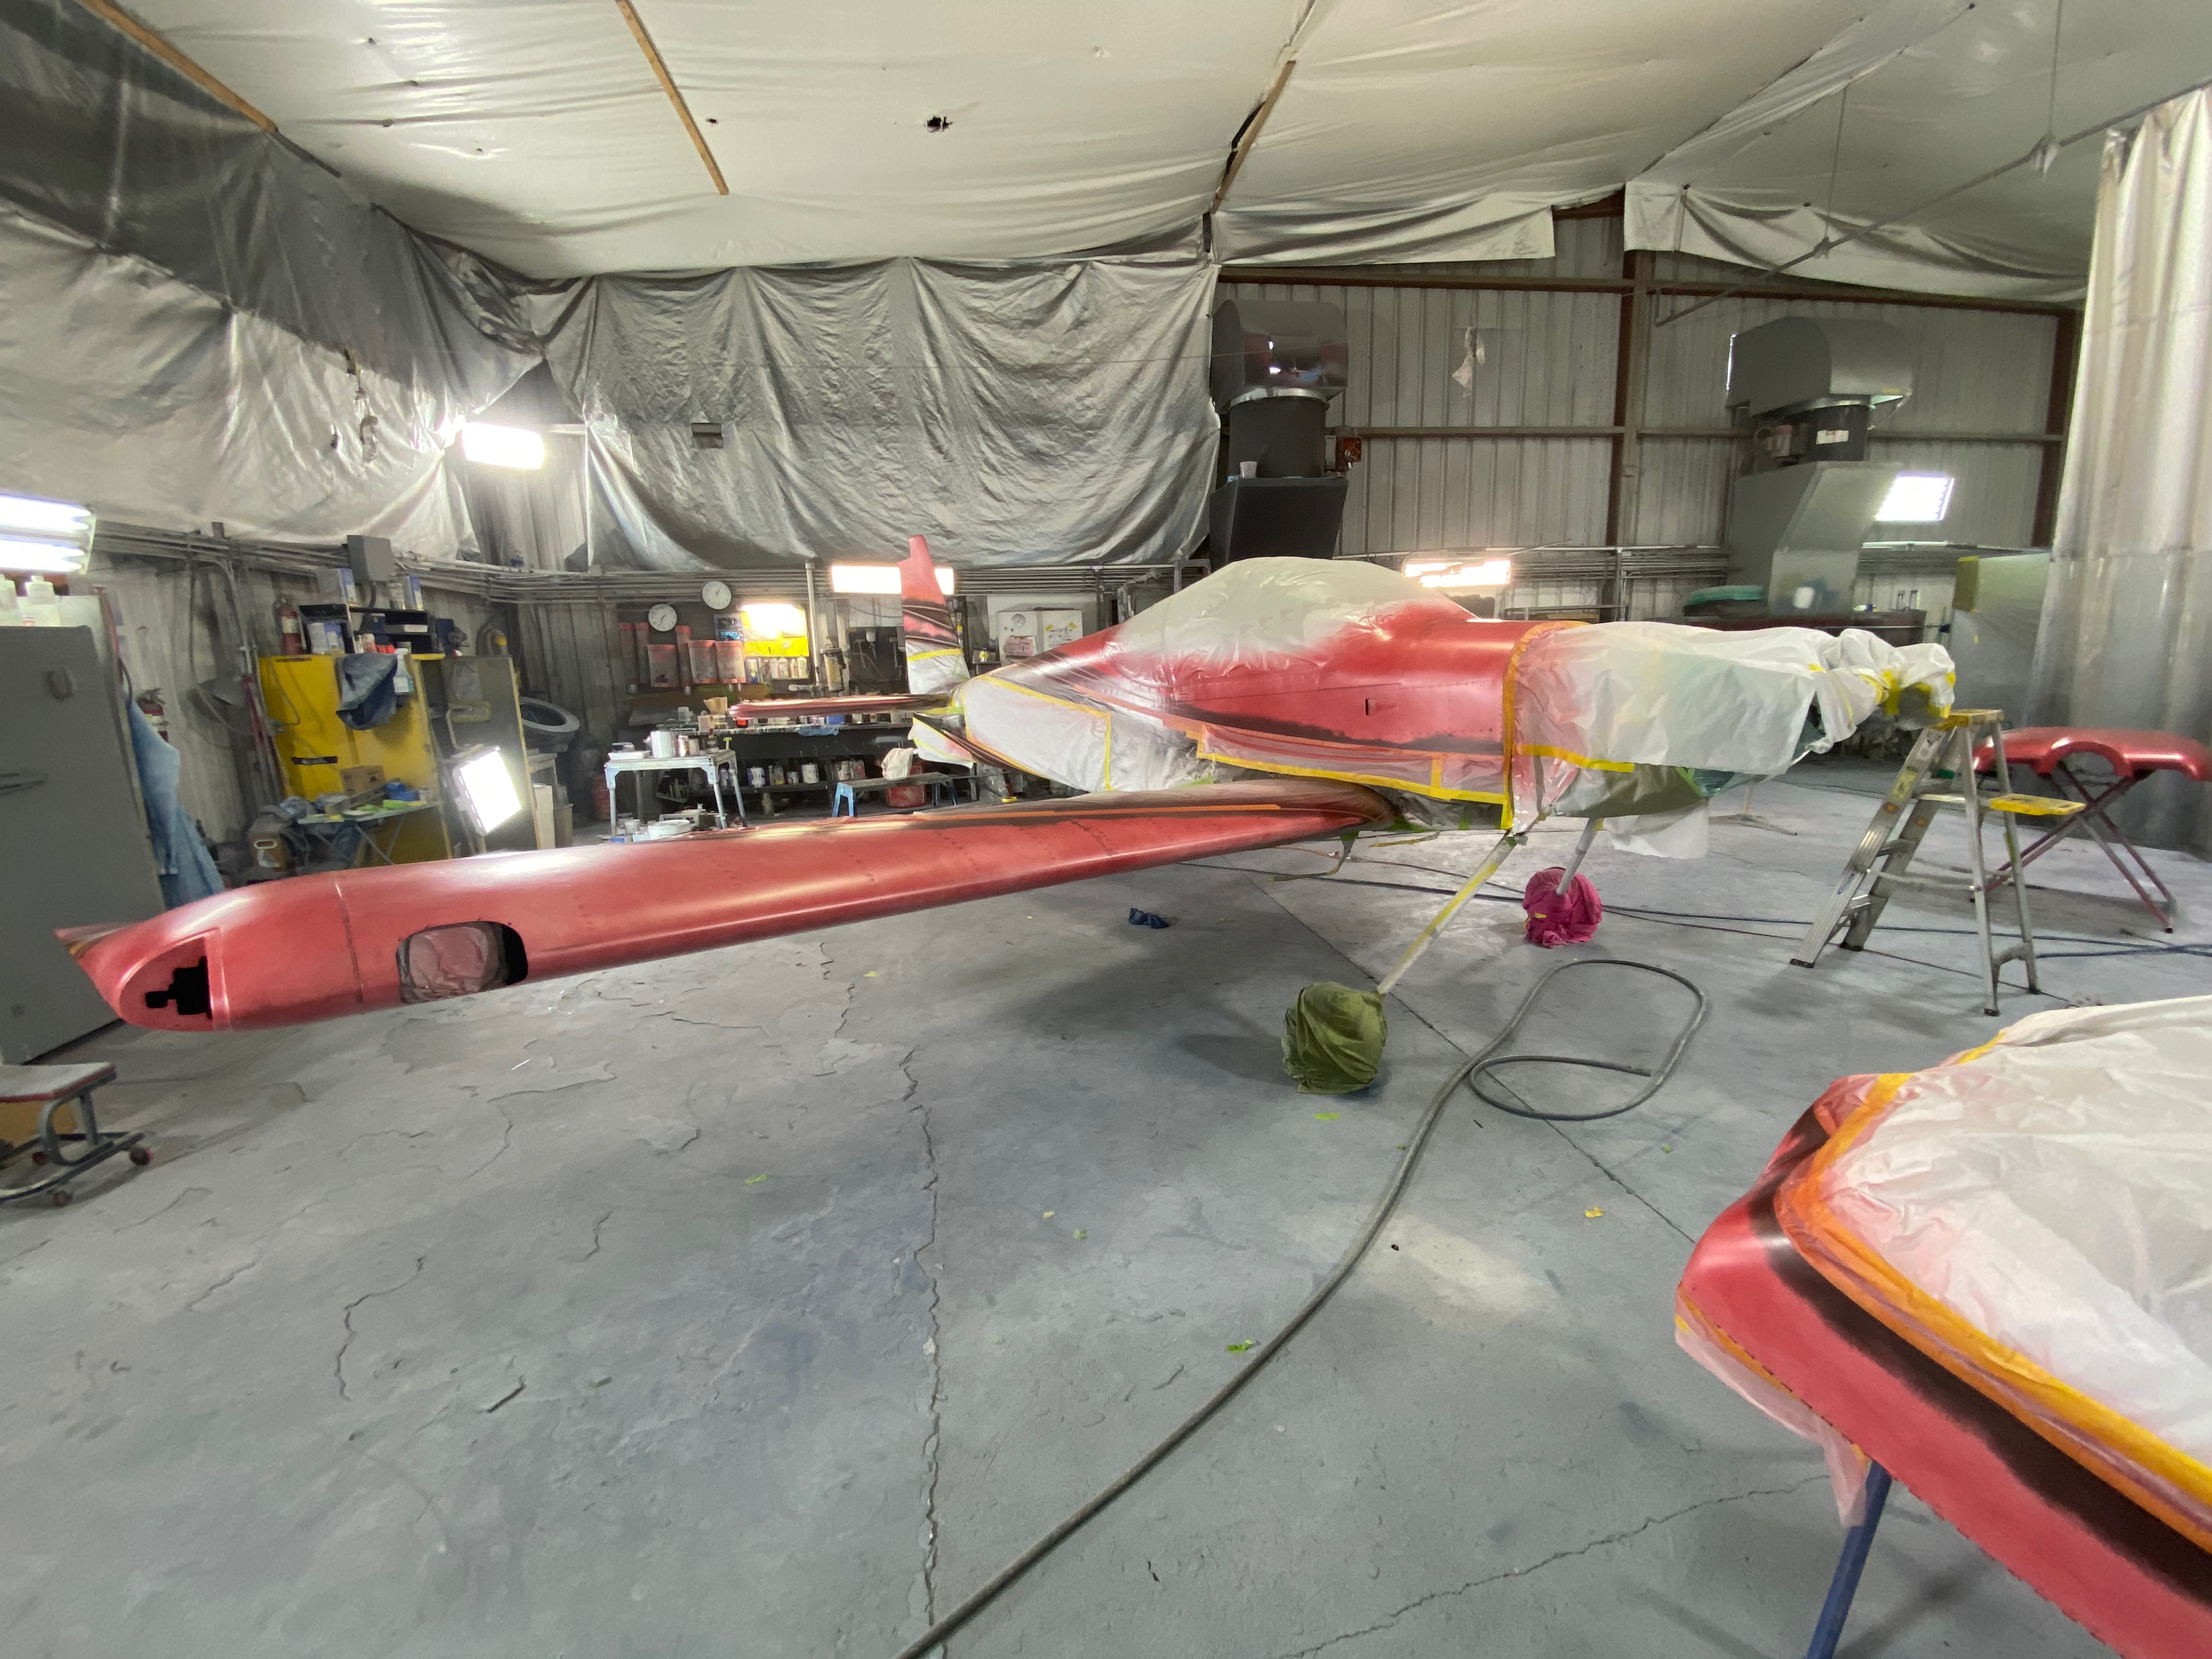
Masking for the red areas was completed and the first tack coat of red was shot.

Section:
Hours:
Evoke cut a set of full size vinyl stencils from the CAD files that Kracon will use for masking the paint. Evoke shipped 2 large rolls of vinyl with the stencils nested on the sheets. The various parts of the design had to be identified and separated from the rolls and then carefully laid out on the airplane. It's tricky to get them aligned top to bottom and left to right. The nice thing about using vinyl stencils is that all the curves and lettering come out perfect. You can sight along the curves and not see any waves or wobbles. The painters weren't sure if the stencils actually saved any time vs tape layout, but the results are very smooth. And there were still areas that had to be laid out using tape, such as the leading edges and the top and bottom of the fuselage.


Section:
Hours:
All the fiberglass parts were sanded and any remaining pinholes were filled. The honeycomb sandwich pattern is no longer visible.


Section:
Hours:
I had filled pin holes and primed the fiberglass parts that didn't come with gel coat prior to delivering the airplane to the paint shop. The engine cowling was gel coated, but the honeycomb sandwich material was showing through. The Kracon crew primed and block sanded all the fiberglass parts for a good final finish.
Here are the parts with a heavy primer and black guide coat prior to sanding.

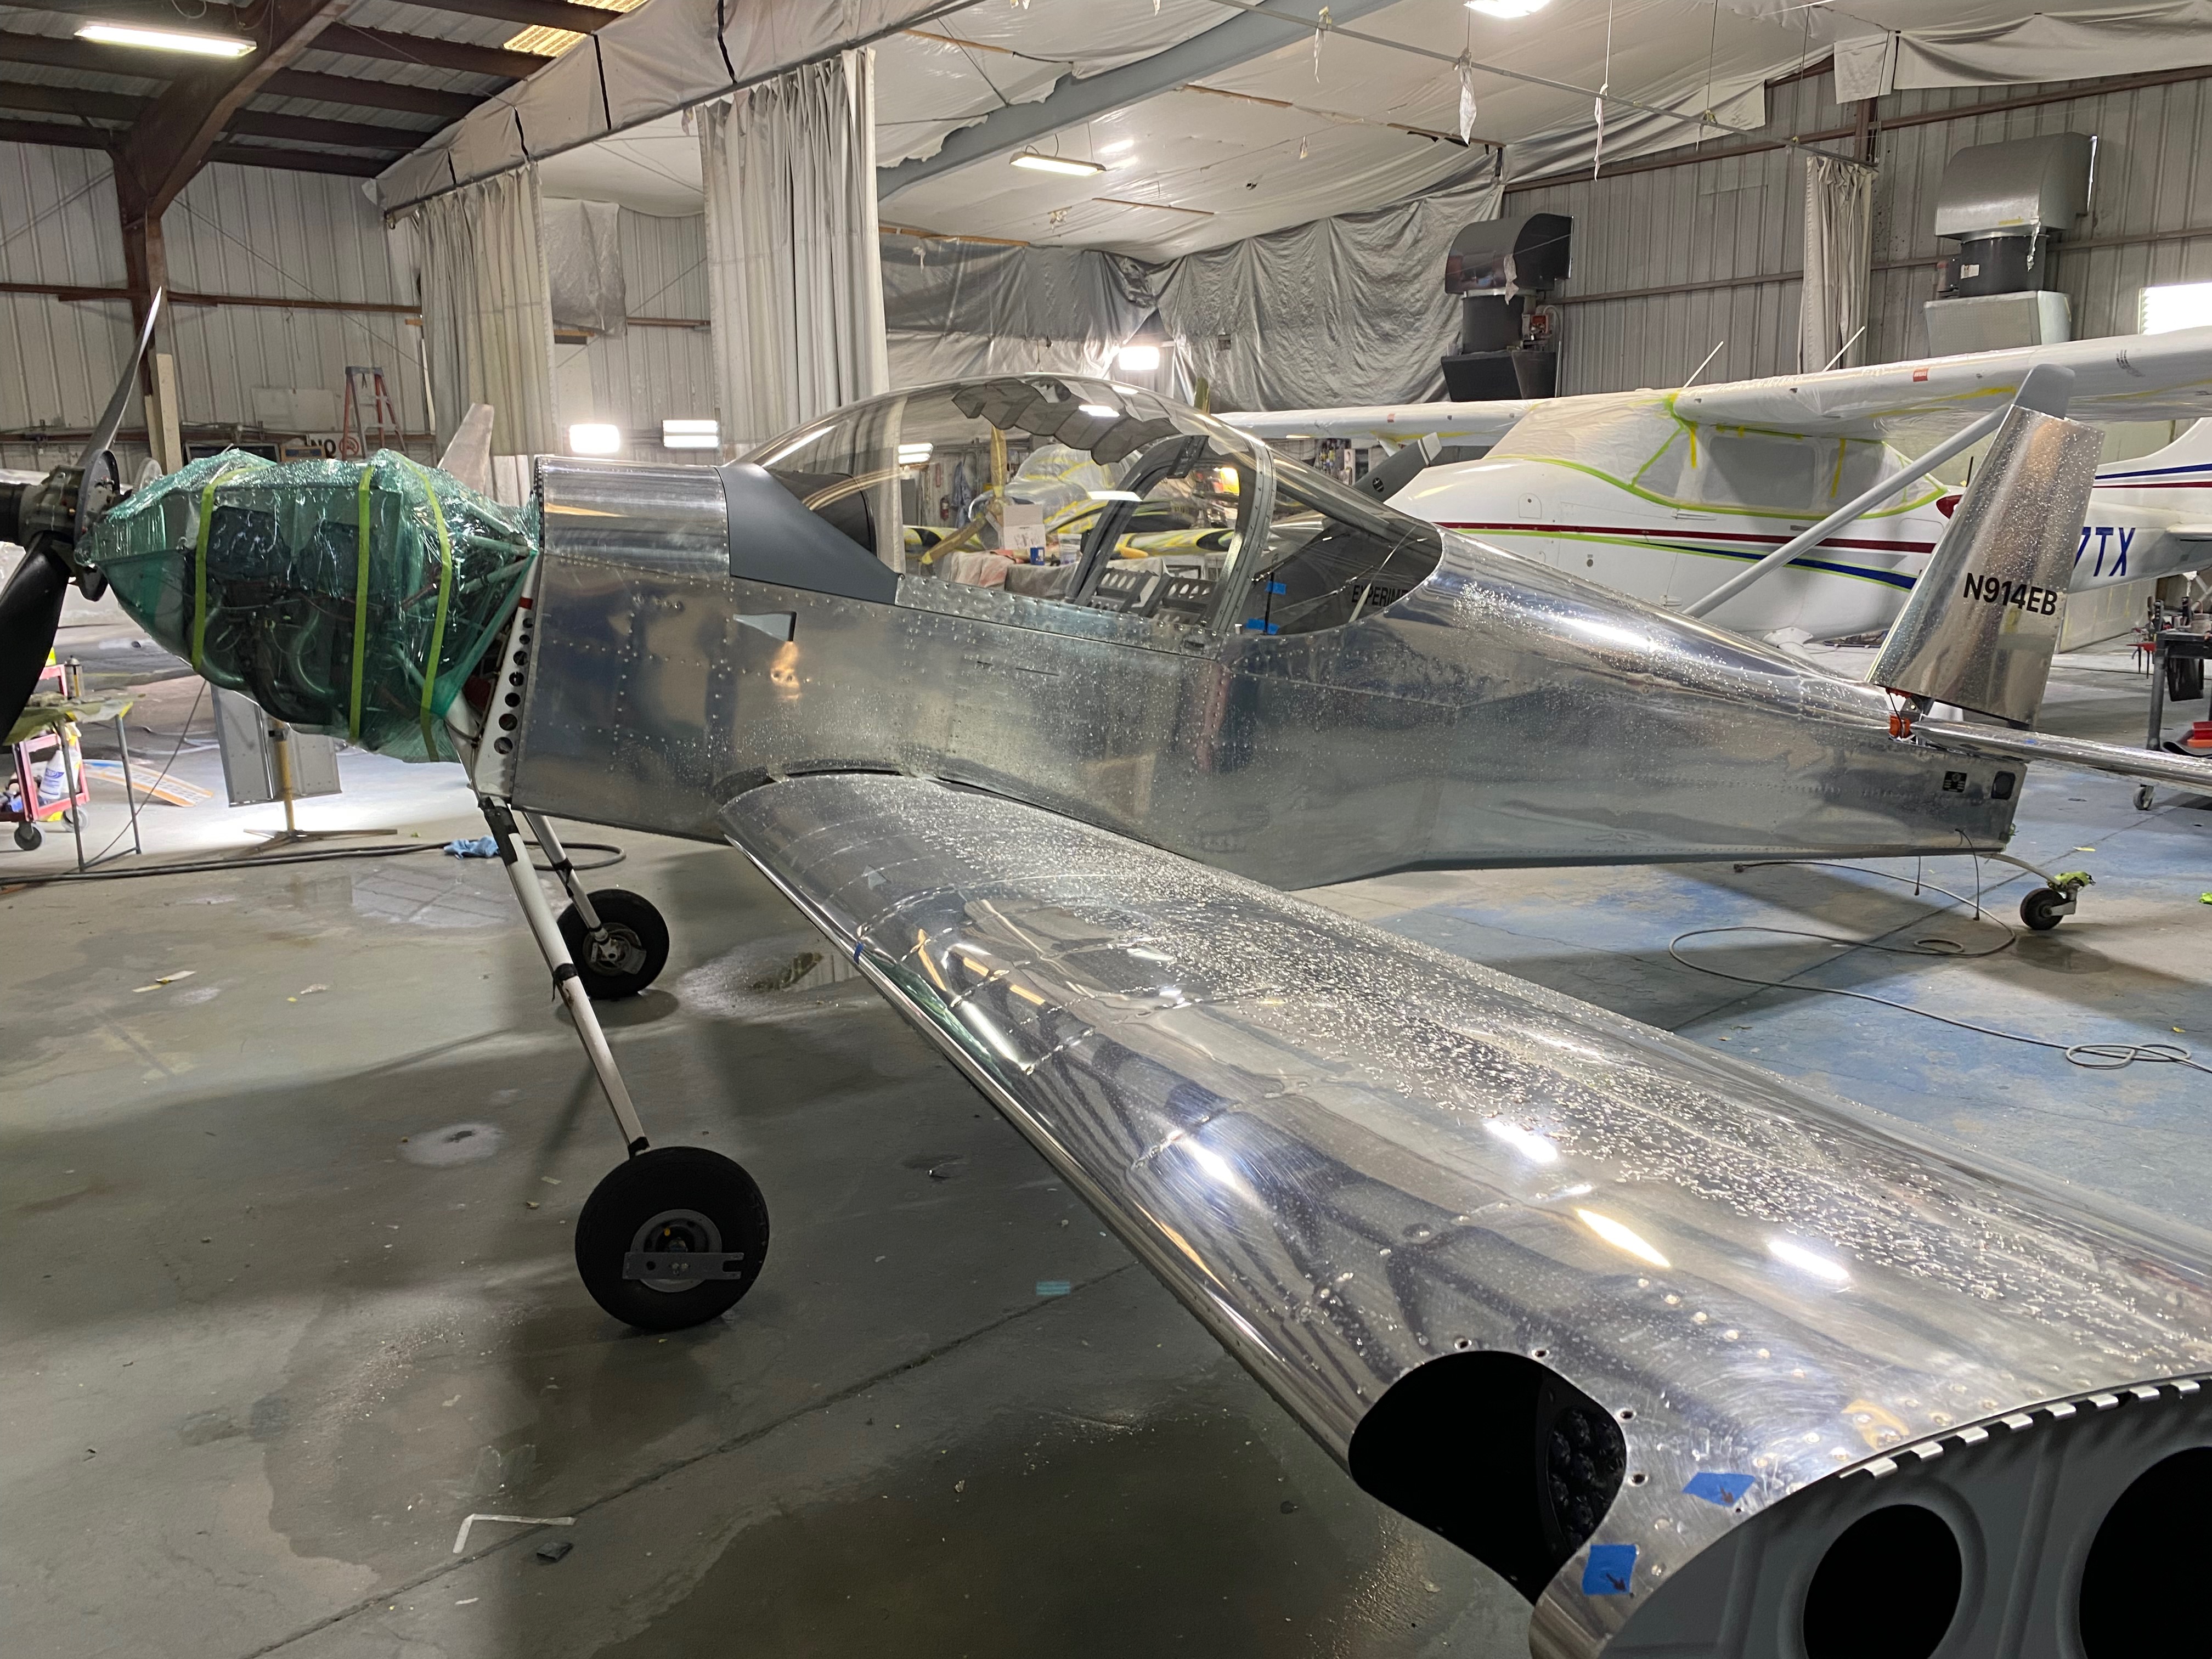
Kracon wrapped up the engine compartment and washed all the aluminum prior to acid etching and priming.
Section:
Hours: 7
I spent the last month working with Evoke Aircraft Design to come up with a paint scheme. I had seen a Mooney painted with a beautiful red, white and black paint scheme and used that as a starting point for the design. Evoke provided multiple sketches starting with that design and we ended up with something entirely different except for the colors. I worked on font design and font tools so I wanted to include some interesting typography in my design. Monotype just published a modern version of Helvetica which I used as a starting point for the full size N number. I found a weight that had stroke widths that comply with the FAA lettering requirements. We slanted the base line so it would be parallel to the ground when the tail wheel is on the pavement and I adjusted the italic angle so the letters would be upright when the airplane is in the air. I also designed a custom Rv14 logo for the tail.


Section:
Hours: 6
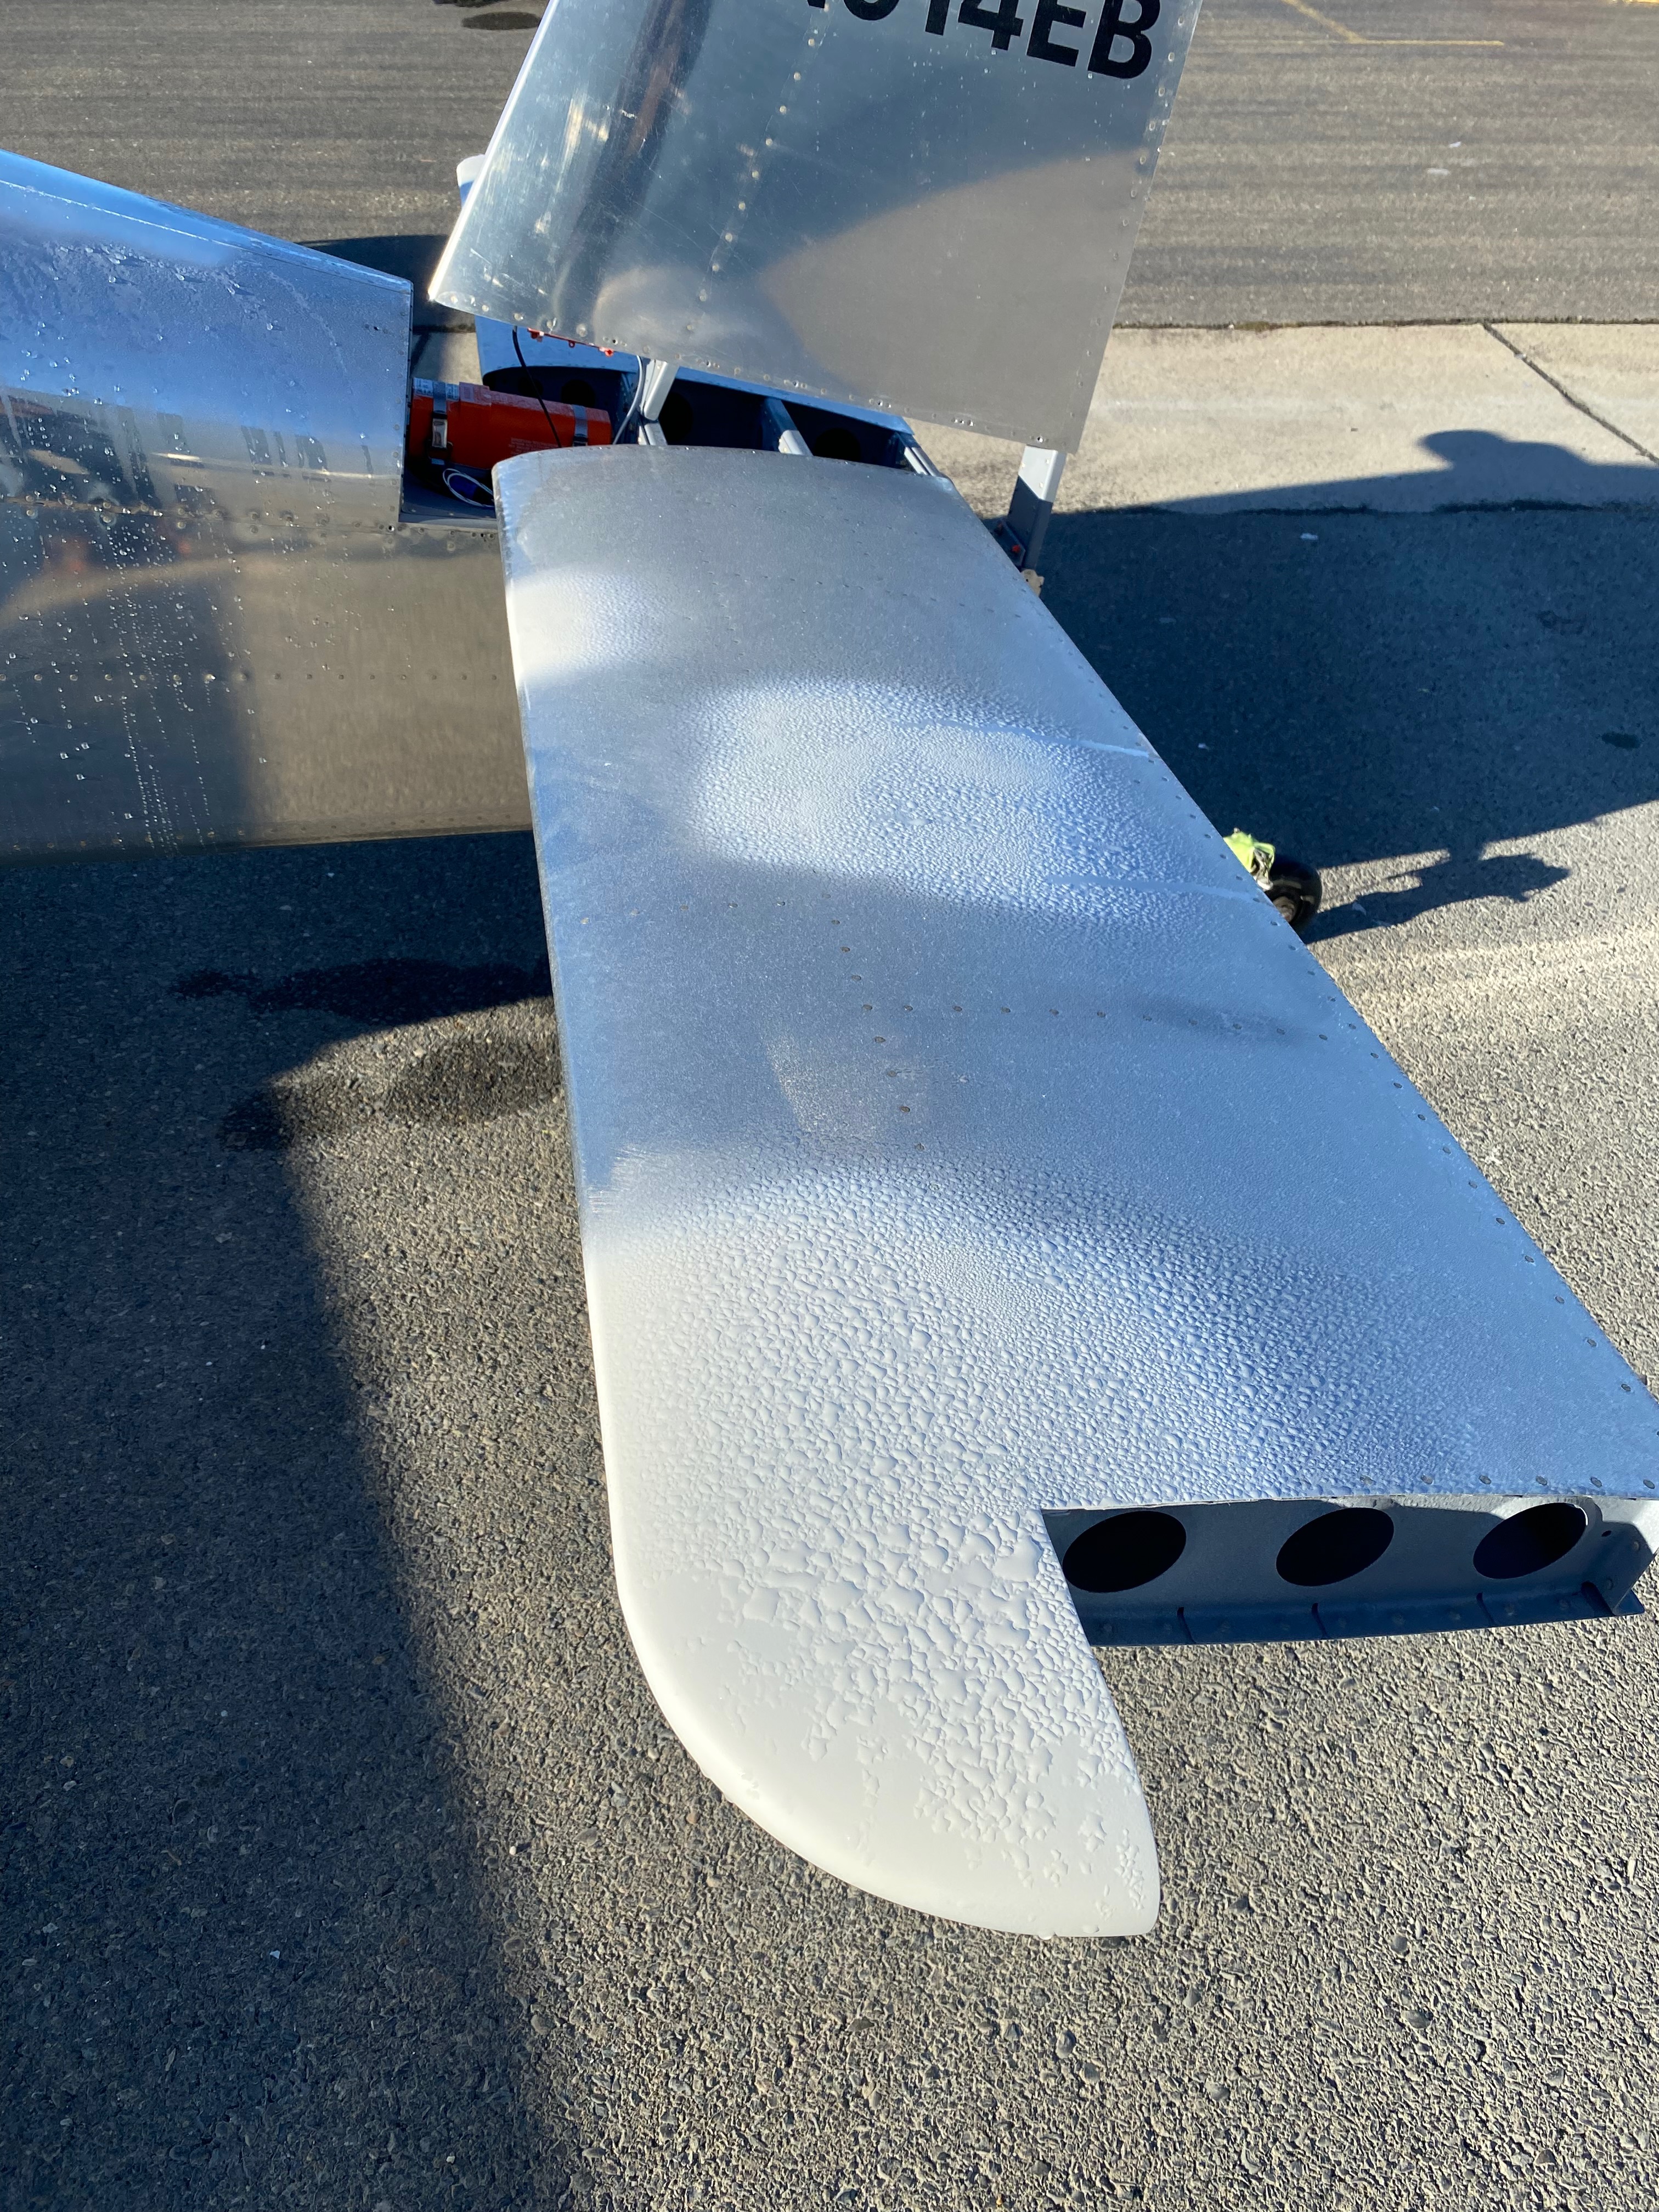
Today I worked on a few tasks before taking the plane to the paint shop. First up I trimmed the wing tip trailing edges to match the trailing edge of the flaps. Rather than trim the entire trailing edge of the tip, I tapered it from the outboard tip to the flap. This left more of the trailing edge intact and visually is not noticable.


Section:
Hours: 8
I just attached the data plate. This was an interesting project. Several builders I know have had their plates engraved, but I thought the engraving was hard to read. I decided to use metal letter punches to mark my plate.


Section:
Hours: 8
I calibrated the fuel tanks today. I filled the tanks a gallon at a time and punched in the result to the Garmin G3X. I did this while the tail was jacked up to flying position and also while the plane was in taxi position. With 25 gallons per tank times 2 tanks times flying and taxi position that comes out to 100 readings. A rather tedious task.


Section:
Hours: 7
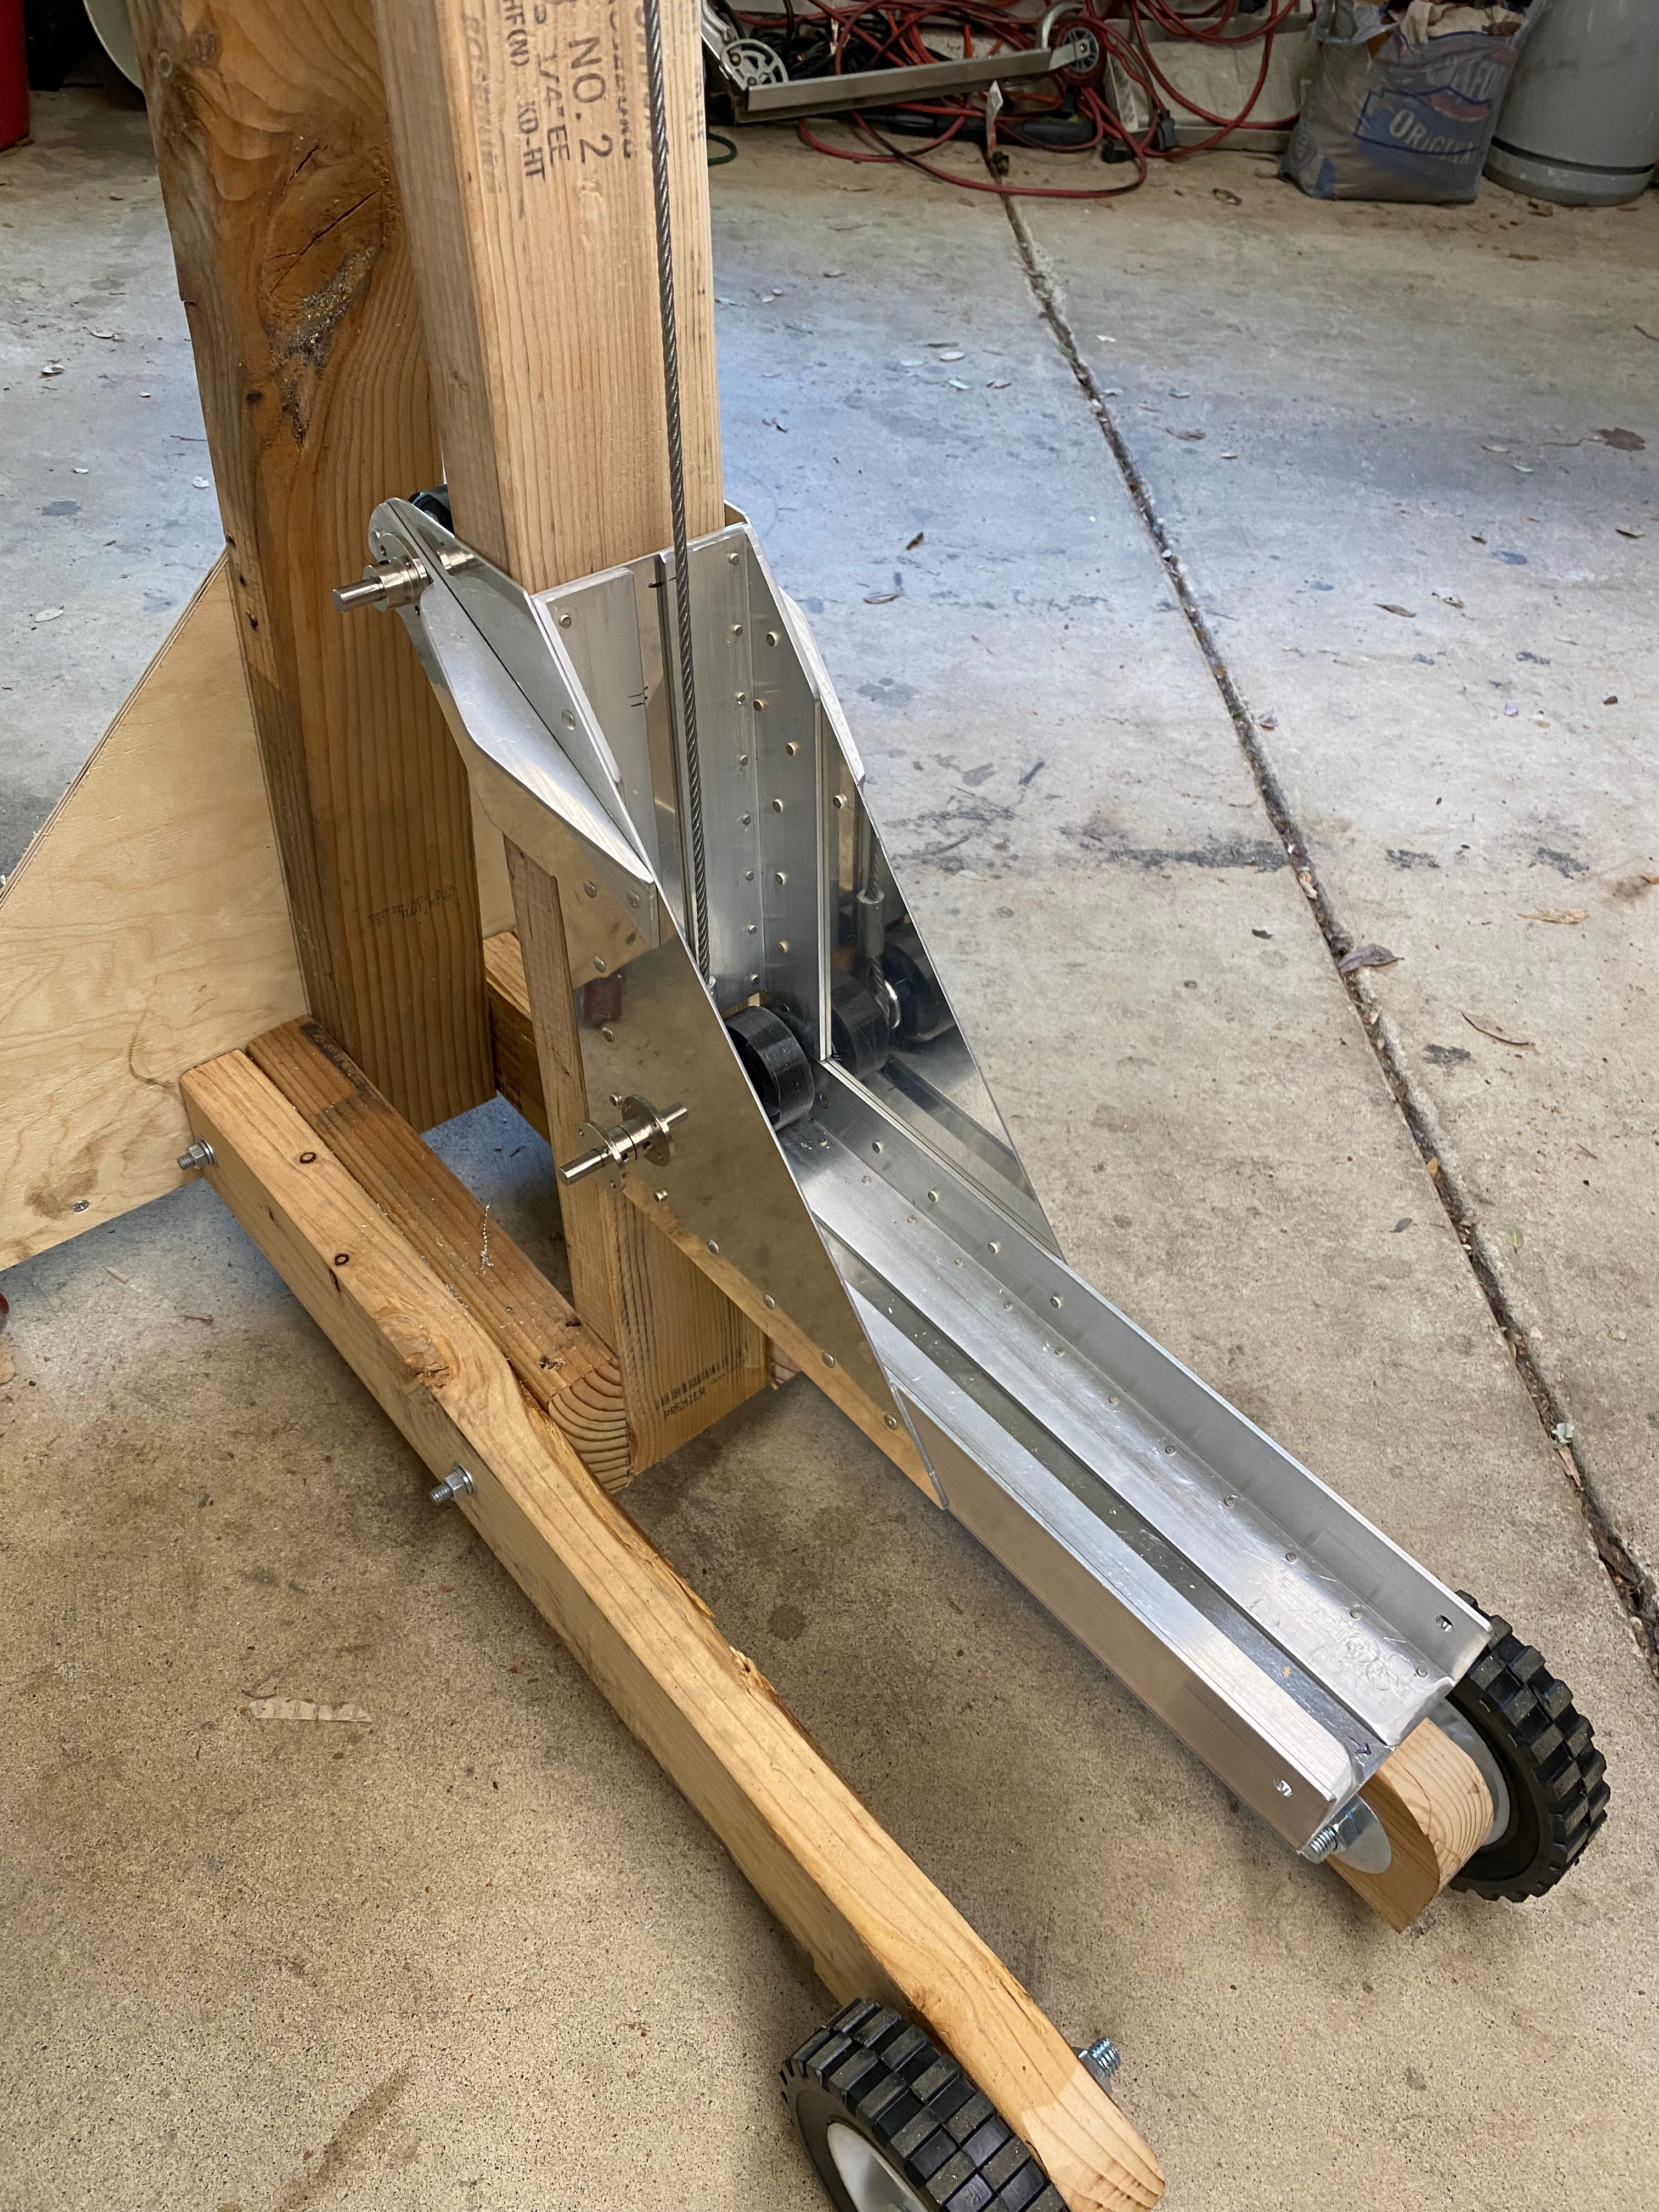
There are going to be many operations come up that require me to level the airplane by lifting the tail to the flying position. When the tail is on the ground it weighs over 100 pounds and is awkward to grab because the tail surfaces are in the way. There used to be a commercially available lifter called TailMate, but it is no longer sold. So I decided to build one. I found a couple articles describing building ones out of wood so I decided to have a go. I used some 2 x 4's I had lying around and purchased some wheels and a ratcheting reel from Harbor Freight.