Monday, January 18, 2016

Section: 14
Hours: 2

I pulled out the remaining wing ribs and started the work to get them ready for priming. I used my die grinder to smooth out the interior lightening holes.

It's a pretty tall stack of parts and I only made it about a quarter way through them, even with Woody's help. Woody was worried about the grooves that are getting worn into the grinding wheel. Luckily there are a couple more wheels in the bag.

Wednesday, January 13, 2016

Section: 18
Hours: 3

I installed the vent line, tank attach bracket and inboard upper rib in the right gas tank this afternoon. I'm now going to let both tanks cure for awhile before water testing.
The vent tube runs through a lug on the gas cap flange and ends 1/4" from the outboard rib.

On the other end, the vent tube has a flared end with a fitting that will screw into a treaded coupler that goes through the inboard rib.

The inside of the inboard rib has a fillet of ProSeal all around.

The outside of the inboard nose rib and front of the attach bracket. Extra ProSeal is slobbered into the corners where leaks have been reported to develop on other RV-14's under construction.

I applied extra ProSeal into the corners on the other side of the attach bracket also.


Right tank with all the ribs riveted and ProSealed. Water testing will be next after the ProSeal cures. Finally the rear baffle will be added and the tanks will be done!

Monday, January 11, 2016

Section: 18
Hours: 8

The advantage of having 2 tanks to build is that the second one is easier. The disadvantage is there is twice as much work! Today I riveted in 3 more ribs and the j-stiffener on the right tank.

Here's what I've been using for handling the ProSeal. I always have a pile of paper towel wipes about 3" x 4" ready for cleaning. I keep a paper cup of acetone half filled. I dip a paper towel wipe in the acetone and then wipe off my fingers, bucking bar, clecos, etc. as needed while working. A real key to keeping the mess from spreading is to clean after each step of assembly.  I use tooth picks for dabbing a little ProSeal in each hole before inserting a rivet. The q-tips come in handy for cleaning and for dabbing on extra ProSeal on each rivet head. I use popsicle sticks for mixing and spreading / buttering the ribs and for applying fillets where needed. I do all my mixing in paper bowls. The gram scale is very accurate for measuring the A and B parts in the 10:1 proportion required.
I wrote a little program to help with the weights and measures on the GraphNCalc83 app running on my iPhone ( https://itunes.apple.com/us/app/graphncalc83/id744882019?mt=8 ). To start a new batch of ProSeal, I first weigh the paper bowl and enter the Tare weight (typically 10 grams, but can vary bowl to bowl). Then I add the white part A of the ProSeal to the paper bowl and weigh the result and input it to the program Tare+A prompt. The program then calculates the total weight after adding the appropriate amount of part B. I set the scale to the calculated total and add the black part B until the scale balances. This may seem like over kill for a simple calculation, but it works really well, especially after breathing ProSeal fumes for several hours. The calculator doesn't lie :-)

I've been using about 30 grams of ProSeal for each rib. That is sufficient for buttering the flanges and dabbing an extra coat on the shop heads with some excess left over. I think an advantage of doing wet riveting is that you can use less ProSeal and still get good squeeze out and a good seal. I'm still working off the 1st quart can of ProSeal with 2 tanks nearly finished. I may finish up the whole job with just 1 quart.

Here is the outboard rib immediately after buttering and inserting it into the skin with some clecos. You can see some squeeze out is already occurring and the ends of the rivets I've inserted have a dab of ProSeal on the ends (which gets all over the bucking bar and makes a big mess...).

Here's the squeeze out on the inside after just clecoing.

Here I've inserted rivets in the holes between the clecos and I'm about ready to start riveting. Before inserting each rivet, I dab a little ProSeal with a toothpick in the hole to make sure the rivet gets sealed.

Here's the end result after riveting and dabbing ProSeal on each of the shop heads.

I added ProSeal on the inside to form a 3/8" fillet (end ribs only).

After putting in the ribs, I added the j-stiffener. Again, I enlisted Deb to help me insert the stiffener to minimize the mess.

Here I am dabbing ProSeal on each rivet of the j-stiffener. You just have to be patient and keep at it. The tanks have a lot more detail work that must be done right or you will end up with leaky tanks. The tanks on my Mooney have started leaking after 48 years of service so I'm a little sensitive about leaking fuel tanks- I'm happy to put in the extra work now to avoid fuel leaks in the future (not that I'm going to be flying 48 years from now)...

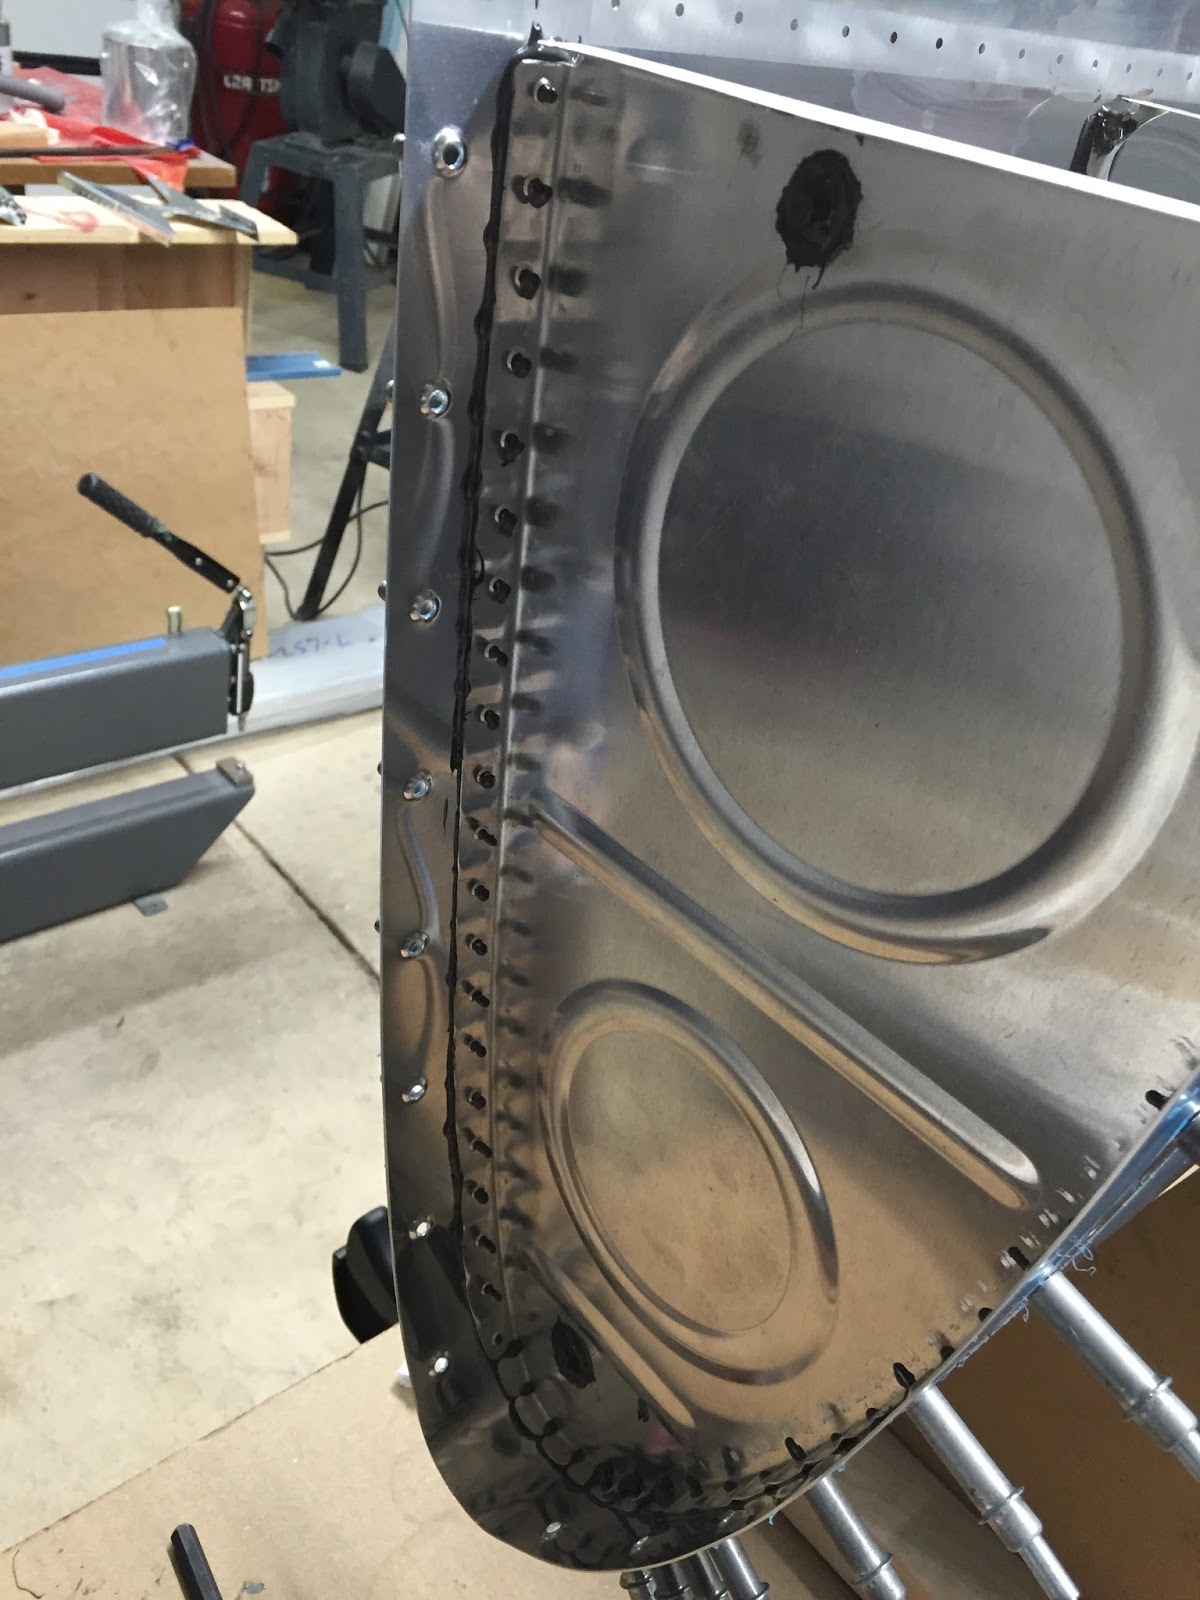
Here's one of the ribs in the middle of the tank showing the squeeze out and rivet head sealing.

The right  tank is almost done. The end of ProSeal mess is nearing- just another couple days of work.

Sunday, January 10, 2016

Section: 18
Hours: 8

I added nut plates to the inboard end of the left tank and then set it aside to let the ProSeal cure. I plan to water test it before adding the rear baffle, but I'll wait a couple weeks. It's much easier to repair leaks before the tank is closed up.

Next I launched into the right tank. I was able to rivet in the inboard nose rib and 3 of the regular ribs.
As with the left tank, you start with the inboard rib and work your way to the other end, one rib at a time. I temporarily clecoed in the outboard rib to help hold the shape and make the skin slightly more rigid while working on the other ribs.

Inside of the inboard nose rib with ProSeal fillet applied.

At the end of the day I had 3 more ribs riveted into the right tank. It's a slow process...

Outside of tank after wiping off the excess ProSeal.

Saturday, January 9, 2016

Section: 18
Hours: 8

I started out today by riveting in the j-channel. It's a little tricky buttering it with ProSeal and inserting it into the tank without making a big mess because it has to be slid in from the end of the tank. I enlisted Deb to help me and together we were able to maneuver the stiffener into the tank with minimum mess.
j-channel after riveting and touching up the shop heads with a dab of ProSeal.

Today I practiced cutting and flaring aluminum tubing before fabricating the gas tank vent line. I had ordered a pipe cutter and flaring tool late last year and they arrived last week just in time for today's project.
All the DIY articles I've read say you need to practice with the flaring tool. They were right- it is tricky learning how far to insert the tubing and when to stop twisting in. I went through 7 tries before I felt like I was getting the hang of it.

Here's the flare I put on the vent tube.

The vent tube runs the length of the tank and ends 1/4" from the outboard rib just past the gas cap flange. I hand bent the soft aluminum tubing to go through the lug on the gas cap flange. The manual shows the vent making a straight run through the lug, but I bent it to place the end a little closer to the highest point in the tank (unless the RV is in inverted flight...).

After installing the vent line, I riveted in the attach bracket and the upper portion of the end rib.

The AD4 rivets that go through the attach bracket and the flanges of the upper and lower end rib pieces ended up being the hardest task today. I couldn't reach the rivets with the squeezer so I had to use the bucking bar and rivet gun. To make it even more fun, I had to use the bent stick on the rivet gun because the rivets are close to the rib. Also, there were minimal clearances on the shop side in the corners and around where the #6 rivet that plugs up the registration hole sits. To get the corner rivets I used my thin tungsten bucking bar. I boosted up the air pressure to slightly over 60 psi to set these rivets. Did I mention that in addition to all the above challenges there was gobs of ProSeal oozing out of every crevice and gumming up the works.

Here's the end rib and attach bracket after setting the rivets and adding a generous 3/8" fillet.

Several builder's have reported getting leaks from the corners underneath the attach bracket. Before inserting the attach bracket I dabbed some extra ProSeal in the corners where the bracket meets the tank skin. After riveting in the attach bracket, I reached under the bracket and dabbed some more ProSeal into the corners for good measure. Here I'm checking the result using my inspection mirror.

All the ribs and stiffeners are now in riveted in.

I put a protective layer of cardboard on my work table to catch the drips of ProSeal. The other work bench has the scale, acetone, mixing supplies and construction manual.


Friday, January 8, 2016

Section: 18
Hours: 8.5

I put in a long day and riveted most of the ribs into the left tank.

Rib flange buttered with ProSeal and ready for installation.

Typical cleco after inserting the buttered rib. More clecos in the nose area to ensure alignment of individual flange tabs.

I use a tooth pick to spread the ProSeal on the skin before inserting a rivet.

Inserting rivets is a little more challenging wearing latex gloves.

I only partially insert the rivet using my fingers and then seat it using my pin punch. This keeps the gloves from getting sticky with ProSeal.

Riveting with gloves and wet ProSeal takes more diligence. Both the rivet gun and bucking bar can easily slide on the wet ProSeal so you need to have a firm grip and go slow.

Typical rib after riveting, smoothing out the bead and dabbing extra ProSeal on the rivet heads.

I move heavily buttered the end rib with ProSeal to leave a larger bead.

I added extra ProSeal in the nose area of the end rib to form a 3/8" bead using a popsicle stick.

Progress! 5 ribs installed today.

Thursday, January 7, 2016

Section: 18
Hours: 4

I've been procrastinating the last couple days.  I can't say I've been enjoying working with the ProSeal and it's been really cold in the garage. I decided to spend some quality time outside away from noxious chemical smells.
Fresh pow- whoopee!!!

Today I got back to it. I riveted in 2 1/2 ribs to the left tank. I had been debating using the fay sealing vs wet riveting method and after riveting the stiffeners I decided to try wet riveting. The official construction manual specifies wet riveting so what could go wrong?

I decided to mix up a fresh batch for each rib so I would have maximum working time before the ProSeal starts getting stiff. ProSeal wets out and squeezes down much better within the first 30 - 40 minutes after mixing. It takes about 20 minutes to mix up a batch and butter a rib. It then takes another 10 - 15 minutes to insert the rib and get the holes lined up and clecoed. At this point in the cure, the clecos squeeze out some of the ProSeal, but not as much as the riveting does. If I was fay sealing, I would stop after clecoing and rivet tomorrow after the ProSeal has set up a little. It seems to me that that would leave too thick a layer of ProSeal between the rib and the skin and it wouldn't necessarily squeeze out any air bubbles or voids. If you shoot the rivets immediately, a significant amount of additional ProSeal gets squeezed out leaving a nice bead around both sides of the rib.

Today it took me about 45 minutes to insert rivets and set them. In the end, each rib was taking 1.5 to 2 hours. I think I will be able to speed the process up as I gain more experience. I was glad that I already had experience building the outboard leading edges - I learned how to set the tricky rivets in the nose area on a dry assembly. Today I didn't have to drill out any rivets. What a mess that would be...

Here's a row of rivets after wet riveting. You can tell each head is backed with ProSeal because of the excess that squeezes out around each head.

Here is what the rivets look like after wiping off the excess ProSeal with a slightly dampened with acetone paper towel.


Here's the typical squeeze out immediately after riveting.

After riveting, I touch up the edge with ProSeal and make sure the tabs with rivets in the nose area are adequately sealed up.

The end rib must be sealed with a 3/8" radius fillet of ProSeal. A popsicle stick worked well for working in the additional ProSeal to form the fillet.

Here's the outside of the tip rib after dabbing sealant on the rivet heads.

I was able to finish 2 1/2 ribs today. Now that I know what I'm doing, hopefully the rest of the ribs will go faster.