Monday, October 31, 2016

Section: 33
Hours: 4

Today was just painful :-( I spent all day screwing in 4 bolts!!!!

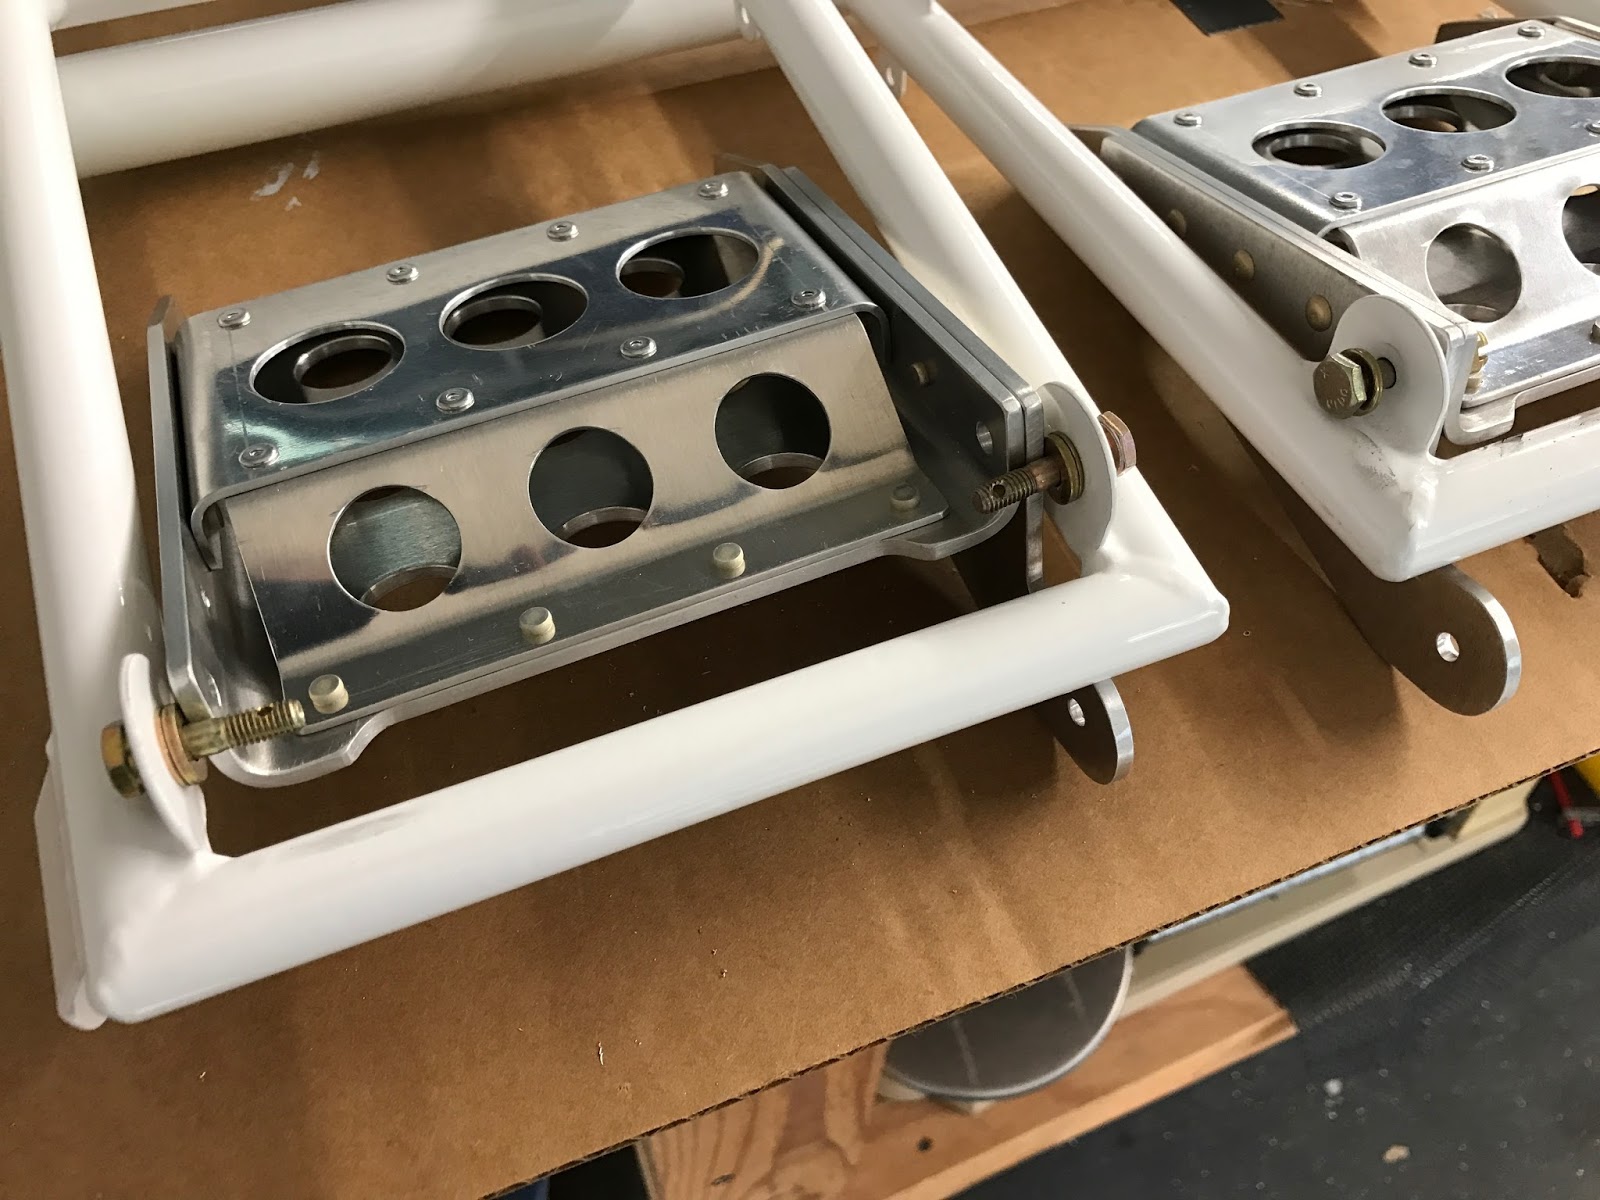
I threaded the rudder cables from the tail cone forward under the baggage floor and then up to the rudder pedals. A polyethylene sheath on the cables must be fastened to the side of the tunnel to prevent the cable from rubbing on the carry though spar. Four cushioned clamps are provided which are held on by a bolt and nut through the tunnel wall.

Here's one of the clamps positioned on the sheath next to the tunnel wall. I was able to insert the bolt through the clamp and tunnel wall but then I could not get the nut on the end of the bolt because there is not enough space to fit my fingers in. After dropping the nut way too many times and spending a lot of time searching for the nut, I called in Deb to try- she has much smaller hands. She gave up after 20 minutes of trying. I knocked off and went to lunch to think it over...

After lunch I came up with the idea of using a small strip of masking tape wrapped around the nut to wedge it securely into the end of my wrench.

I was then able to maneuver the wrench into position to thread the nut onto the bolt.

I was able to reach the bolt head using a long socket in my fingers. Between the wrench and the long socket I was able to FINALLY get the bolts installed.

You can just make out the 2 bolts with nuts installed in the middle of this picture. There is just no accounting for how long a job like this will take. I looked at the plans this morning and though it would be a 30 minute job- but it ended up taking 4+ hours. And people wonder why it takes years to complete a homebuilt airplane...

Sunday, October 30, 2016

Section: 33
Hours: 4

I was debating about upgrading to the stainless braided brake hose kit from Aircraft Specialty but in the end decided to use the plastic tubing provided with the kit. The lines should be protected from abuse inside the fuselage and I think it is a plus to have translucent tubing so you can visually check for bubbles in the break fluid. I am planning to use stainless braided hoses from the firewall, down the gear legs to the brakes.

Today I mounted the rudder pedal / brake pedal assembly to the fuselage and installed the hydraulic plumbing lines. I also mounted the brake fluid reservoir on the front of the firewall. For the time being, I mounted the pedals in the middle position since I have average length legs. You can adjust the pedals forward or back by unbolting the supports and using the other holes predrilled in the supporting structure. Probably won't be an easy job to do once the top forward fuselage assembly is added...


Saturday, October 29, 2016

Section: 33
Hours: 4

The brake lines for the tail dragger version of the RV-14 go though the firewall to reach the gear legs. The firewall as provided does not have the required holes so I laid them out and drilled them using a step drill. The step drill I had been using up till now would not cut a large enough hole so I made a trip to Harbor Freight and bought a set of larger step drill bits for the job.

I applied a layer of ProSeal under the through hole flanges and riveted them in place.

The rest of the day was spent assembling the master cylinders to the break pedals. I also drilled holes in the support blocks and cut the center blocks in half. Everything is ready for installation in the airplane tomorrow.

Friday, October 28, 2016

Section: 33
Hours: 4

Assembling the break pedals to the rudder pedal frames was a fiddly job. I played around with different combinations of washers trying to get a snug but freely moving fit. After a couple hours of trial and error, I stumbled on the solution. The fit is dependent on how well the break pedal mounting tabs were welded and aligned to the frame. The manual suggests using a soft mallet to beat the tabs into submission but I quickly discovered that was a rather brut force method. I ended up using my duck bill pliers which yielded a more repeatable result. I used a square and the pliers to bend the tabs to close to the required 90 degree angle to the frame and then tested the fit to the brake pedal. If it was too loose or tight, I made slight adjustments with the pliers until the friction / fit was perfect. I ended up using the same combination of washers for all the pedals and they all now freely move with gravity with little wobble.

To assemble the pedals I figured out the following method worked really well:

• Slide the bolts into the tab holes and add the washers.
• Then slide the pedal between the washers until it just touched the bolts. If the fit is obviously too tight or loose, adjust the tabs with the pliers.
• Next slide the bolts out just enough to hold the washers in place and move the pedals in until you can slide the bolts though.

I wish I had figured out this method several hours ago...

Here's how I bent the cotter pin to hold the castle nut secure.

I didn't have any Aeroshell #5 grease so I substituted this grease for lubricating the bearing surfaces of the bolts.

Thursday, October 27, 2016

Section: 33
Hours: 3

After looking at the brake pedals in multiple built RV's I decided to leave my pedals bar metal rather than painting them. Obviously the pedals get lots of wear and from what I've seen, paint just wears off of them leaving bare metal in the end with an ugly used look. The planes that I saw that had left the pedals unpainted looked much better after use.


Most of the rivets in the pedals are reachable by the squeezer, however, the backs are pull riveted.

Wednesday, October 26, 2016

Section: 32
Hours: 7

Today was a perfect day for painting. The sky was blue, there was no wind and the temperatures this afternoon were in the mid 70's. I moved the fuselage out of the garage onto the driveway and finished prepping for painting in the morning. I rubbed all the primer down with maroon scotch brite pads. A couple rough areas I sanded down with 320 grit sand paper. Then I vacuumed up all the dust and blew all the surfaces with compressed air. I used lint free rags lightly wetted with 90% rubbing alcohol to wipe down all the surfaces to get rid of any remaining dust and debris. Then I poured out 5 oz. of EkoCrylic, catalyzed it, waited 10 minutes and then diluted it with water.

I set the air pressure down to 20-25 psi and set up the gun to put out a light mist and went to work. It turns out that painting the interior is a rather complicated spraying job. There are a lot of nooks and crannies to get into and it is difficult to get the gun into position without dragging the hose through wet paint. I was able to apply 2 fog coats to the entire cockpit area with the initial batch of paint.

I then mixed up another 5 oz. of EkoCrylic and started the wet coat. I cracked the paint flow nob on the gun about 3/4 turn from what I used for the fog coats. I ran out of paint about half way though wet coating and had to mix up another 5 oz. The paint ran in a couple places because I couldn't see how much paint was going on under the arm rest and behind some of the structural pieces. I wiped up the runs and shot some more paint over the areas and it cleaned up nicely.

This was a much more complicated painting job than any that were demonstrated in the Stewart Systems videos because of painting inside all the tight areas. The paint turned out ok, but I wasn't able to achieve as smooth a finish as I did with the last 2 cover plates from a couple days ago. I wouldn't have been able to do the job without the rotisserie mount! The only way I could maneuver the hose and reach a lot of areas was to tilt the fuselage over 45 degrees to one side or the other.

I took the following couple pictures on the driveway just after the wet coat. The LPHV spray gun doesn't generate much overspray, the pavement was clean after I was done. Still, I'm glad I didn't have to paint inside the garage.


I moved the fuselage back into the garage and let the paint cure for a couple hours. After dinner I removed the masking. The paint was just a little soft and slightly tacky to the touch, but the masking came off easily leaving nice sharp lines where I used tape.


I used one quart of EkoCrylic "Dawn Patrol Gray" to paint all the parts shown below. I will have to order another quart to paint the roll bar, cabin rear closure and seat backs and any other parts yet to be added to the interior.

The learning curve to figure out how to apply the Stewart Systems EkoCrylic was way too steep and I was really afraid of messing up the cabin. I think the paint turned out fine and Debbie likes the color so all is good. Its a huge relief to get this major painting job done!

Monday, October 24, 2016

Section: 32
Hours: 4

I had problems applying the Stewart Systems EkoCrylic paint to the first batch of parts so I wasn't feeling too comfortable about jumping into painting the cockpit until I can refine my spray technique. I watched the Stewart Systems videos again to pick up further technique. Today I mixed up a small amount of paint and painted 2 small cover plates. I worked on getting the air pressure and spray gun adjusted to lay down a better fog coat. I backed off the pressure to the recommended 21 psi and adjusted the gun to barely put out any paint.

Here is a close up of the cover plate after the application of 2 fog coats with 10 minutes between coats. I adjusted the spay to generate as fine a mist as possible. As you can see, even with a fine mist, you end up with the mist conglomerating into larger wetted spots after the fog coat. I guess it must be a surface tension thing having to do with using a water borne paint.

Here's the cover plates after the 2nd fog coat. I waited another 10 minutes after this picture and checked the tack before painting the final wet coat. After 10 minutes I touched the paint and it was indeed tacky/ sticky but no longer wet.

Here are the cover plates after the final wet out coat. I got much better flow out today and almost no orange peel. It really helped to apply 2 fog coats before applying the final coat.

Saturday, October 22, 2016

Section: 32
Hours: 7

I masked off the cockpit area in preparation for painting. I decided to leave the stainless steel firewall bare to make attaching insulation easier in the future. I used corrugated cardboard cut to size and attached with plastic tie wraps through the nut plates where I could. I discovered that you don't need to close the tie wrap, the friction of pulling it through a nut plate is enough to hold it in place. I threaded the tie wrap through a hole in the cardboard and then up through the nut plate. Then I trimmed the excess tie wrap. I used short lengths of 1/8" wood dowel plugs to mask all the screw holes so I wouldn't have to worry about gummed up threads.


Tuesday, October 11, 2016

Section: 37
Hours: 5

Today was riveting day. I clecoed the strapping bands to the forward frame assembly and set the solid rivets using the squeezer. Flush rivets on the top and regular rivets on the bottom flange.

I made the counter sinks slightly deep to account for the curvature of the frames and also to ensure rivet heads would not impinge on the plexi glass.

Then I riveted the bushing doublers to the aft frame assembly.


Then more clecoing to attach the two frames. Care was taken to ensure the assembled frames were flat with no twist.

And then I used the pneumatic rivet puller to shoot the pull rivets joining the frames together. (Glad I bought the pneumatic puller). The bags of pull rivets are getting pretty empty - I must be getting close to the end of riveting.


Monday, October 10, 2016

Section: 37
Hours: 4

Today I clecoed and drilled. The roll bar frame is held together with an inner and outer strap bar that. All the holes are pre punched #40 and have to be carefully drilled out to #30. I started by rolling the strapping bars on the edge of the bench to get them to conform to the curves of the frames. The manual advises to take care to not kink the bend- the straps are susceptible to kinking at the hole locations. I slightly under bent the straps to avoid kinking.

Next I inserted the straps and clecoed all the holes, keeping the straps tight to the inside lip of the frames. I used almost all of my #40 clecos. Then I removed one cleco at a time, drilled the hole out to #30 and replaced with a #30 cleco. This was a very labor intensive operation - there are 114 holes. Then I deburred all the holes and counter sank all the holes on the top surface for flush rivets.

Sunday, October 9, 2016

Section: 37
Hours: 3

Yesterday we went to San Francisco for fleet week with Woody. While we were enjoying lunch at a sidewalk cafe, the F-22 Raptor flew over making a huge racket and terrified Woody. He sat out the rest of the air show back in the apartment with his paws over his ears. The Blue Angles buzzed the city with their performance. They fly too fast- they make a pass over show center and then disappear for minutes at a time before they can turn around and make another pass.

I riveted the roll bar sections together.


Wednesday, October 5, 2016

Section: 42
Hours: 4

Today I shot the top coat on the floor cover panels. I used my new DeVilbiss spray gun and Stewart Systems EkoCrylic Dawn Patrol Gray epoxy paint. In the last couple days I watched the YouTube videos on how to prep and shoot this painting system https://www.youtube.com/playlist?list=PLA25476026D68521C

I had already primed the parts using EkoPrime epoxy primer so today I scuffed the parts using Scotch Brite maroon pads and then blew the parts off with compressed air, followed by a wipe down with a lint free rag soaked with rubbing alcohol. I set the air pressure to the recommended setting of 20-22 psi and layed down 2 fog coats separated by 10 minutes and then applied a wet coat.


I had problems getting good atomization for the fog coat spray. I ended up with rather large droplets and I'm not sure if it is a viscosity problem or air pressure/spray gun adjustment problem. Also, since the epoxy paint uses water for thinning, it tends to bead up on the the parts rather than flow out. In revisiting the videos, I discovered that they sparingly used 90% alcohol for the final rub down. I used 70% rubbing alcohol rather generously so that may have caused some of my wet out problems.

I weighed out the resin on my gram scale. The instructions specify that you divide the weight of the resin by 3.3 to compute the amount of catalyst and divide by 3 for the water. I added the catalyst and carefully mixed them together and then added the water. I may not have waited long enough for catalytic induction before adding the water. The video recommends 10 minutes. I'll have to double check that next time. I didn't have a viscosity cup so I'm not sure what viscosity my catalyzed and thinned mixture came out to.

If you don't get the fog coat even, the wet coat does not flow evenly. I ended up with quite a bit of orange peel on the finished parts. I like that the epoxy paint seems very tough and has a nice high sheen finish, but I will have to learn how to apply it with a smoother finish. I'll try color sanding the parts I just shot, but that is a lot of work...

Tuesday, October 4, 2016

Section: 37
Hours: 4

I primed the roll over structure parts.

Saturday, October 1, 2016

Section: 37
Hours: 4

I did some more work countersinking holes and then washed/degreased the roll over parts in preparation for priming.