Showing posts with label aileron. Show all posts

Wednesday, December 2, 2015

Section: 22
Hours: 3

I riveted the bottom skin to the aileron. It only took an hour this time. I was able to use the special bucking bar for all but 2 of the rivets.

I used the same procedure to close the trailing edge - cleco the aluminum straight edge, squeeze 8 rivets, remove the straight edge, smooth out the shop heads with rivet gun and back plate, cleco the straight edge moved over 4 holes, squeeze 8 rivets, etc. until done.


Backplate and rivet gun with flat set for finishing the shop heads.

As far as I can tell both ailerons came out flat. The trailing edges match and I can't measure any warp using the digital inclinometer.

Ailerons back to back- trailing edges match up perfectly. Woody approves.

Section: 21
Hours: 3

I still had a couple hours before quitting time so I pulled out the flap parts and started work on section 21. I started by riveting the doublers and hinge brackets to the nose ribs. I tried squeezing the 3-4.5 rivets for attaching the nut plate, but could not get the rivets to set flush due to the small amount of clearance between the shop head and the rib flanges. I drilled out the rivets and back riveted them with much better results.


I used the squeezer to set remainder of the 4-4 rivets. I've been keeping the matched pairs of hinge brackets together through the priming and now assembly process.


Make sure you put the manufactured head on the rib side (inside the flanges) otherwise you will warp the ribs.


Tuesday, December 1, 2015

Section: 22
Hours: 3

I moved on to the second aileron. Second time around was a little easier.
Pull riveting the spar to the nose ribs


Here's the top skin clecoed in place and ready for riveting to the spar.

An hour later another row of rivets are done.


I finished the day by riveting the end ribs to the spar. It was just as hard to do with the second aileron, but setup time was greatly shortened since I knew what to do this time.


Monday, November 30, 2015

Section: 22
Hours: 5

I completed the first aileron. A set of rivets needs to be driven to attach the bottom skin to the spar. You start by clecoing the skin and then checking to make sure the D-box formed by the nose skin and spar does not have a twist. I had to take out about a 2 degree twist by manual manipulation before I started riveting. I had a hard time reaching between the upper and lower skins to hold a bucking bar. Luckily, I was able to reach the majority of the rivets with the special bucking bar I used on the elevators. I used the flat side of the bucking bar and leveraged it up from the edge of the table. I set a couple widely spaced rivets and checked for twist before proceeding. Everything stayed within a few tenths of a degree according to my iPhone running a bubble balance app with digital readout.

There were a couple rivets I couldn't reach with the special bucking bar because a stiffener was in the way so I spread the skins apart and squeezed my hand in. My tungsten bucking bar just fit between the rib and the spar. Slow work...
Pulling the rivets in the end ribs and nose skin to counter weight tube were the easiest part of the job today.
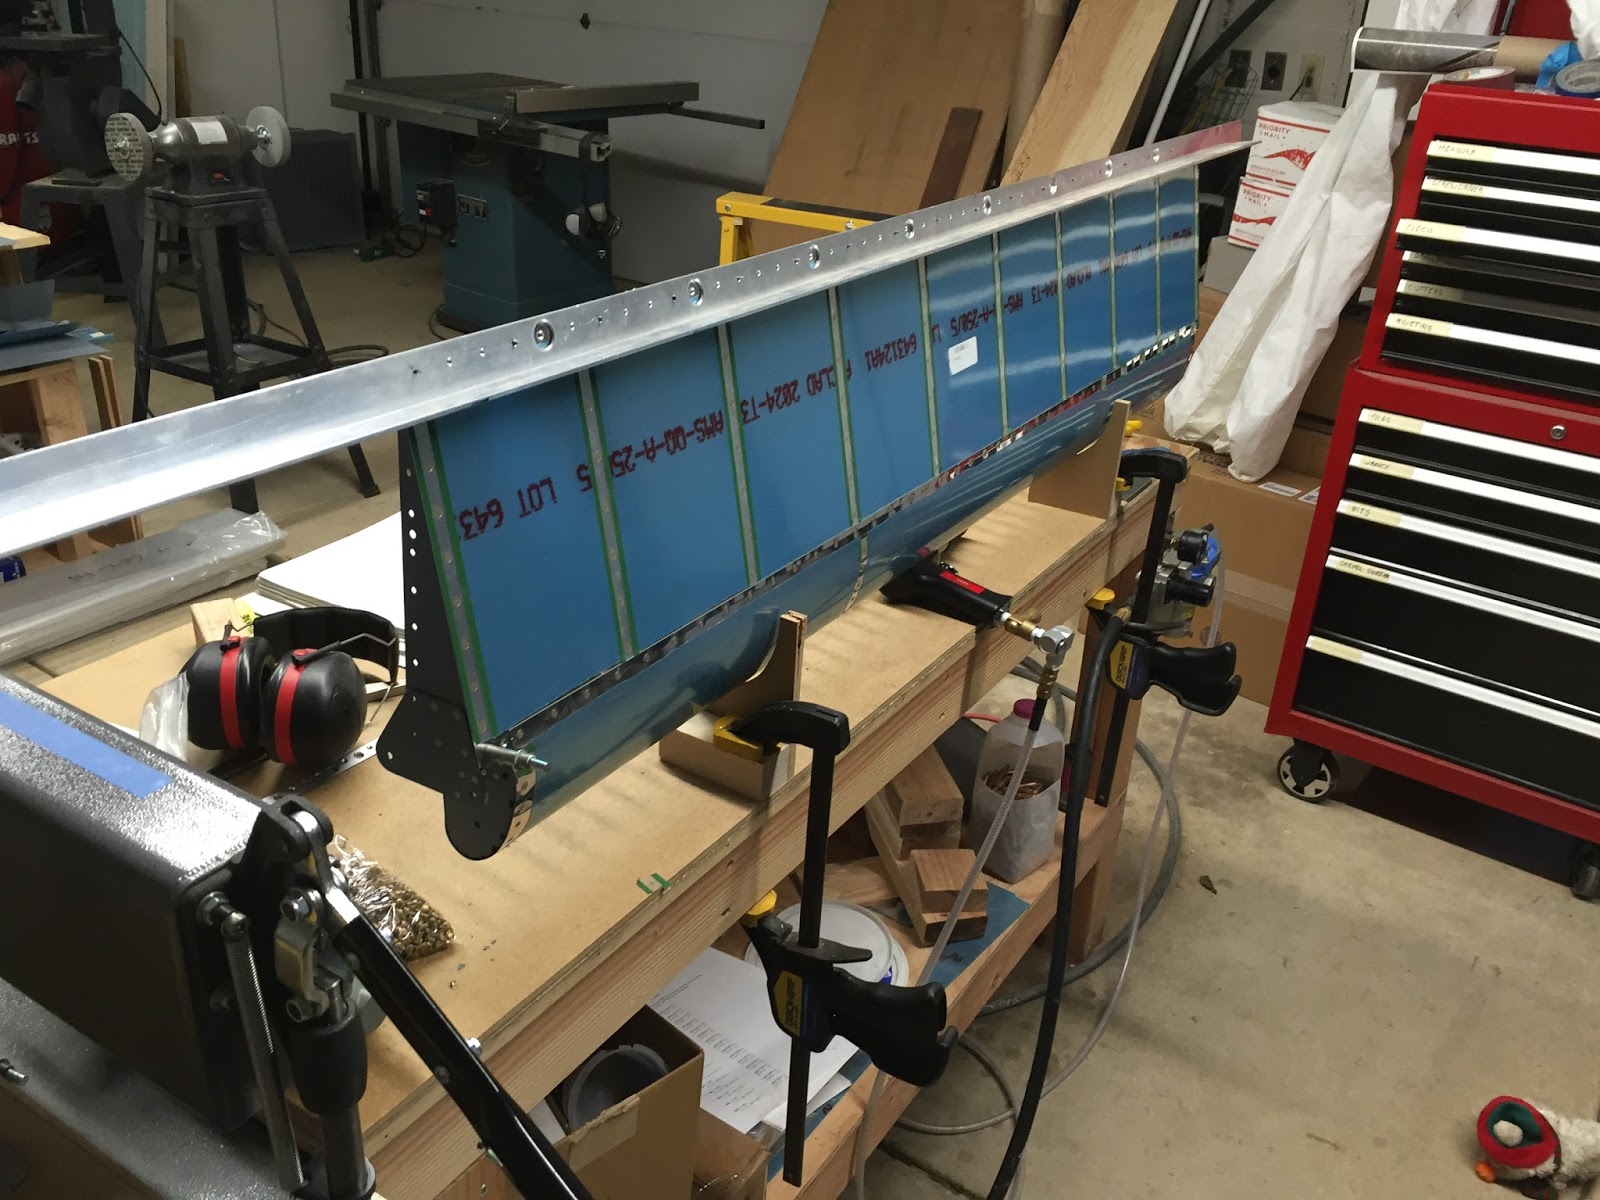
I used the 2" x 2" aluminum angle I made for the rudder to hold the trailing edge. I also held the aileron flat on the table while setting the double flush rivets in the trailing edge.  I partially set the rivets using my squeezer and then carefully finished setting the rivets using the back rivet plate and rivet gun with a flat set. I set the air pressure down to 40psi and used short bursts. I could tell the rivet was set by watching the reflection off the aluminum skin. When the reflection and the flat set met (no gap between edge of flat set and the skin) I knew the rivet was flush. You have to be very careful to hold the rivet gun exactly perpendicular to the skin and not over drive the rivet. The edge came out looking great!


Sunday, November 29, 2015

Section: 22
Hours: 3

The riveting today was a little more challenging. You have to take care with the nose ribs not to deform the curved top of the skin. The plans advise pulled rivets for the 2 holes on the tip of the nose where the largest curvature is. I was able to use the squeezer for the 5 rivets on the flat bottom of the ribs.


The spar and top skin get attached next. The skin tends to wrinkle when it is clecoed to the spar so I attached the trailing edge side of the skin to my 2" x 2" aluminum angle trailing edge guide to keep it flat while riveting to the spar.

It's a little difficult to reach the A-1005A-1 L & R Main Ribs for riveting to the spar. I used the bent stick set with a narrow tungsten bucking bar. I called it a day after setting these difficult 4-4 and 4-6 rivets without having to drill any out. I didn't want to press my luck...


Friday, November 27, 2015

Section: 22
Hours: 3

I back riveted the aileron skin stiffeners (ribs) today. Back riveting is an easy task- there's just a lot of rivets in these parts. Each skin has 10 stiffeners, each stiffener has 7 rivets = 4 * 10 * 7 = 280 rivets. About a minute and a half per rivet to insert in hole, tape, shoot, inspect.


Tuesday, November 24, 2015

Section: 22
Hours: 4

The weather turned rainy and cold so I decided to do some riveting in the warmth of the garage today. I started with the small aileron parts. I was able to reach all the rivets with the squeezer today. It's always satisfying to see the pieces go together after all the hours of filing, polishing, drilling, counter sinking, dimpling and priming. All these parts come in a left and right configuration so you have to pay attention while assembling.


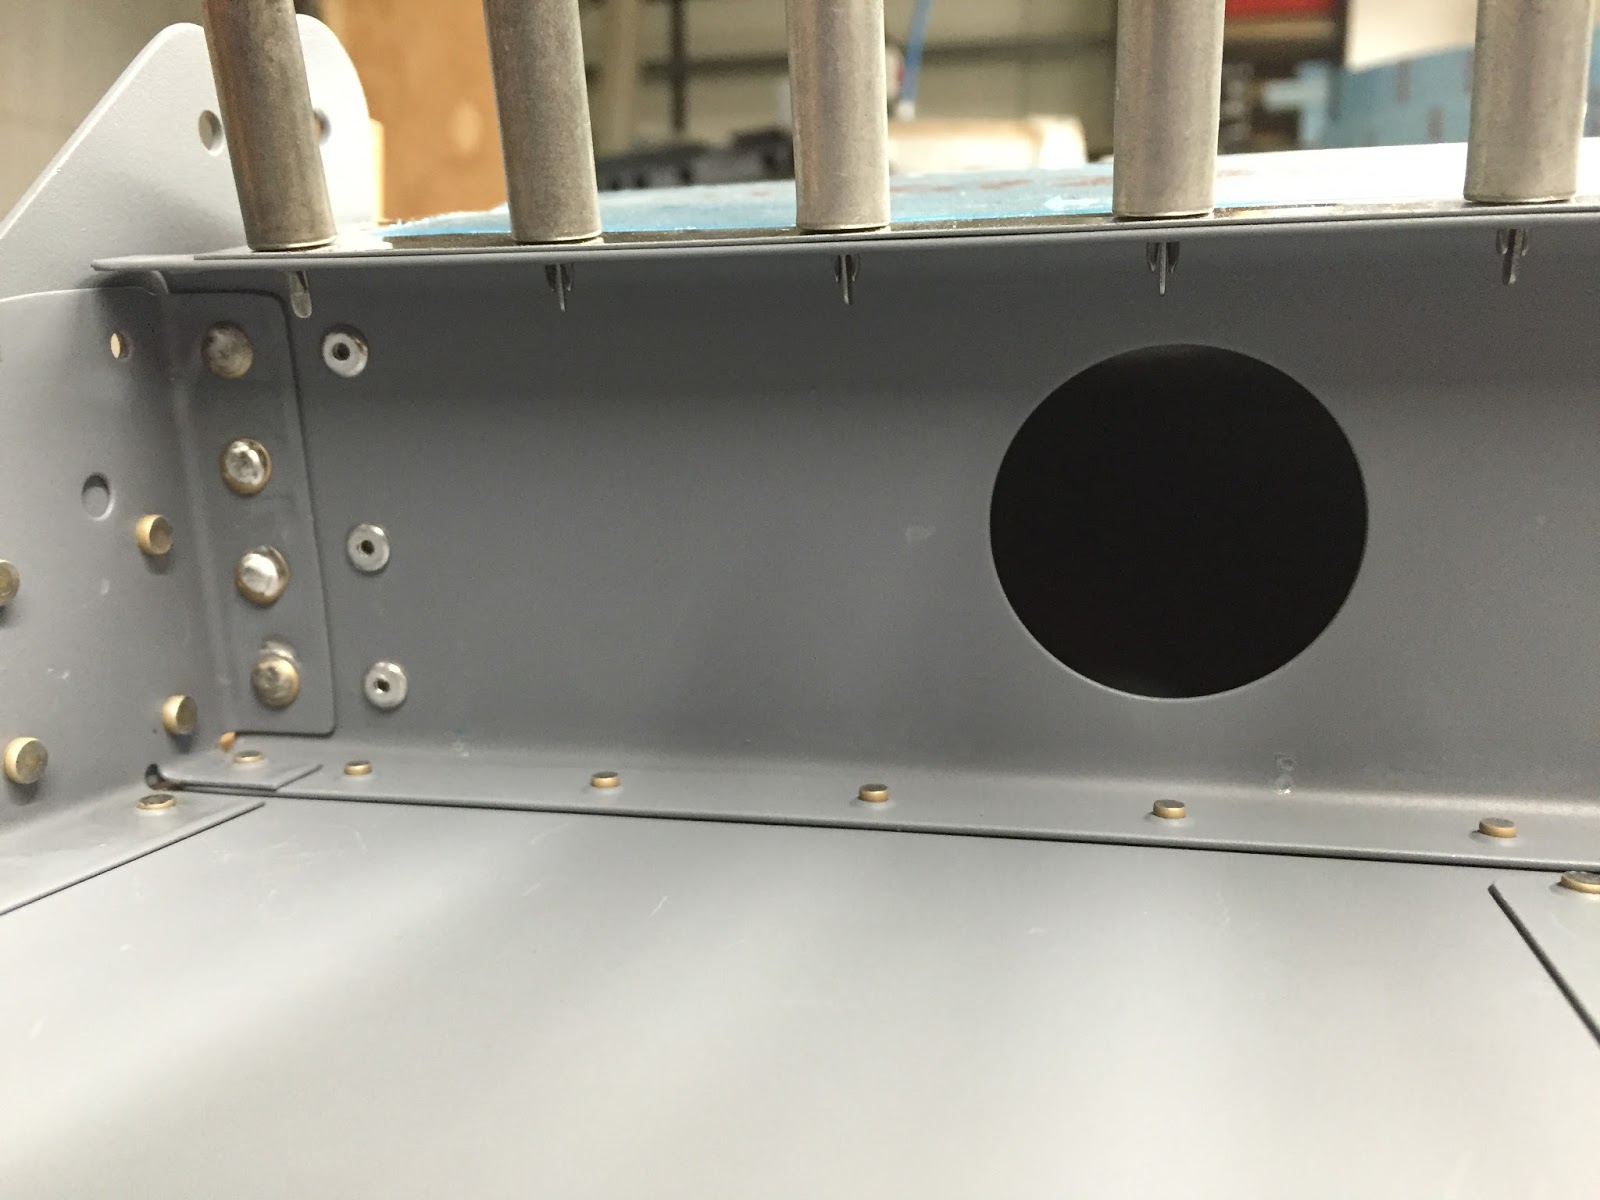
 I didn't put in enough clecos before starting the riveting on one of these and it warped after a couple rivets.  The doubler/hinge point material is much thicker than the rib but the shop head is on the rib side due to the countersinking so the rib wants to warp when you squeeze the rivet. I drilled out the last rivet, flattened the rib in the dimpler with flush dies and then added more clecos before finishing the rivets. It might have been better to start with the AD3 nut plate rivets at the top and then do the heavier AD4 rivets.


After cross referencing with the packing list I found the hardware for attaching the ribs to the stainless steel tubing counter weights. It is a little tricky tightening down this hardware- I found a right angle philips head in my tool kit which saved the day. I left the screws a little loose. I plan to torque them down after attaching the ribs to the spar to make sure everything aligns properly.


I leave the blue protective covering on the skins until either I prime or rivet. I leave it on for dimpling which eliminates the scratching problem from moving the skins around the dimpling die. Stripping the blue plastic protective coating from the rivet lines always takes longer than I think it should. I'm going to have to find a hotter soldering iron so I can move faster. All the aileron skins are ready to flush rivet the ribs.  I loaded up the first skin with rivets and taped them down with rivet tape. I'm all ready to pound out a serious number of rivets next building session. These skins take AD3-3's which are the smallest rivets I've used so far in the construction. The empennage skins used AD3-3.5's.