Section: 21
Hours: 7.5
Lots of rivets were set today, both solid and pulled. I spent the first half of the day riveting the top skin of the flap to the spar. To start I shot the 3-4.5 rivets that are set where the ribs come into the spar. Since clecoes were in the way, I used my small titanium bucking bar to reach into the rib to set these first couple rivets.
It took me a couple tries to get a properly set rivet at the end of the flap. It was hard to get the skin to pull in and get the rivet flush. I gave up on bucking and went to the squeezer with the rubber washer to finally get a good rivet with all the layers pulled tight together.
The rest of the rivets were 3-3.5's and were easy to set. Here's the top skin to spar rivet line.
Next I riveted the top skin to the ribs. I did the rivet closest to the spar for each rib, then I did the next one out for each rib, etc. I did it in this order to make sure I didn't get oil canning and also to make sure the skin stretching went towards the trailing edge. Seemed to work. It was hard shooting the aft most rivets because there isn't much support that far out from the spar. I had to drill out several and try again.
The engineers at Van's cleverly cut reliefs in in the rib flange so you can back rivet the 2 rearmost skin rivets. I don't think I could have set them using a bucking bar. This afternoon at lunch I looked through the RV-6 review plans that I purchased back in 1998 when I was originally going to build an RV. It's really amazing how much better the RV-14 is than the RV-6. I'm glad I waited! Some things improve with age :-)
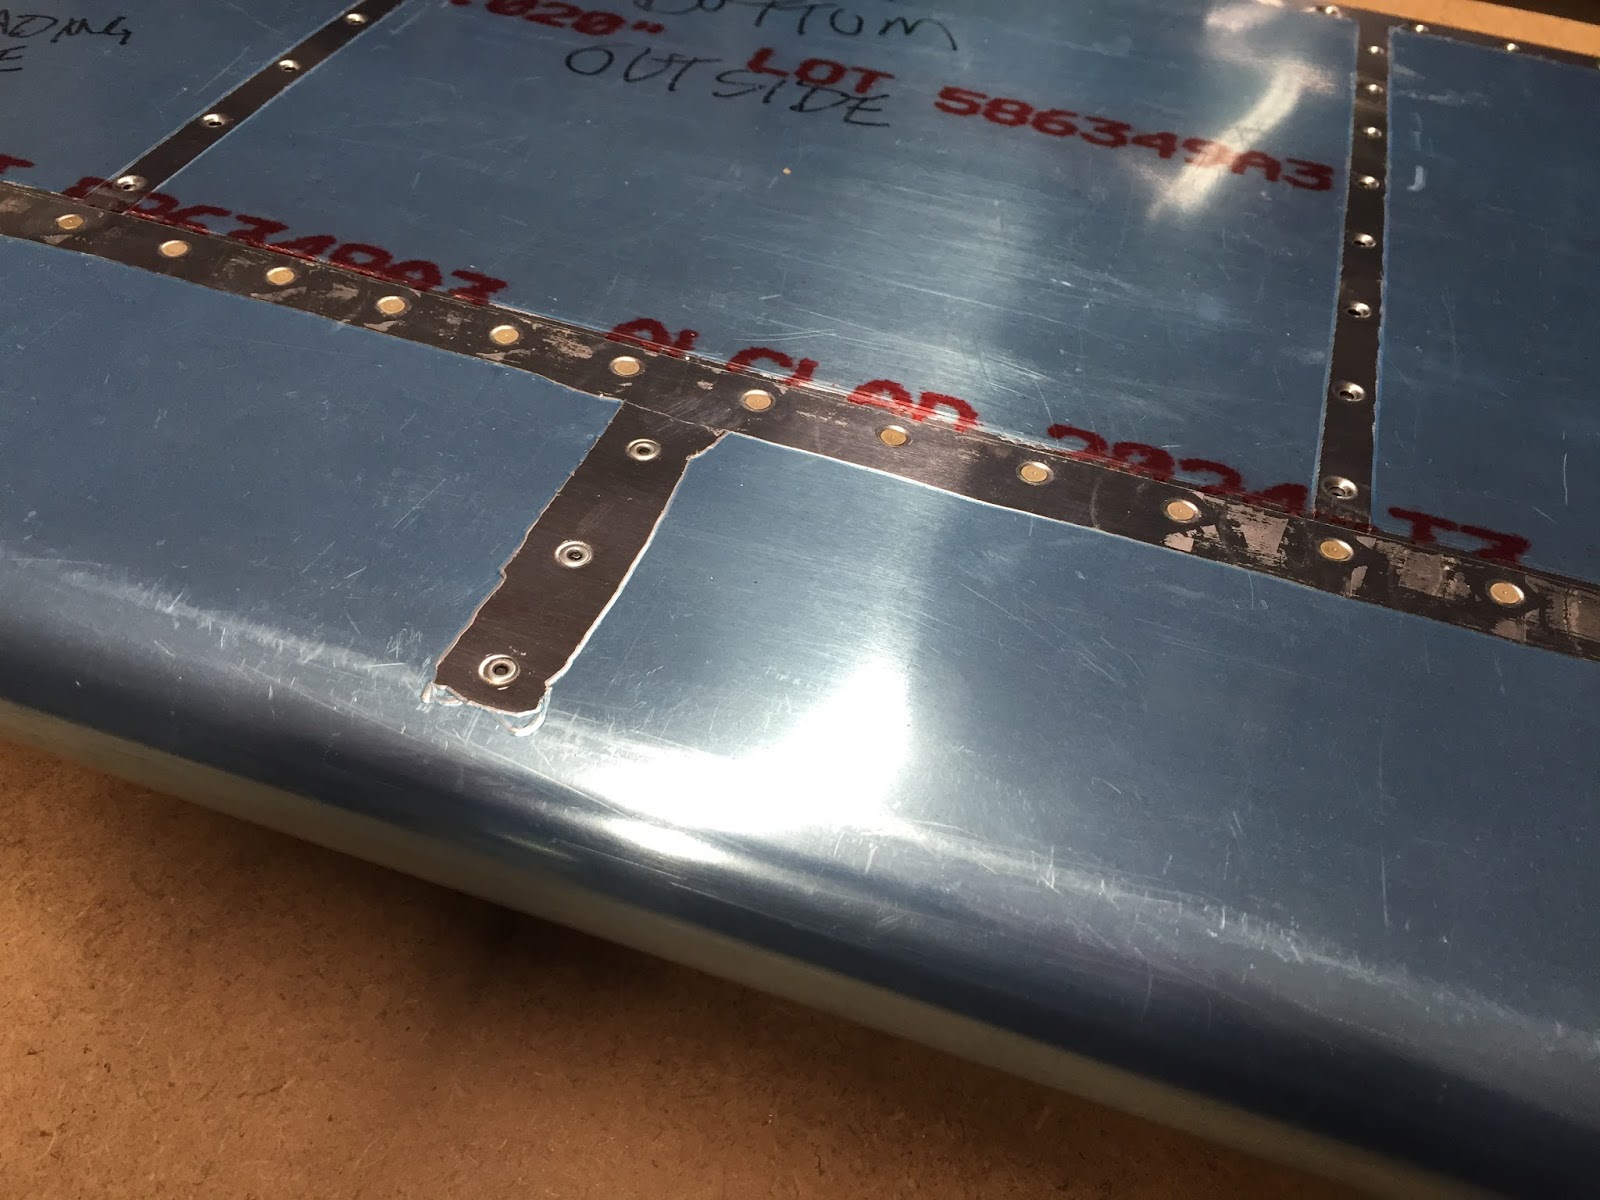
Next I attached the bottom skin and shot the rivets that attach it to the spar. After clecoing the skin on, I measured the angle of the hinge braces to make sure there was no twist in the D tube leading edge section. They measured within a couple 1/10ths of a degree so I proceeded. The plans have you do the riveting while the flap is upright in the jigs. I found it was much easier to lay the flap down on the table and clamp it down so it wouldn't move around. This holds it flat and makes it very stable while riveting so you can't accidentally add twist.
I was going to use the special long bucking bar from the elevator, but I could not reach the 3-4.5 rivets under the ribs. I ended up squeezing my hand and arm in with my titanium bucking bar and that actually worked pretty well. I had just the right amount of edge break in the nose skin to allow it to pull down very nicely with no gaps.
Luckily I had read through the wing section a month ago and ordered all the special tools that were called out. Today I used the 6" long #33 drill bit that was needed to enlarge the holes for the rivets that attach the nose ribs. It turns out it's tough to reach the holes next to the flap hinge braces without it.
I spent the remainder of the afternoon pulling a bunch of rivets to attach the nose ribs to the nose skin. I felt like I was building a Sonex there for awhile :-)
Those pulled rivets sure are ugly! Maybe I can fix them up with some filler when it is time for paint.
I was able to use solid rivets on the open ends of the flap.
The next step is to clean and insert the trailing edge wedge. My plan was to do the cleanup, adhesive tape the trailing edge, cleco the whole assembly and let it set over night to allow the adhesive to cure. Then I realized I hadn't counter sunk the trailing edge wedge yet, so I called it a day.


No comments:
Post a Comment