Section: 26
Hours: 8.5
Today was a long day. I washed, acid etched and then primed the rest of the parts for section 26. Last week I looked at my neighbor's Bearcat project. He's using EkoPrime to prime all his parts (the same as I'm using). I noticed his prime coat was nice and smooth and asked him how he does it. He said the key is thinning the EkoPrime with distilled water. I've been shooting paint straight out of the can, which worked well in cooler weather, but my last couple batches have been coming out with a rougher finish. Today I thinned out the primer about 10% and it shot much smoother. I also discovered that the main orifice on my gun had gotten clogged with built up paint. I thoroughly cleaned the gun and got a much better spray pattern. Between the thinning and cleaner gun the painting part of the project today went much faster. Now if I could just figure out how to speed up the washing and acid etch scrub I'd be a happy camper :-)
Disclaimer: This blog is to provide others insight into my experience and for my own historical purposes. Airplane construction is a serious affair. I have no authoritative skills relating to airplane construction. As such, any use of the information contained on this blog is at your own risk.
Monday, June 13, 2016
Sunday, June 12, 2016
Section: 26
Hours: 5
I continued prepping parts for this section. It's amazing how many small parts there are in the fuselage! Each part gets edges filed and polished on the 3M wheel. Holes are deburred and possibly dimpled. A careful reading of the plans is required to figure out which holes to dimple and which to leave flat. I am finding it is better to group this work together because it is more efficient to wash, acid etch and prime a lot of parts together due to the set up and clean up time for using the spray gun.
Wednesday, June 8, 2016
Section: 26
Hours: 7
Today I spent prepping parts, including dimpling the center bottom skin. I spent most of the afternoon dimpling the bottom skins. Initially I couldn't tell which side of the skin was the bottom. 99% of the holes are symmetric. It turns out that there are several drain holes on one side that aren't duplicated on the other side. The drain holes are shown on page 26-11 and labeled with "do not dimple" and they go on the right side of the center line. This allowed me to orient the skin and figure out which side was the bottom for dimpling.
Hours: 7
Today I spent prepping parts, including dimpling the center bottom skin. I spent most of the afternoon dimpling the bottom skins. Initially I couldn't tell which side of the skin was the bottom. 99% of the holes are symmetric. It turns out that there are several drain holes on one side that aren't duplicated on the other side. The drain holes are shown on page 26-11 and labeled with "do not dimple" and they go on the right side of the center line. This allowed me to orient the skin and figure out which side was the bottom for dimpling.
Tuesday, June 7, 2016
Section: 25
Hours: 2
I had put off finishing the bulkhead bottom channel because the plans call out to use "temporary nuts" on the bolts. The order of temporary hardware from Aircraft Spruce arrived late yesterday so I was able to complete the work on the bottom channel this morning. Each hole was reamed out by pulling the reamer through the hole from the back and the bolts were torqued down to book values using the temporary nuts that will be discarded later.
Here's the bolted up bulkhead bottom channel.
Section: 26
Hours: 5
I'm back to prepping parts for the next section. Lots of filing, grinding, polishing, deburring, dimpling, etc.
Hours: 2
I had put off finishing the bulkhead bottom channel because the plans call out to use "temporary nuts" on the bolts. The order of temporary hardware from Aircraft Spruce arrived late yesterday so I was able to complete the work on the bottom channel this morning. Each hole was reamed out by pulling the reamer through the hole from the back and the bolts were torqued down to book values using the temporary nuts that will be discarded later.
Here's the bolted up bulkhead bottom channel.
Section: 26
Hours: 5
I'm back to prepping parts for the next section. Lots of filing, grinding, polishing, deburring, dimpling, etc.
Monday, June 6, 2016
Section: 25
Hours: 3
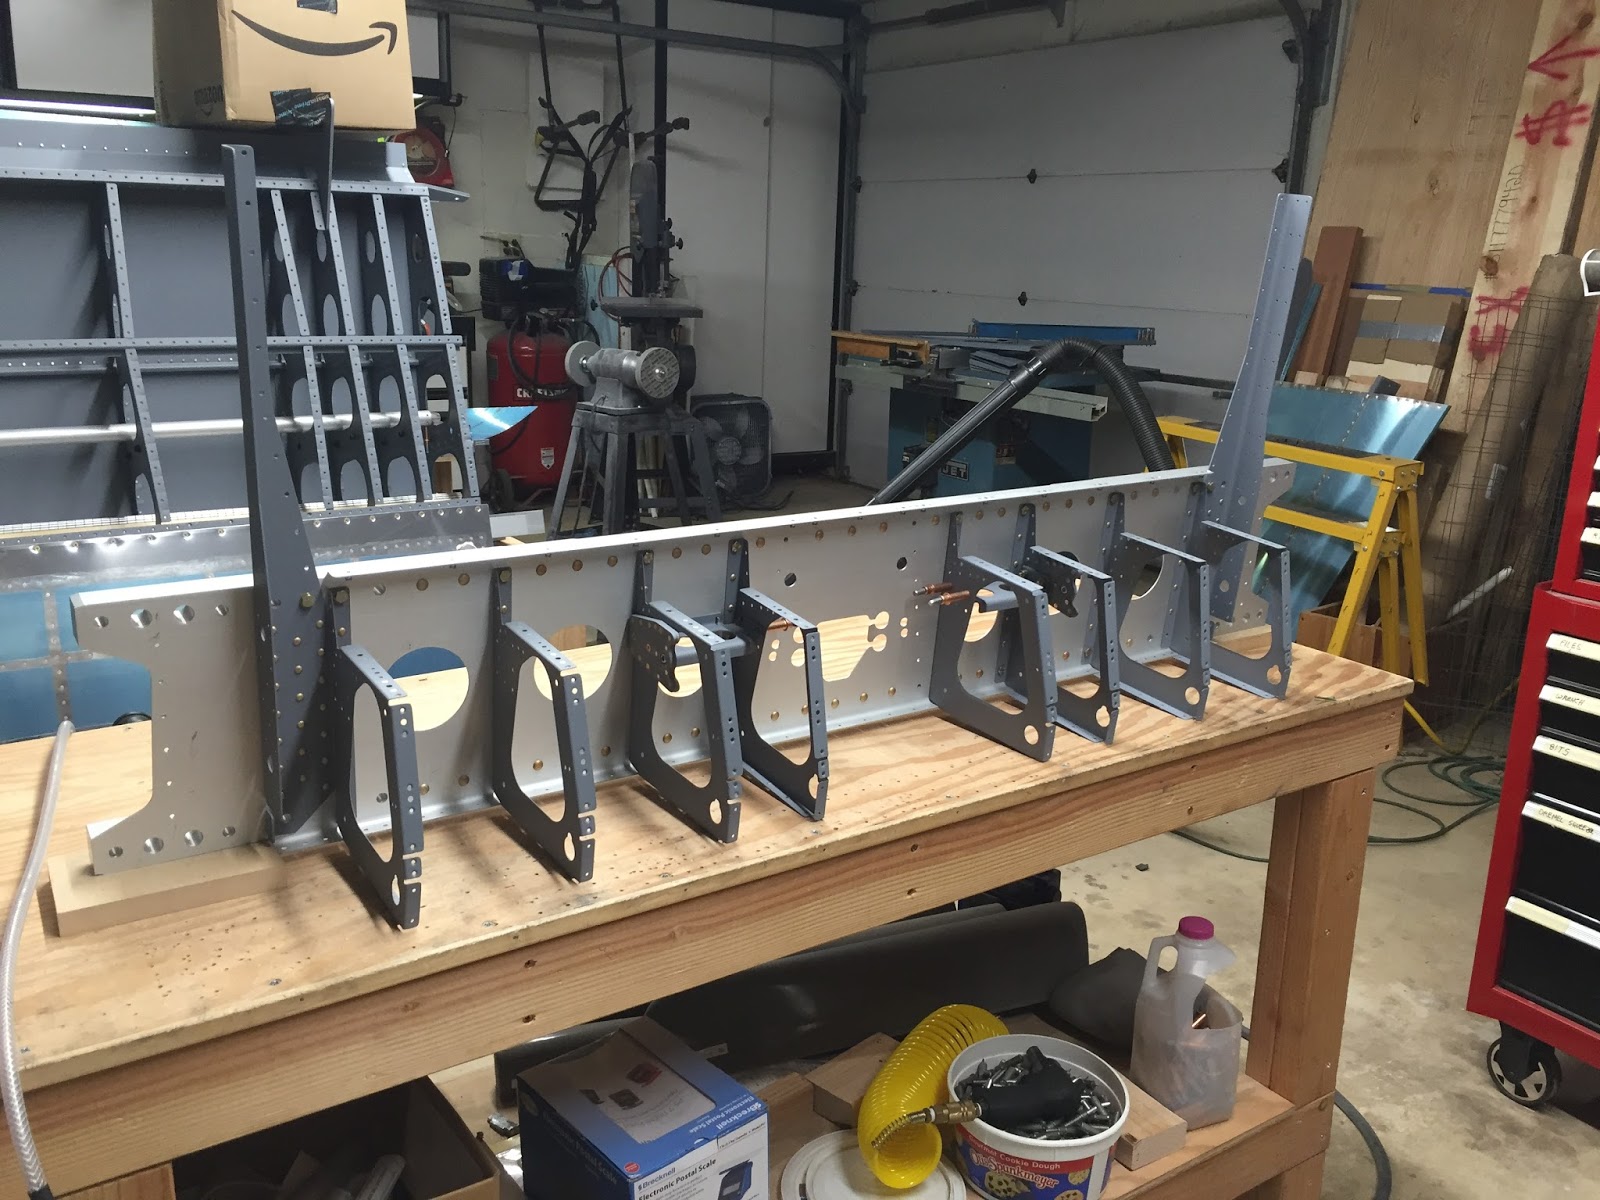
Today I finished up the forward center section bulkhead assembly. I bolted and riveted in the bearing bracket braces.
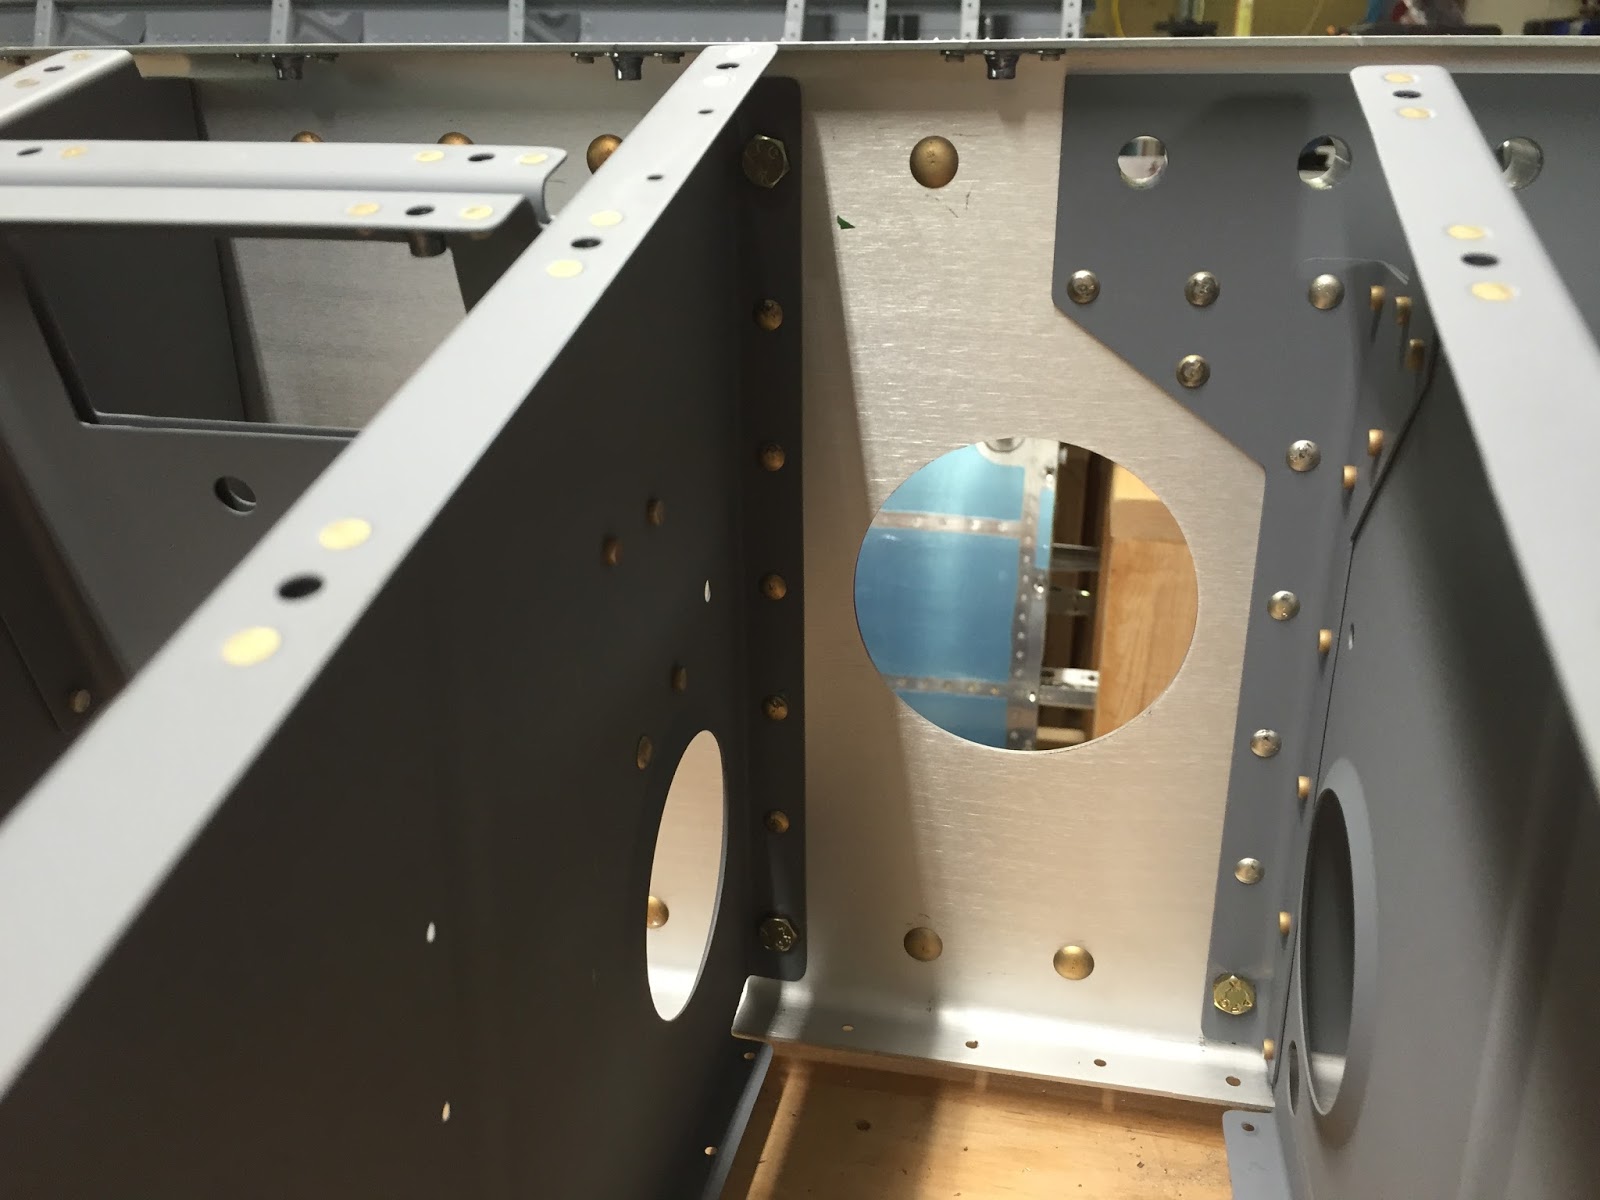
Next I reamed out some bolt holes. I inserted the tail of the reamer in the forward side of the bulkhead (left side in pic below) and carefully pulled it into the hole stopping just before the cutting face reached the hole. Then I dabbed Boelube on the cutting face and chucked the reamer into the drill. Then I pulled the reamer through the hole (towards the right in the picture). I wiped down the reamer between each hole and ran the drill at a slow speed. The holes turned out very smooth.
Section: 26
Hours: 5
I used the squeezer to set the rivets for the baggage rib doublers. I also riveted nut plates, clips, routing brackets and crotch belt brackets to the seat ribs (not shown).
Then I bolted and riveted the seat ribs to the aft center section bulkhead. All the riveting was done using the long bent stick in the rivet gun to reach the rib flanges. I found it was easiest to camp the bulkhead to the table and shoot the rivets horizontally.
I torqued all the bolts and dabbed torque lock (bright orange paint) on each nut.
Hours: 3
Today I finished up the forward center section bulkhead assembly. I bolted and riveted in the bearing bracket braces.
Next I reamed out some bolt holes. I inserted the tail of the reamer in the forward side of the bulkhead (left side in pic below) and carefully pulled it into the hole stopping just before the cutting face reached the hole. Then I dabbed Boelube on the cutting face and chucked the reamer into the drill. Then I pulled the reamer through the hole (towards the right in the picture). I wiped down the reamer between each hole and ran the drill at a slow speed. The holes turned out very smooth.
Section: 26
Hours: 5
I used the squeezer to set the rivets for the baggage rib doublers. I also riveted nut plates, clips, routing brackets and crotch belt brackets to the seat ribs (not shown).
Then I bolted and riveted the seat ribs to the aft center section bulkhead. All the riveting was done using the long bent stick in the rivet gun to reach the rib flanges. I found it was easiest to camp the bulkhead to the table and shoot the rivets horizontally.
I torqued all the bolts and dabbed torque lock (bright orange paint) on each nut.
Thursday, June 2, 2016
Section: 25
Hours: 8
Here is the aft center section bulkhead being assembled. I had some 3/8" "temporary" bolts on hand to aid in the alignment of the side angles before riveting. All these rivets were set using the rivet gun- the squeezer would not reach.
The bearing brackets are double flush riveted. The rivets called out are just a little long and the next smaller size are a little too short so the shop side of the flush riveting stands a little proud, but it looks like that won't matter because they clear the cover rib without any problem.
I noticed that the large rivets set in the spar section by the factory had some rivet tape residue on them which got me thinking. I put some clear packing tape on the tip of the rivet driver and the manufactured heads turned out much cleaner after driving them. Why didn't I discover this earlier?
It's beginning to look like an assembly! The cover plates are bolted and riveted to the spar. All I have to do now is figure out how to rivet the bearing bracket brace which doesn't have much clearance for riveting. I'll leave that for the morning when I'm fresh. Another 100+ degree day in the garage this afternoon.
Hours: 8
Here is the aft center section bulkhead being assembled. I had some 3/8" "temporary" bolts on hand to aid in the alignment of the side angles before riveting. All these rivets were set using the rivet gun- the squeezer would not reach.
The bearing brackets are double flush riveted. The rivets called out are just a little long and the next smaller size are a little too short so the shop side of the flush riveting stands a little proud, but it looks like that won't matter because they clear the cover rib without any problem.
I noticed that the large rivets set in the spar section by the factory had some rivet tape residue on them which got me thinking. I put some clear packing tape on the tip of the rivet driver and the manufactured heads turned out much cleaner after driving them. Why didn't I discover this earlier?
It's beginning to look like an assembly! The cover plates are bolted and riveted to the spar. All I have to do now is figure out how to rivet the bearing bracket brace which doesn't have much clearance for riveting. I'll leave that for the morning when I'm fresh. Another 100+ degree day in the garage this afternoon.
Wednesday, June 1, 2016
Section: 25
Hours: 4
After all the prepping and priming comes assembly! Here is a fuselage bulkhead being assembled. The instructions say to use "temporary" nuts on the bolts. I didn't have any on hand and none are included in the kit so I set aside this work for later. There are also several holes that must be reamed. I spent the rest of the afternoon reading ahead in the plans to see what other "temporary" bolts, nuts and other hardware is required so I could order it all at once from Aircraft Spruce :-(
As long as I was on the computer, I also looked up tutorials and youtube videos on how to ream holes. The take aways I got from the research are:
1) Use a slow drill speed. I set the belt on my drill press to the slowest pulley combination.
2) Use lots of lubricant. I liberally brushed on Boelube to the reamer and into the holes!
3) Don't insert the end of the reamer all the way into the chuck. You do not want it to be rigid so it can find the center of the hole without chattering.
4) Run the reamer into the hole and then turn off the drill press before removing the reamer.
4) Carefully clean the reamer after every hole so you don't run chips into the next hole and mar the surface.
Hours: 4
After all the prepping and priming comes assembly! Here is a fuselage bulkhead being assembled. The instructions say to use "temporary" nuts on the bolts. I didn't have any on hand and none are included in the kit so I set aside this work for later. There are also several holes that must be reamed. I spent the rest of the afternoon reading ahead in the plans to see what other "temporary" bolts, nuts and other hardware is required so I could order it all at once from Aircraft Spruce :-(
As long as I was on the computer, I also looked up tutorials and youtube videos on how to ream holes. The take aways I got from the research are:
1) Use a slow drill speed. I set the belt on my drill press to the slowest pulley combination.
2) Use lots of lubricant. I liberally brushed on Boelube to the reamer and into the holes!
3) Don't insert the end of the reamer all the way into the chuck. You do not want it to be rigid so it can find the center of the hole without chattering.
4) Run the reamer into the hole and then turn off the drill press before removing the reamer.
4) Carefully clean the reamer after every hole so you don't run chips into the next hole and mar the surface.
Subscribe to:
Posts (Atom)