Section: 9
Hours: 8
To finish the assembly of the elevators, I inserted the rear spar and weighted down the assembley under a straight board to prevent warping. The rear spar is attached with pull rivets to the internal ribs and then riveted to the skins.
The outer edges of the skin are riveted with flush rivets.
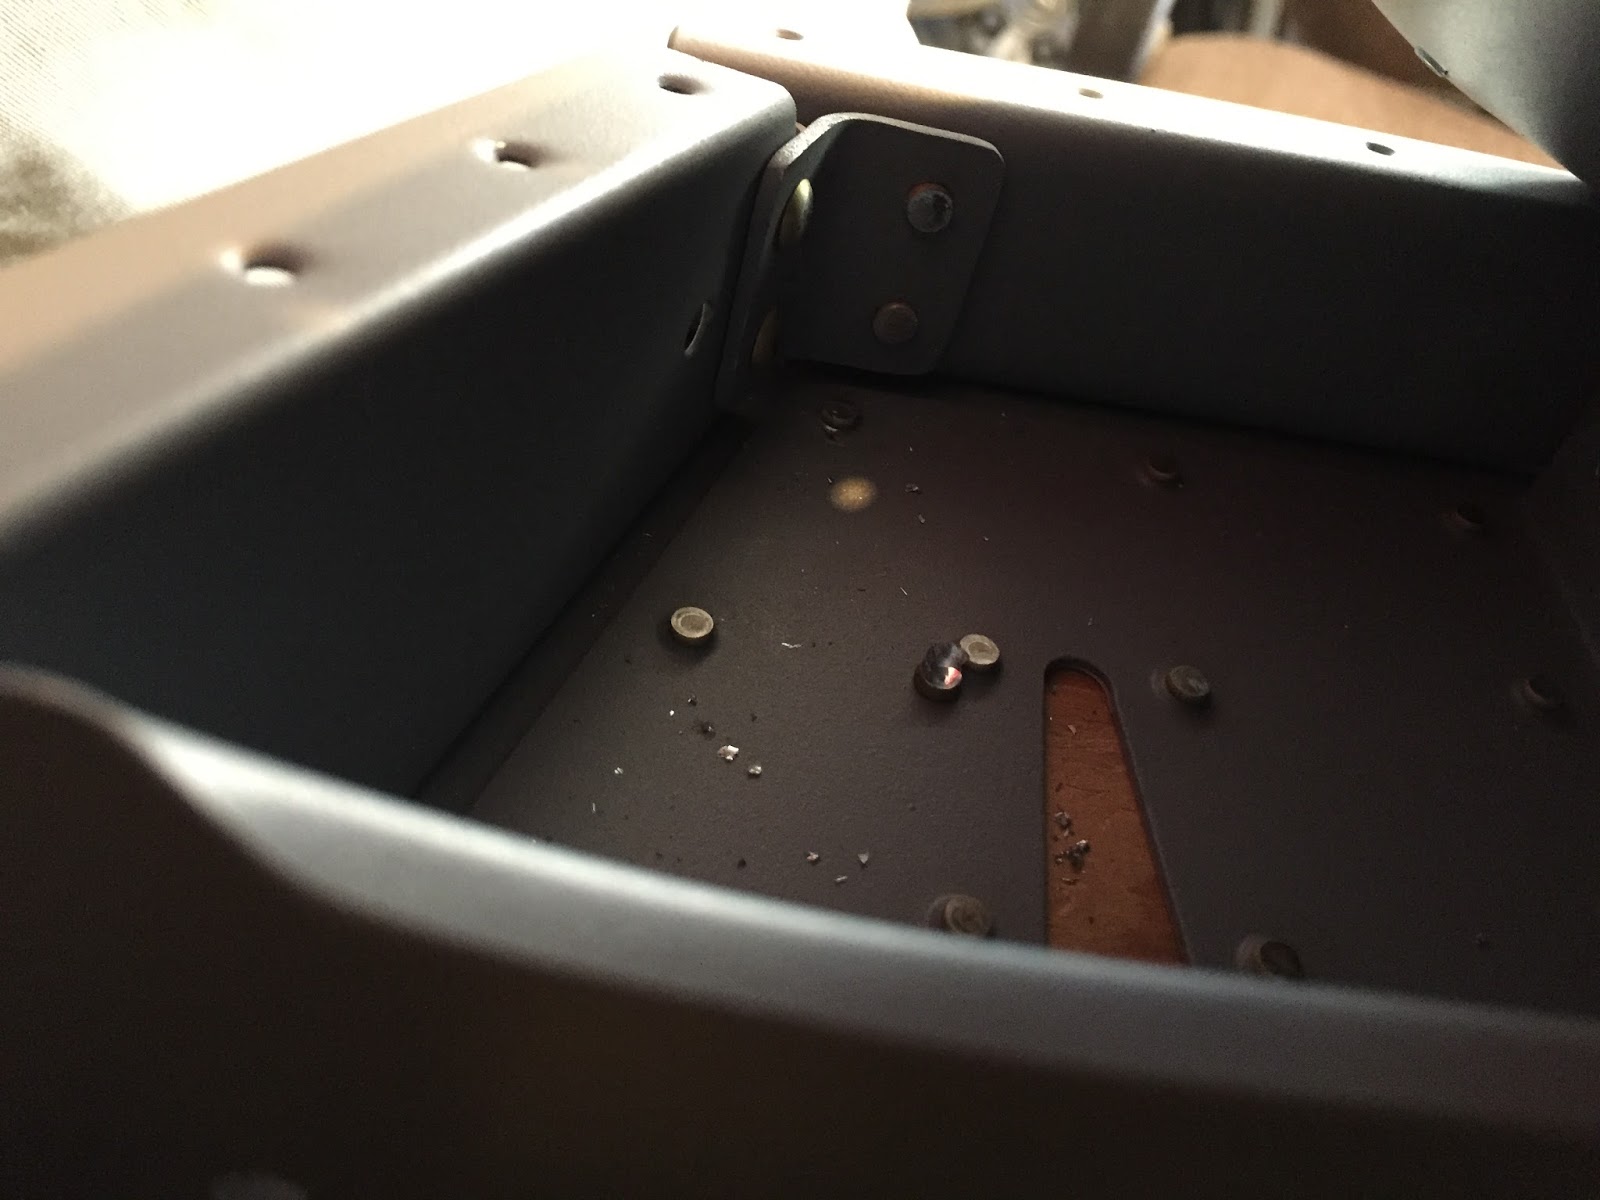
I couldn't squeeze the rivets in this corner of the rear spar and non of the regular rivet gun sets would fit either. I finally used the rivet set holder from my
Cleveland C-Frame inserted in my rivet gun with the a 3/16" round set die inserted.
The angle corner brace was a bugger to rivet. I drilled out at least one rivet before I got it.
I was able to use the squeezer to set the flush rivets along the rear spar. Had to be careful not to squish any of the hinge laces. I used the rubber washer trick to make sure the skin, hinge and rear spar all came together snugly.
To set the end rivet on the rear spar, I had to grind off a corner of the special bucking tool so I could get it securely under the skins and into the corner.
Here's some pictures of the riveted together elevators. I'm going to hold off on gluing the pvc foam ribs until we get some cooler weather. It's been unusually hot for this time of year.
The trim tab is the first moving surface I've assembled so far. The hinge turned out nice and straight and the tab moves without any binding!


No comments:
Post a Comment