Saturday, May 19, 2018

Section: 38
Hours: 6

I hate sanding fiberglass! Today all I did was sand fiberglass. I used the template from the manual to make and aluminum template. I also used the bandsaw to cut a wood sanding block. The process is: 1) sand
2) use shop vac to collect dust
3) check with template
3) repeat until fillet matches template.

If you sand out too much, add more fiberglass, wait a day and do more sanding...


Friday, May 18, 2018

Section: 38
Hours: 5

I sanded off the rough edges of the resin fillet that was applied yesterday. Then I wet out and applied the fiberglass parts called out in the manual. The first several layers I added black pigment to the resin. I use a paint brush to paint on resin and then lay the dry fiberglass parts over the resin. The resin soaks into the fiberglass from below. Any dry spots I dab more resin on with the brush. Then I use paper towels to blot up excess resin. The goal is to have as high a glass to resin ratio as possible with no air bubbles or voids.
 The corners of the canopy needed some help to lay down to the frame. I applied an aluminum clip with duct tape to temporarily hold it in place. Here is the full layup.

Thursday, May 17, 2018

Section: 38
Hours: 5

I watched the Vans video tutorials on how to glass the canopy to the frame and then cut out the fiberglass pieces using the round cutting knife. One trick I use for handling fiberglass, especially when the pieces are bias cut is to attach wax paper first and then do the cuts. I lay out the fiberglass on a smooth table, lightly mist 3M 77 spray glue onto wax paper sheets (hold the spray can 3 feet above the wax paper and lightly spritz). Then carefully place the wax paper onto the fiberglass. Then make the cuts and leave the wax paper in place so the parts do not distort or get frayed around the edges. Only take the wax paper off after applying the piece to the layup.
 Here I've added a fillet of resin/micro balloons between the edge of the canopy and the canopy frame. I added some black pigment to color the resin mix. I now wish I had added more, the mix came out a gray instead of black color. Build on...

Wednesday, May 16, 2018

Section: 38
Hours: 4

Now that I can roll the fuselage outside the garage I decided to work on the canopy. I mounted the canopy frame on the fuselage and then carefully centered the canopy on the frame.
I needed to add some pull rivets and washers to pull the canopy down to the deck.
I cut out slight depressions in the plexiglass where the rivet/shims attached so the fiberglass layout would go over them smoothly.

Tuesday, May 15, 2018

Section: 40B
Hours: 6

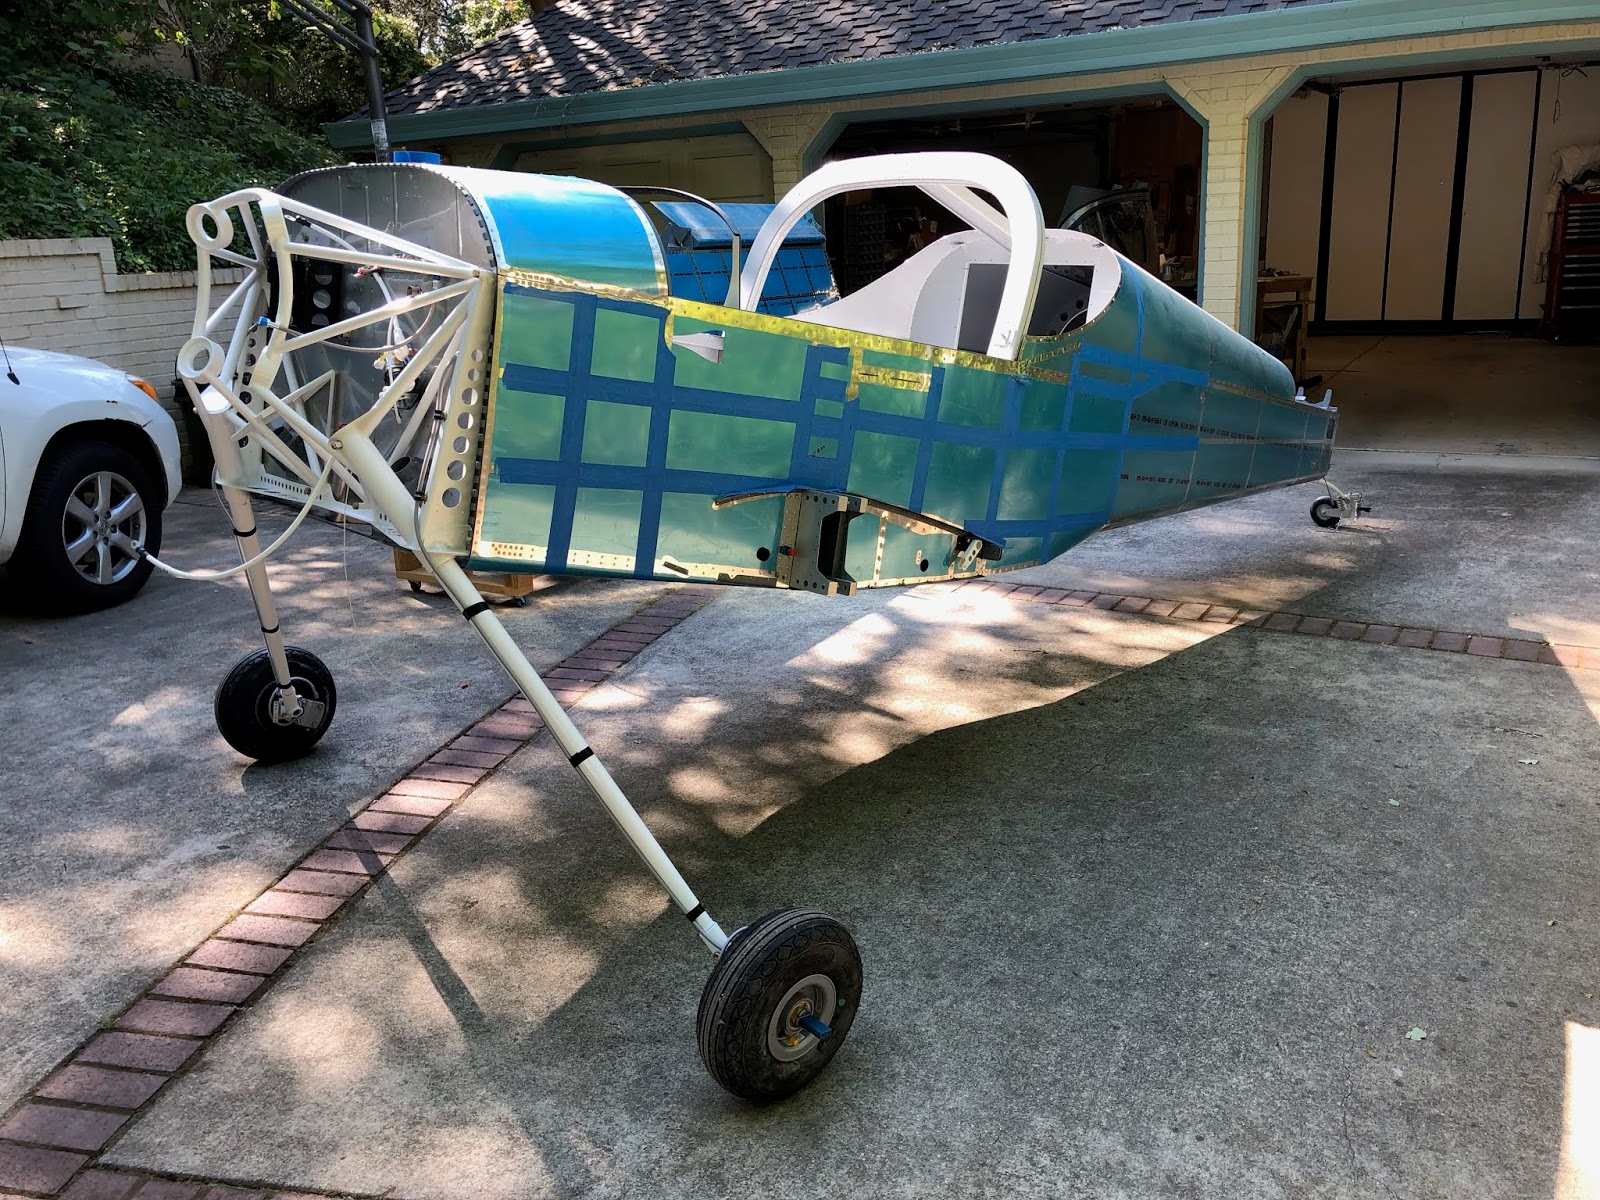
The fuselage is now on it's legs for the first time! This is one of those days that feels like real progress.

I propped the tail on a sawhorse and lifted the fuselage off the table using the engine hoist to prepare installing of the gear legs.
After sanding off some excess enamel from the gear legs I was able to insert the legs and clamp them in place.
As usual, Woody was quality control inspector for todays work. Here I've installed the sheet axel on the gear leg.
You have to ream the bolt holt to final size.
When both legs are on you check the axel alignment by attaching wood blocks and then drawing a string tightly between the two legs across the blocks.
Looks like I will not need to add any shims!
The fuselage is now on legs and can be rolled around!!!

Monday, May 14, 2018

Section: 43
Hours: 5

I installed the master relay and solenoid and oil and fuel pressure sensors on the firewall. Easy work before the engine is installed. The hardest part was sorting out the pressure sensors. The labeling took a little while to sort out.


Saturday, May 12, 2018

Section: 46B
Hours: 3

I cleaned up the air vents to prepare them for priming and painting. I sanded off the excess pro seal and the molding flashing and roughed up the surfaces to get a good bond for the primer.
Then I sealed the upper deck to firewall seam with pro seal using a popsicle stick.