Section: engine
Hours: 4
It's time to re-evaluate the firewall forward layout. I've installed everything per Van's firewall forward with the addition of a B&C backup alternator. The backup alternator takes up additional space between the engine and the firewall to the point that it is now going to be very difficult to change the oil filter.
As the above photo shows, between the breather tube, oil cooler line and backup alternator the oil filter is pretty much boxed in and not easily accessible. I do plan to make regular oil changes so it will be important to be able to easily change the oil filter.
I've done some research and there are two solutions, the AirWolf remote oil filter or the B&C oil filter adapter. I installed an AirWolf on my Mooney and really liked it. It made changing the oil filter a breeze. Unfortunately, I couldn't find enough room on the RV14 firewall to easily install one so I decided to install the B&C oil filter adapter. After talking to tech support at B&C, I learned that the RV14 installation does not require any spacer plates, so I ordered just the oil filter adapter. The kit provided by B&C includes the adaptor, replacement gasket, crush ring for the temp probe, new washer for the vernatherm, new bolts and lock washers for installation and even a little dab of Locktite gasket sealer. Very complete kit.
Today I pulled the oil filter and the existing Lycoming oil filter adapter off of the engine. To reach the nuts and bolts holding on the adapter I had to first pull off the pmags. I also discovered that the oil cooler line would be in the way so I replaced the straight AN fitting with a 45 degree fitting to route the oil line around the B&C adapter. I also removed the existing oil breather tube as that will also be in the way.
I've now discovered that it will be impossible to reach the lower right bolt for installing the B&C oil adapter because the backup alternator is in the way. I really did not want to remove the alternator because the lower left nut that holds it on was just about impossible to install. But it is what it is :-(
Disclaimer: This blog is to provide others insight into my experience and for my own historical purposes. Airplane construction is a serious affair. I have no authoritative skills relating to airplane construction. As such, any use of the information contained on this blog is at your own risk.
Monday, January 27, 2020
Thursday, January 23, 2020
Section: shop
Hours: 5
We loaded up the wings and horizontal stablizer in a rented U-Haul truck and delivered them to the airport. Deb helped me load the truck. When we got to the airport several people wandered over to see the new arrival and immediately volunteered to help unload the truck. It's going to be great to be at the airport!
Hours: 5
We loaded up the wings and horizontal stablizer in a rented U-Haul truck and delivered them to the airport. Deb helped me load the truck. When we got to the airport several people wandered over to see the new arrival and immediately volunteered to help unload the truck. It's going to be great to be at the airport!
Monday, January 13, 2020
Section: avionics
Hours: 2
I installed the pitot/static plumbing to the ADAHRS. I had been stumped about how to install the elbows because they ran into each other while screwing them in. Then I discovered that the threaded end twists without rotating the entire elbow body. Duh! White line is static, green is pitot and blue is the AOA.
Hours: 2
I installed the pitot/static plumbing to the ADAHRS. I had been stumped about how to install the elbows because they ran into each other while screwing them in. Then I discovered that the threaded end twists without rotating the entire elbow body. Duh! White line is static, green is pitot and blue is the AOA.
Friday, January 10, 2020
Section: shop
Hours: 4
Today I took the tail feathers out to the airport and surveyed the shop area. We have an RV6 and an RV7 in the hanger already. The RV7 was just recently completed and work tables and other "stuff" is covering the area I will be using for assembling the RV14. We will have a hanger work party this weekend to clear out junk and rearrange the work area to make room for the 14.
Hours: 4
Today I took the tail feathers out to the airport and surveyed the shop area. We have an RV6 and an RV7 in the hanger already. The RV7 was just recently completed and work tables and other "stuff" is covering the area I will be using for assembling the RV14. We will have a hanger work party this weekend to clear out junk and rearrange the work area to make room for the 14.
Wednesday, January 1, 2020
Section: wings
Hours: 4
The standard wiring harnesses are set up for AeroLed nav lights so I had to make modifications to hook up my AeroLeds. I completed rewiring the connector on the wire bundle coming from the fuselage.
Then I connected the remaining lines to the connectors at the ends of the wings.
I ran a twisted pair of black/red wire for the power going to the pitot heat regulator to mitigate interference with the magnetometer. I tied this ground to the root rib just above the other ground. Hopefully this will work- check in later after magnetometer calibration...
Hours: 4
The standard wiring harnesses are set up for AeroLed nav lights so I had to make modifications to hook up my AeroLeds. I completed rewiring the connector on the wire bundle coming from the fuselage.
Then I connected the remaining lines to the connectors at the ends of the wings.
I ran a twisted pair of black/red wire for the power going to the pitot heat regulator to mitigate interference with the magnetometer. I tied this ground to the root rib just above the other ground. Hopefully this will work- check in later after magnetometer calibration...
Monday, December 30, 2019
Sunday, December 29, 2019
Section: wings
Hours: 3
My avionics configuration does not have enough discrete inputs to support the vane stall warning and I have the AOA pitot so it is not required, so I decided to remove the vane and cover over the hole in the leading edge. The vane and micro switch are (barely) accessible through an access plate in the wing. The vane assembly is attached using 2 screws with allen head slots. It was very difficult to reach in and get an allen wrench in the screw head and the screws were rusted and very difficult to break loose. If I were to do it again, I would skip installing the vane assembly in the first place...
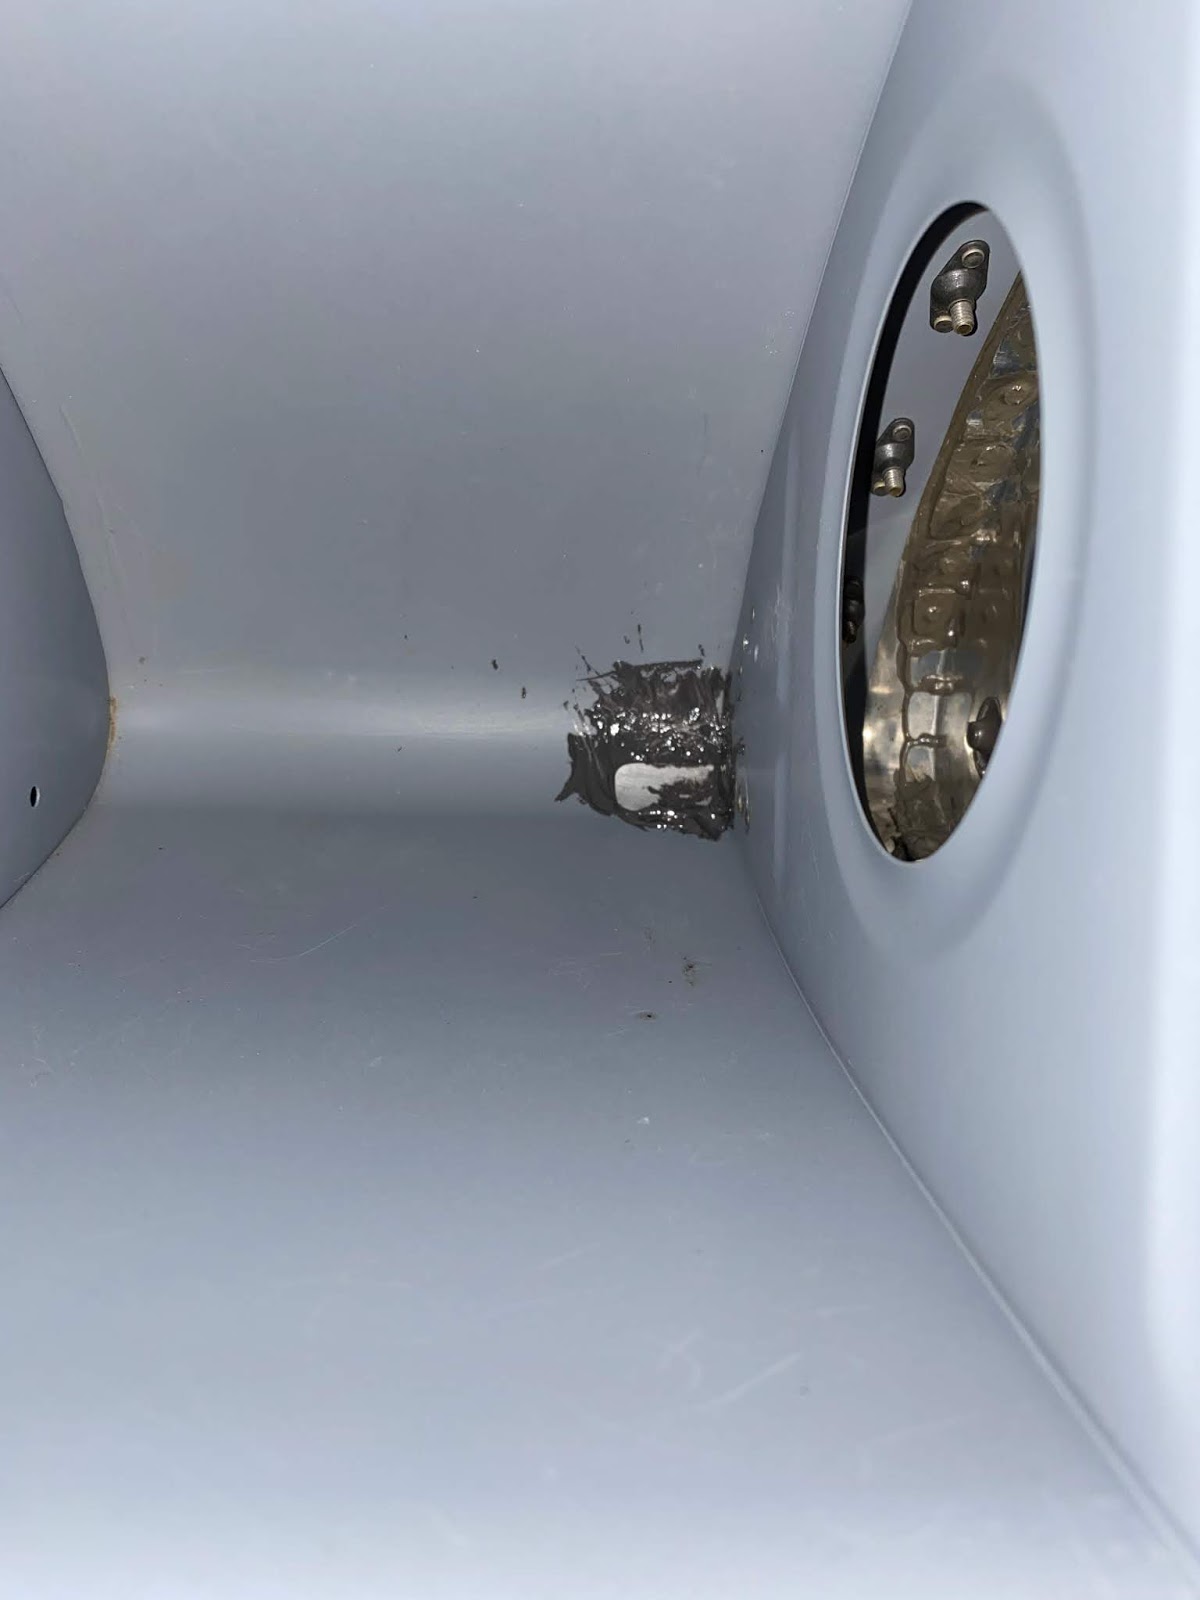
I fashioned a piece of aluminum to match the curve of the leading edge. I didn't want to have rivets on the leading edge, so I used some pro-seal to hold the aluminum filler piece in place. Later I will use some epoxy/micro balloon on the outside to smooth out the hole and after paint it will not be visible.
Hours: 3
My avionics configuration does not have enough discrete inputs to support the vane stall warning and I have the AOA pitot so it is not required, so I decided to remove the vane and cover over the hole in the leading edge. The vane and micro switch are (barely) accessible through an access plate in the wing. The vane assembly is attached using 2 screws with allen head slots. It was very difficult to reach in and get an allen wrench in the screw head and the screws were rusted and very difficult to break loose. If I were to do it again, I would skip installing the vane assembly in the first place...
I fashioned a piece of aluminum to match the curve of the leading edge. I didn't want to have rivets on the leading edge, so I used some pro-seal to hold the aluminum filler piece in place. Later I will use some epoxy/micro balloon on the outside to smooth out the hole and after paint it will not be visible.
Subscribe to:
Posts (Atom)