Section 29
Hours: 5
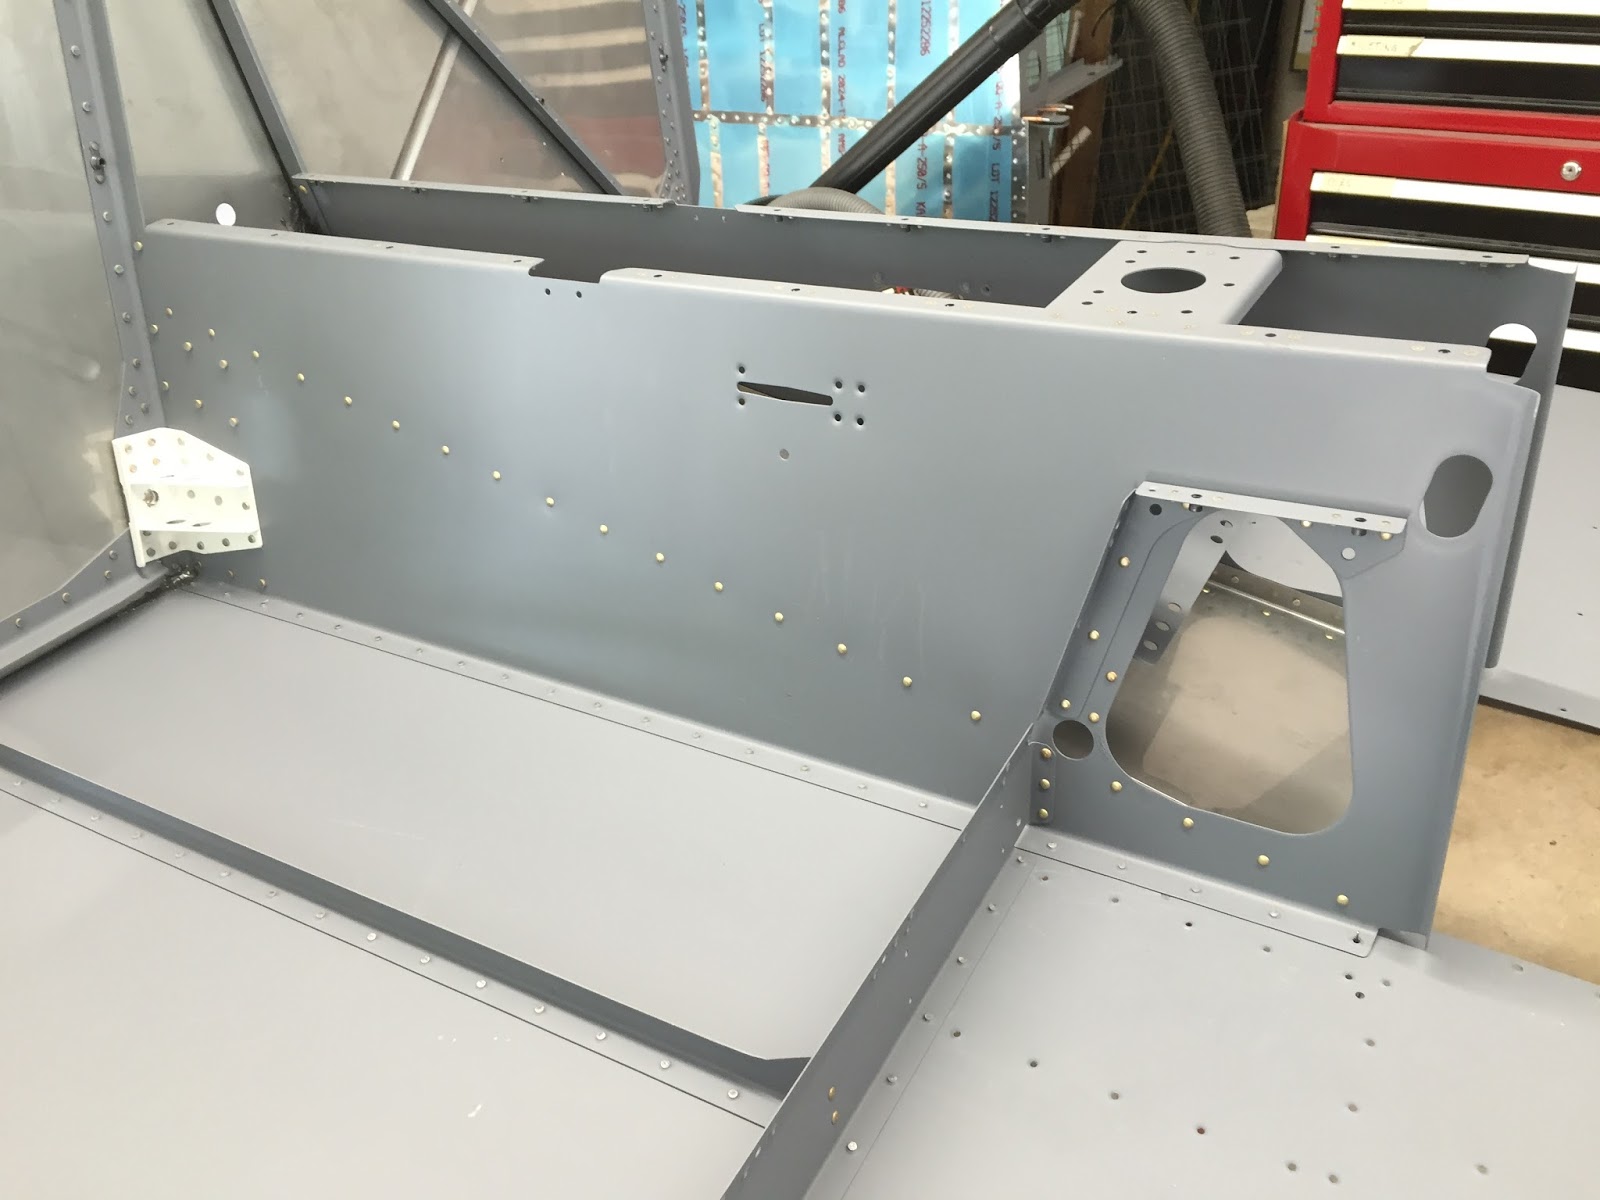
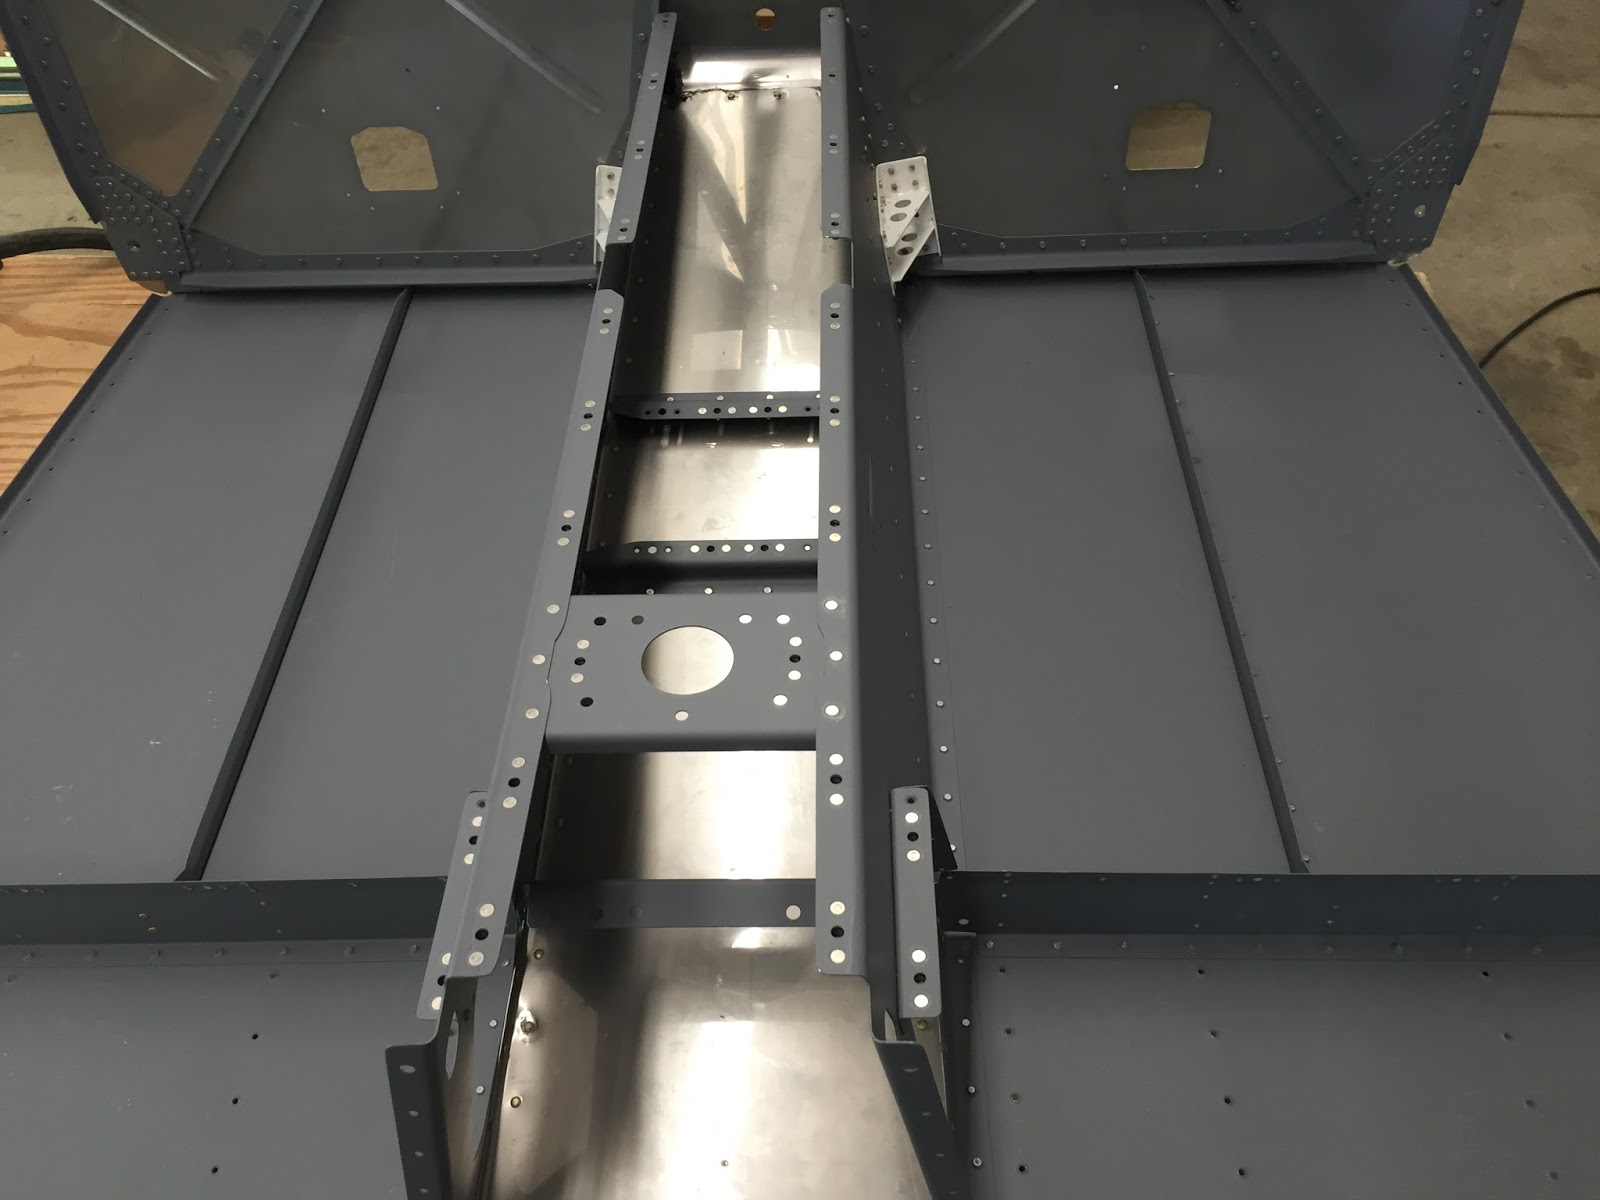
I pulled parts for chapter 29- there's a lot of them! Then I began the process of edge filing, deburring, etc. Looks like there is going to be a lot of work to get these pieces ready for primer painting.
A lot of filing on the edges of the 2 upper longerons. I use files, deburring tools, a 3M disk in the die grinder, Dremel and a variety of Dremel bits.
The plans have you cut a couple notches in the middle of the longerons.
And here's the notches cut in the end of the longerons.
Disclaimer: This blog is to provide others insight into my experience and for my own historical purposes. Airplane construction is a serious affair. I have no authoritative skills relating to airplane construction. As such, any use of the information contained on this blog is at your own risk.
Thursday, July 14, 2016
Wednesday, July 13, 2016
Section: 28
Hours: 4
Today I installed the cover panels on the forward center section bulkheads. It's all flush rivets but it was slow going because it was hard to reach inside to position the bucking bar.
I'm now done with chapter 28! Van's just charged my credit card for the finishing kit so it should be arriving a little before I finish up the fuselage kit.
Hours: 4
Today I installed the cover panels on the forward center section bulkheads. It's all flush rivets but it was slow going because it was hard to reach inside to position the bucking bar.
I'm now done with chapter 28! Van's just charged my credit card for the finishing kit so it should be arriving a little before I finish up the fuselage kit.
Tuesday, July 12, 2016
Section: 28
Hours: 4
More ProSealing today. The firewall penetration fittings must be sealed on the backside of the firewall to keep oil and fumes out.
I had a hard time getting the vent inlet parts assembled correctly- the 3d drawing in the manual just didn't click for me. The parts fit together multiple ways, but only 1 way fits when you put it on the firewall. I had to actually cleco the parts to the firewall before I got it right.
The cable brackets are not mirror imaged around the fuselage center line- both the left and the right sides orient the same way extending over the firewall opening.
The flush rivets for the battery box were a pain to set. After trying several methods, I had success using my small flat faced bucking bar on the factory side of the rivets.
I gingerly used the stubby holder with a flat face in the rivet gun on the forward side. I used 50psi and short bursts to set the rivets. You have to just set the rivet and not over drive it or the thin stainless sheet will pillow.
Here's today's work- all the firewall assemblies are riveted/bolted on. The battery box is painted with flat black Rustoleum out of a spray can. If I were to do it over again I would have it powder coated. The Rustoleum chips easily and probably won't hold up very well in use. We'll see. At least it is easy to touch up.
Hours: 4
More ProSealing today. The firewall penetration fittings must be sealed on the backside of the firewall to keep oil and fumes out.
I had a hard time getting the vent inlet parts assembled correctly- the 3d drawing in the manual just didn't click for me. The parts fit together multiple ways, but only 1 way fits when you put it on the firewall. I had to actually cleco the parts to the firewall before I got it right.
The cable brackets are not mirror imaged around the fuselage center line- both the left and the right sides orient the same way extending over the firewall opening.
The flush rivets for the battery box were a pain to set. After trying several methods, I had success using my small flat faced bucking bar on the factory side of the rivets.
I gingerly used the stubby holder with a flat face in the rivet gun on the forward side. I used 50psi and short bursts to set the rivets. You have to just set the rivet and not over drive it or the thin stainless sheet will pillow.
Here's today's work- all the firewall assemblies are riveted/bolted on. The battery box is painted with flat black Rustoleum out of a spray can. If I were to do it over again I would have it powder coated. The Rustoleum chips easily and probably won't hold up very well in use. We'll see. At least it is easy to touch up.
Monday, July 11, 2016
Section: 28
Hours: 7
I started today by riveting the top of the stainless tunnel to the tunnel outer sides.
The fuel selector valve bracket is not symmetric which I found out the hard way! I riveted it in, discovered I had it backwards and then riveted it in a second time with the proper orientation. Gotta pay attention to the plans...
Here I've mated the forward center section bulkhead to the bottom skins.
The center ribs are bolted and riveted to the spar carry thru. I put the factory heads on the back side because I could not fit the rivet gun in on the other side.
Here's the forward side with the shop heads.
Next I back riveted the bottom rib flanges to the bottom skins.
I used the long back rivet set to reach these rivets. I found it helps if you bump up the air pressure to 45-50psi when using the long back rivet set.
Hours: 7
I started today by riveting the top of the stainless tunnel to the tunnel outer sides.
The fuel selector valve bracket is not symmetric which I found out the hard way! I riveted it in, discovered I had it backwards and then riveted it in a second time with the proper orientation. Gotta pay attention to the plans...
Here I've mated the forward center section bulkhead to the bottom skins.
The center ribs are bolted and riveted to the spar carry thru. I put the factory heads on the back side because I could not fit the rivet gun in on the other side.
Here's the forward side with the shop heads.
Next I back riveted the bottom rib flanges to the bottom skins.
I used the long back rivet set to reach these rivets. I found it helps if you bump up the air pressure to 45-50psi when using the long back rivet set.
Friday, July 8, 2016
Section: 28
Hours: 6
Today I assembled the firewall to the forward bottom skins and exhaust tunnel. The rounded entry from the firewall to the tunnel must be sealed with ProSeal.
Pull rivets are used for the sides, but the top flange is fastened with solid rivets.
The curved intersection has an area that must be sealed on the rear side of the firewall.
Here's the firewall and bottom skin assembly.
Hours: 6
Today I assembled the firewall to the forward bottom skins and exhaust tunnel. The rounded entry from the firewall to the tunnel must be sealed with ProSeal.
Pull rivets are used for the sides, but the top flange is fastened with solid rivets.
The curved intersection has an area that must be sealed on the rear side of the firewall.
Here's the firewall and bottom skin assembly.
Tuesday, July 5, 2016
Section: 28
Hours: 5
Today was another ProSeal messy riveting job. I assembled the forward fuselage bottom skins to the stainless steel exhaust tunnel. The seams must be sealed to keep oil and exhaust fumes from getting into the fuselage. I was able to back rivet the bottom skins.
The stainless steel sheet is very thin and easily deforms if you are not careful.
Hours: 5
Today was another ProSeal messy riveting job. I assembled the forward fuselage bottom skins to the stainless steel exhaust tunnel. The seams must be sealed to keep oil and exhaust fumes from getting into the fuselage. I was able to back rivet the bottom skins.
The stainless steel sheet is very thin and easily deforms if you are not careful.
Friday, July 1, 2016
Section: 28
Hours: 4
Today I primed the section 28 parts. The Stewart Systems EcoPrime shoots much better now that I am thinning it 10%+ with distilled water.
Hours: 4
Today I primed the section 28 parts. The Stewart Systems EcoPrime shoots much better now that I am thinning it 10%+ with distilled water.
Subscribe to:
Posts (Atom)