Showing posts with label final assembly tasks. Show all posts

Tuesday, April 26, 2022

Section:

Hours: 8

I just attached the data plate. This was an interesting project. Several builders I know have had their plates engraved, but I thought the engraving was hard to read. I decided to use metal letter punches to mark my plate.


I tried manually holding the punches but did not get very good results. You really need to align the punch vertically before striking it so I built a guide to hold the punches using some aluminum angle pieces.

I clamped the data plate to another plate and clamped an alignment bar over it that. I was then able to slide my guide along the alignment bar to register the punch position vertically to make straight lines of text.

To control the horizontal spacing, I printed out labels that matched the spacing and size of the punches. I taped the labels above each data plate field and used that to guide where to place the punches.

Here is the result.

I attached the plate under the horizontal stab.


Saturday, April 23, 2022

Section:

Hours: 8

I calibrated the fuel tanks today. I filled the tanks a gallon at a time and punched in the result to the Garmin G3X. I did this while the tail was jacked up to flying position and also while the plane was in taxi position. With 25 gallons per tank times 2 tanks times flying and taxi position that comes out to 100 readings. A rather tedious task.

Here is one of the calibration graphs.


Saturday, November 13, 2021

 Section:

Hours: 6

I borrowed / rented electronic scales from the Placerville EAA Chapter. The scales come in a solid shipping box and include a couple of ramps for rolling the wheels up onto the scales.

I assembled all the access covers, put in all the interior (seats, carpeting, side panels), topped off the engine oil and added the wheel pants so the weight would reflect the actual flying condition of the airplane. 

I enlisted some friends from the airport to help lift the tail onto some saw horses to put the airframe in flying attitude. After carefully adjusting the tail height to level the canopy rails, we and rolled the airplane onto the scales. Unfortunately, on the first try I forgot to push the tare button before we rolled the wheels onto the scales so we had to roll the airplane off the scales and start over. Lesson learned...
And here is the result:

Combining the information from the Vans weight and balance worksheet, here are the numbers for my RV-14


Wednesday, November 10, 2021

 Section:

Hours: 8

I had a local sign shop prepare registration number decals and I applied them to the vertical stab. I used masking tape on the top edge of the decal to position and hold it in place. Then I removed the back carrier layer and rubbed the letters down and finally I peeled off the top carrier film.


Today I also finished sanding the canopy fillet and spayed on a couple of primer coats. The fiberglass is now completed on the rebuild.

I recently got the replacement foam seals from Van's. They had been back ordered for some time. Today I installed the foam seals and installed the canopy back on the airplane.


Thursday, November 4, 2021

Section:

Hours: 4

When I looked at the cockpit this morning I noticed there was brake fluid on the floor. I had left the parking brake on for several days and it looks like pressure caused the line to disconnect at the firewall connection. It appears the line was not inserted far enough into the ferrel before I tightened the nut. I replaced the existing ferrel with a new one, inserted the line more securely and re torqued the nut. For good measure, I replaced the ferrel on the other firewall connection also. After refilling the brake lines it appears to be holding the pressure with the parking brake on.


Monday, November 1, 2021

Section:

Hours: 6

I added the control linkages to the tail wheel. The chains as supplied were too long so I removed a couple links from both sides.


I also installed the scat tubing from the plenum to the oil cooler.

The aileron servo is not working. I believe the mini molex connector has some bad wiring so cut off the connector and crimped on a set of pins to the exiting wires and plugged them together and applied shrink tubing over the pins to ensure they don't pull apart. The servo now works.


Tuesday, October 26, 2021

Section:

Hours: 4

Recovery from kidney donation surgery took a little longer than I had hoped but I'm back at the airport today. I thought I would start with an easy project like filling the brake lines (ha ha). I used the back fill system where you pump fluid from the lowest point at the brake caliper back up to the fluid reservoir. I attached section of clear vinyl tubing to the top of the reservoir so I could see when it was filled. This worked out really well as I was easily able to see when the fluid level reached the top of the tank.

The brakes seem to work great and the parking brake also works.

Tuesday, June 29, 2021

Section: 38

Hours: 2

I started transition training with Stan Lawrence in his beautiful RV-14 with IO-360 fixed pitch prop and Advanced Flight Systems / Dynon panel. My RV14 has IO-390 with variable pitch prop and Garmin, but the airframes are the same. Hopefully skills learned will apply to both airplanes. The 14 is a dream to fly- great visibility, great performance, coordinated controls and light touch.

The good folks at Vans kitted up all the parts for rebuilding the canopy. The crate arrived this afternoon and I had Woody give it a good inspection before signing off on delivery. Unfortunately only 1 of the hinge hanger pieces arrived, the other one is back ordered.


Friday, June 18, 2021

 Section: 41

Hours: 7

I got my friend Kurt to help mount the wings to the fuselage. Between the 2 of us we were able to position each wing and insert the drift pins. I had placed the bolts in the freezer over night and I was able to drive them in using a 2 foot long 1 x 2 board and hammer.


After torquing the wing bolts I hung the flaps.


Friday, June 11, 2021

 Section:

Hours: 2

I went back to the airport this morning to assess the damage to the canopy. The frame crumpled in a couple places and the brass bushings in the hinge hanger got bent up and marred. After consulting with Vans and several other people I have decided to rebuilt the frame. I will be able to reuse the plexiglass but the rest will be replaced.


Thursday, June 10, 2021

 Section:

Hours: 6

Airport day has finally arrived! I roped the fuselage to my car and with the help of my neighbor we towed it up to the court. I found a local car transportation company that was willing to transport my fuselage to the airport. They arrived on time and loaded and secured the fuselage. We took back roads for the 24 mile drive to the airport.

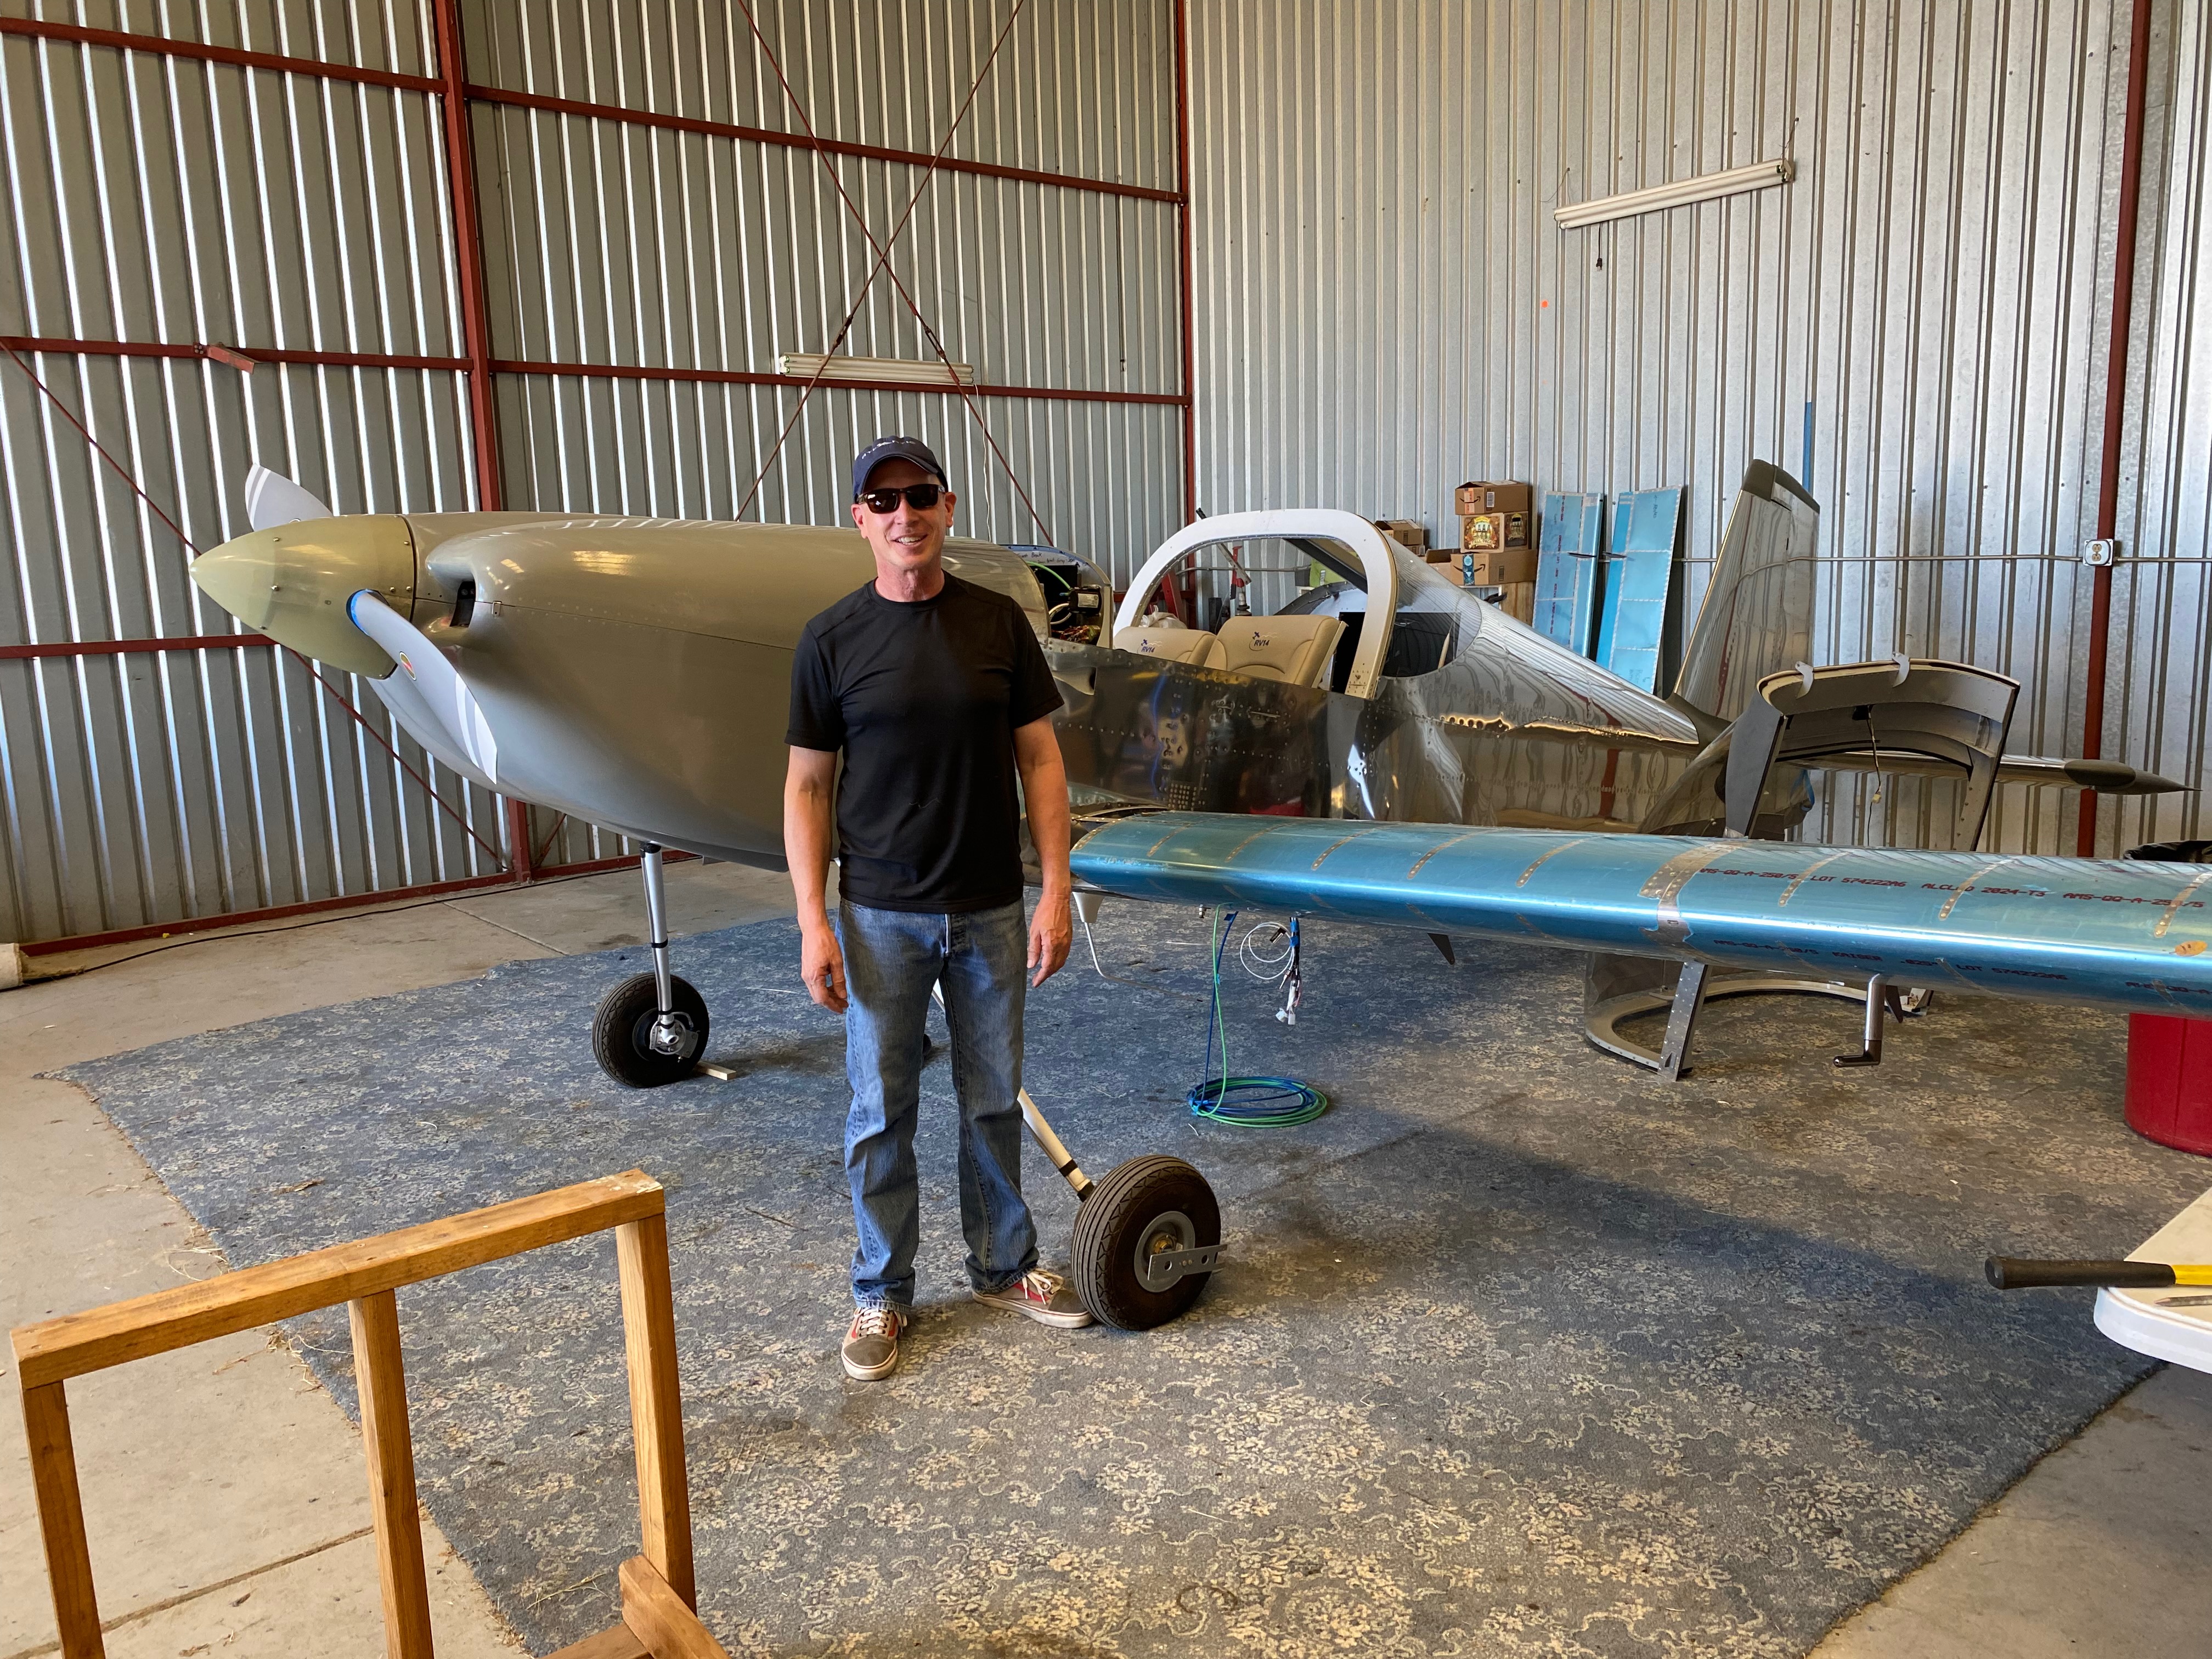
Here we are in the hanger. Unfortunately, about 3/4ths of the way to the airport a car passed us going the opposite direction at a high speed and the resulting gust blew open the canopy and damaged the canopy frame and hinges. I hadn't completely latched the canopy and the gust was enough to pop it up.