Section: 49
Hours: 4
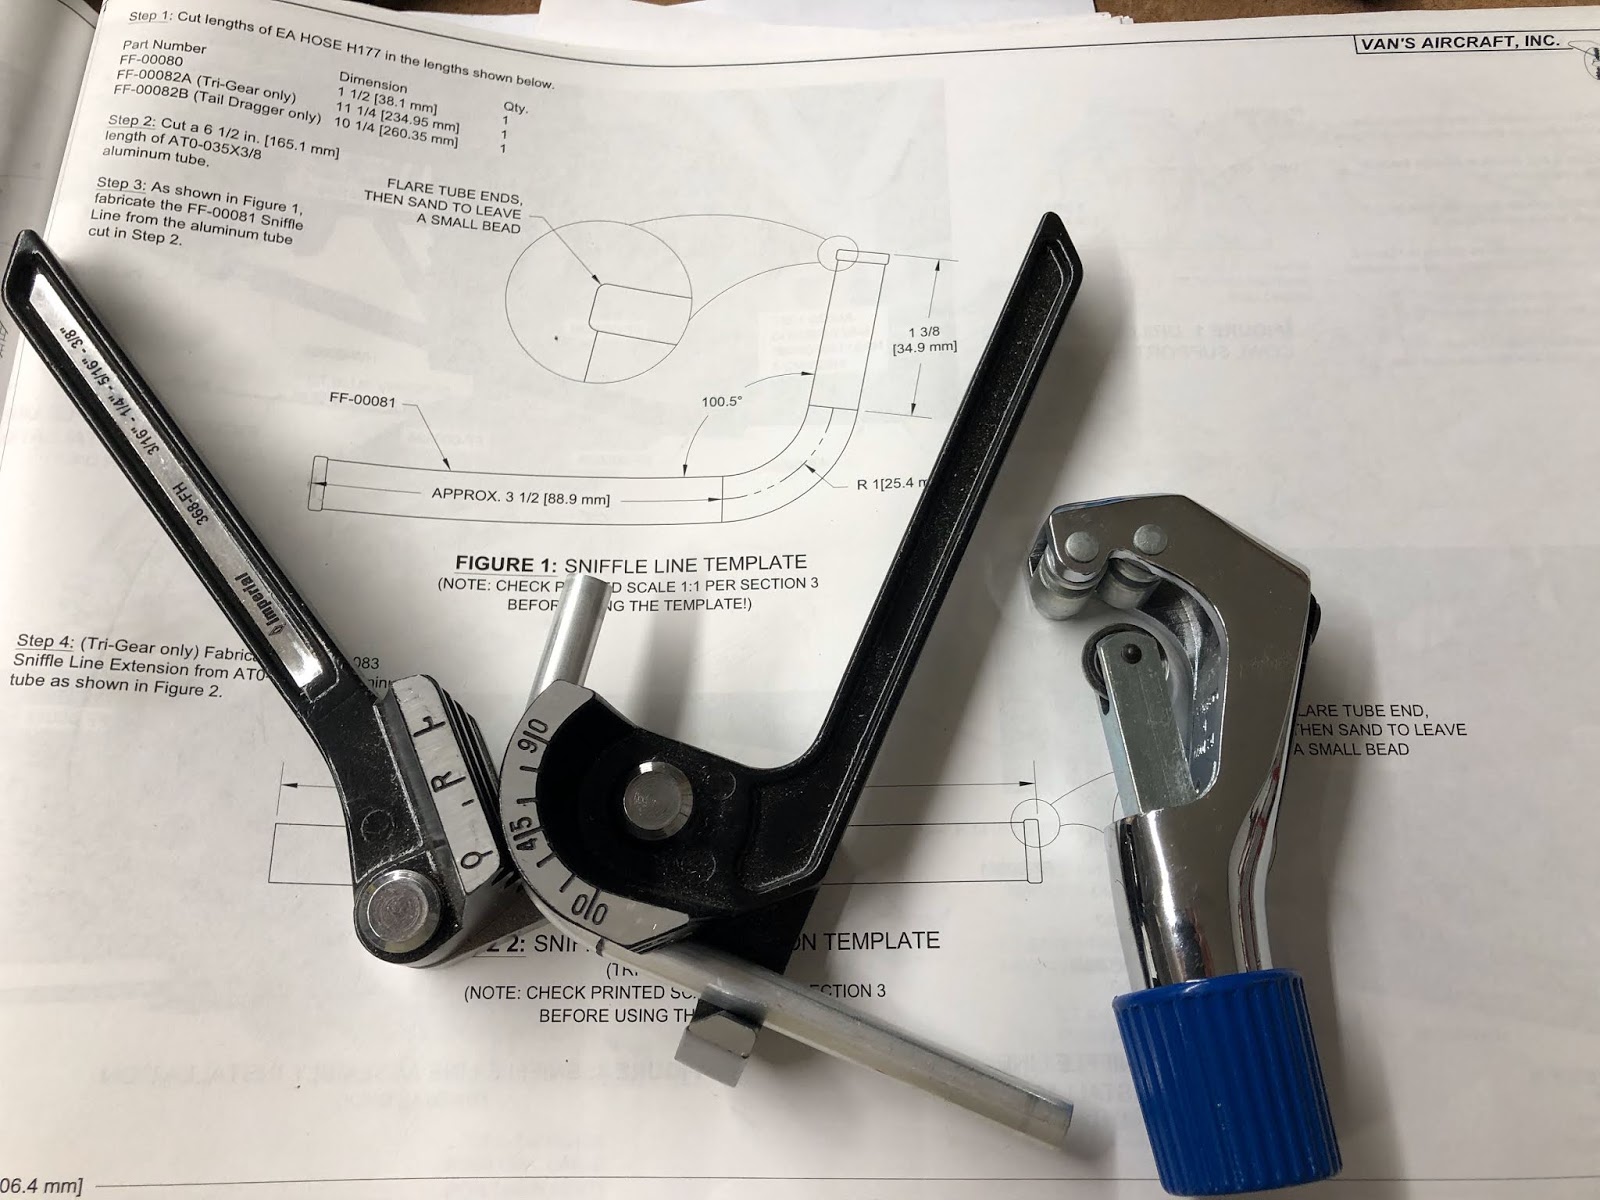
I fabricated and installed the sniffle valve line.
Disclaimer: This blog is to provide others insight into my experience and for my own historical purposes. Airplane construction is a serious affair. I have no authoritative skills relating to airplane construction. As such, any use of the information contained on this blog is at your own risk.
Showing posts with label Section 49. Show all posts
Monday, February 18, 2019
Tuesday, November 27, 2018
Section: 49
Hours: 4
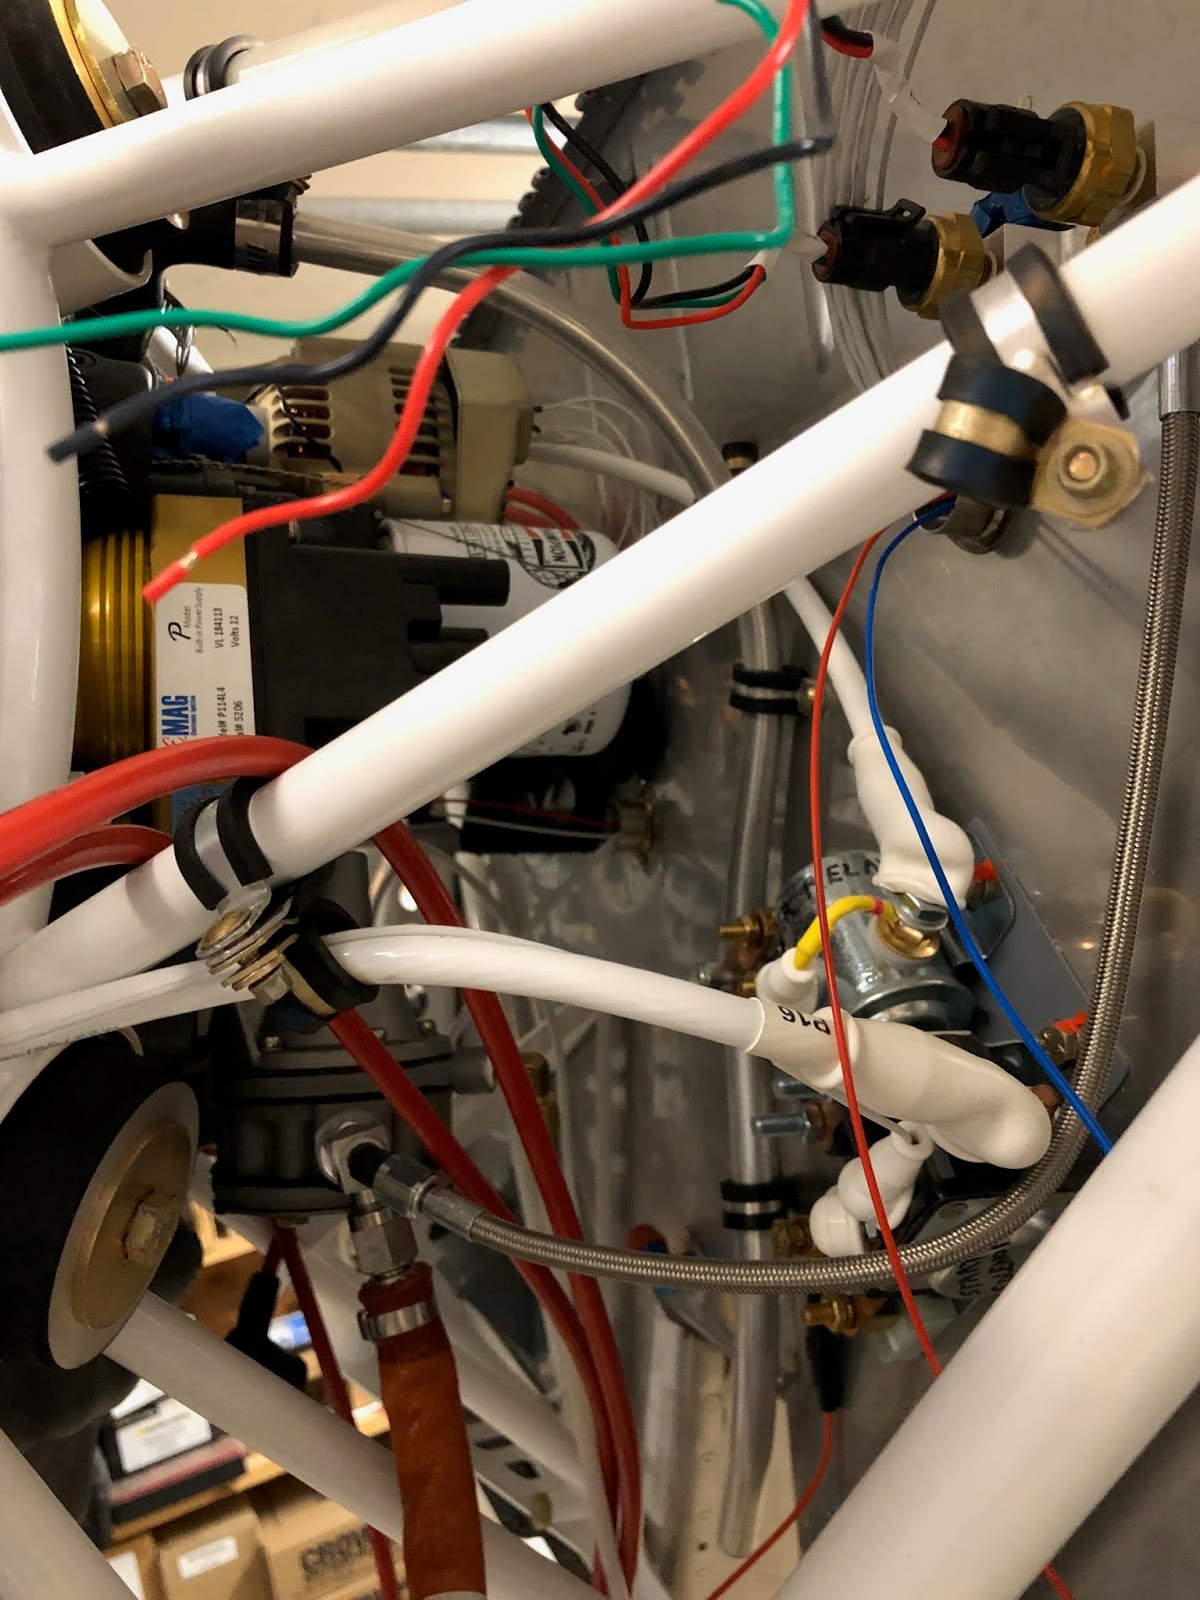
I installed the manifold pressure plumbing which is slightly different from the standard Van's installation because each of the PMags needs a connection. I ordered the additional lines from Aircraft Specialty.
The Aircraft Specialty kit includes a T-fitting for adding the line to supply the PMags.
I routed the line from the T-fitting towards the center and used a couple adel clamps to hold it in place. The end of this line has another T with barbed ends for the rubber hoses that go to the PMags.
Hours: 4
I installed the manifold pressure plumbing which is slightly different from the standard Van's installation because each of the PMags needs a connection. I ordered the additional lines from Aircraft Specialty.
The Aircraft Specialty kit includes a T-fitting for adding the line to supply the PMags.
I routed the line from the T-fitting towards the center and used a couple adel clamps to hold it in place. The end of this line has another T with barbed ends for the rubber hoses that go to the PMags.
Saturday, November 24, 2018
Section: 49
Hours: 6
I continued work on plumbing the engine.
Firewall to fuel pump hose.
Fuel pump to fuel transducer (red cube) and transducer mounting.
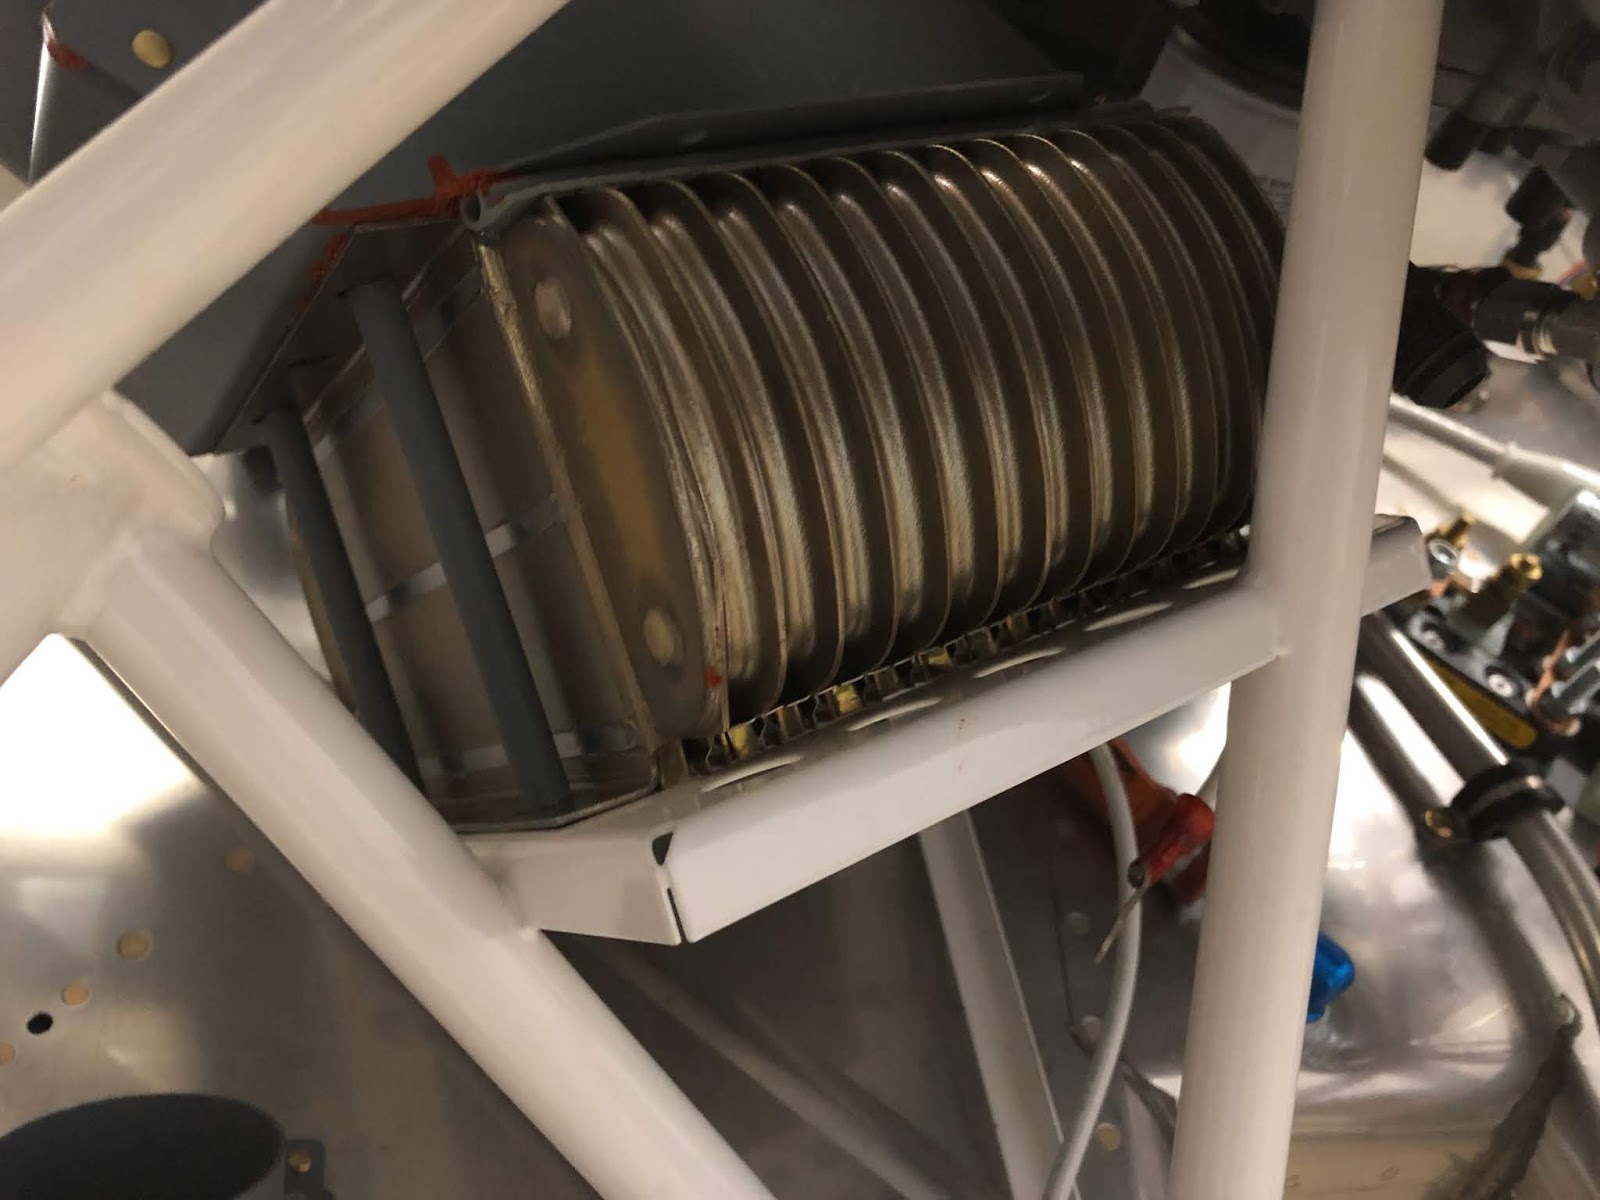
Oil cooler an fittings. The firewall forward kit provides aluminum an fittings but the oil cooler calls out for metal. I purchased the metal fittings from Spruce.
The plans specify the clocking for the fittings.
Here is the air inlet transition with sealant applied in the corners.
The oil cooler mounted on the engine mount shelf.
Sniffle tube assembly.
Hours: 6
I continued work on plumbing the engine.
Firewall to fuel pump hose.
Fuel pump to fuel transducer (red cube) and transducer mounting.
Oil cooler an fittings. The firewall forward kit provides aluminum an fittings but the oil cooler calls out for metal. I purchased the metal fittings from Spruce.
The plans specify the clocking for the fittings.
Here is the air inlet transition with sealant applied in the corners.
The oil cooler mounted on the engine mount shelf.
Sniffle tube assembly.
Friday, November 23, 2018
Section: 49
Hours: 4
I fabricated and installed the oil breather tube. I had to modify the aluminum tubing to run around the electrical shunts on the firewall.
Hours: 4
I fabricated and installed the oil breather tube. I had to modify the aluminum tubing to run around the electrical shunts on the firewall.
Tuesday, August 21, 2018
Section: 49
Hours: .5
I riveted the oil cooler air inlet assembly together.
Section: 50
Hours: 3
I installed the cabin heat cable on the pilot's side. I decided to replace the cables that come with Van's fire wall forward kit with cables that have a pushbutton lock. Some previous builders had recommended this so that you can firmly hold the heat doors closed during the summer.
I trimmed the cable to the correct length with the dremmel tool. Then spent quality time under the panel installing the adell clamps and connecting the cable to the heat flap lever arm.
Heres the cabin heat cable with the push button lock installed in the control panel.
Section: avionics
Hours: 1
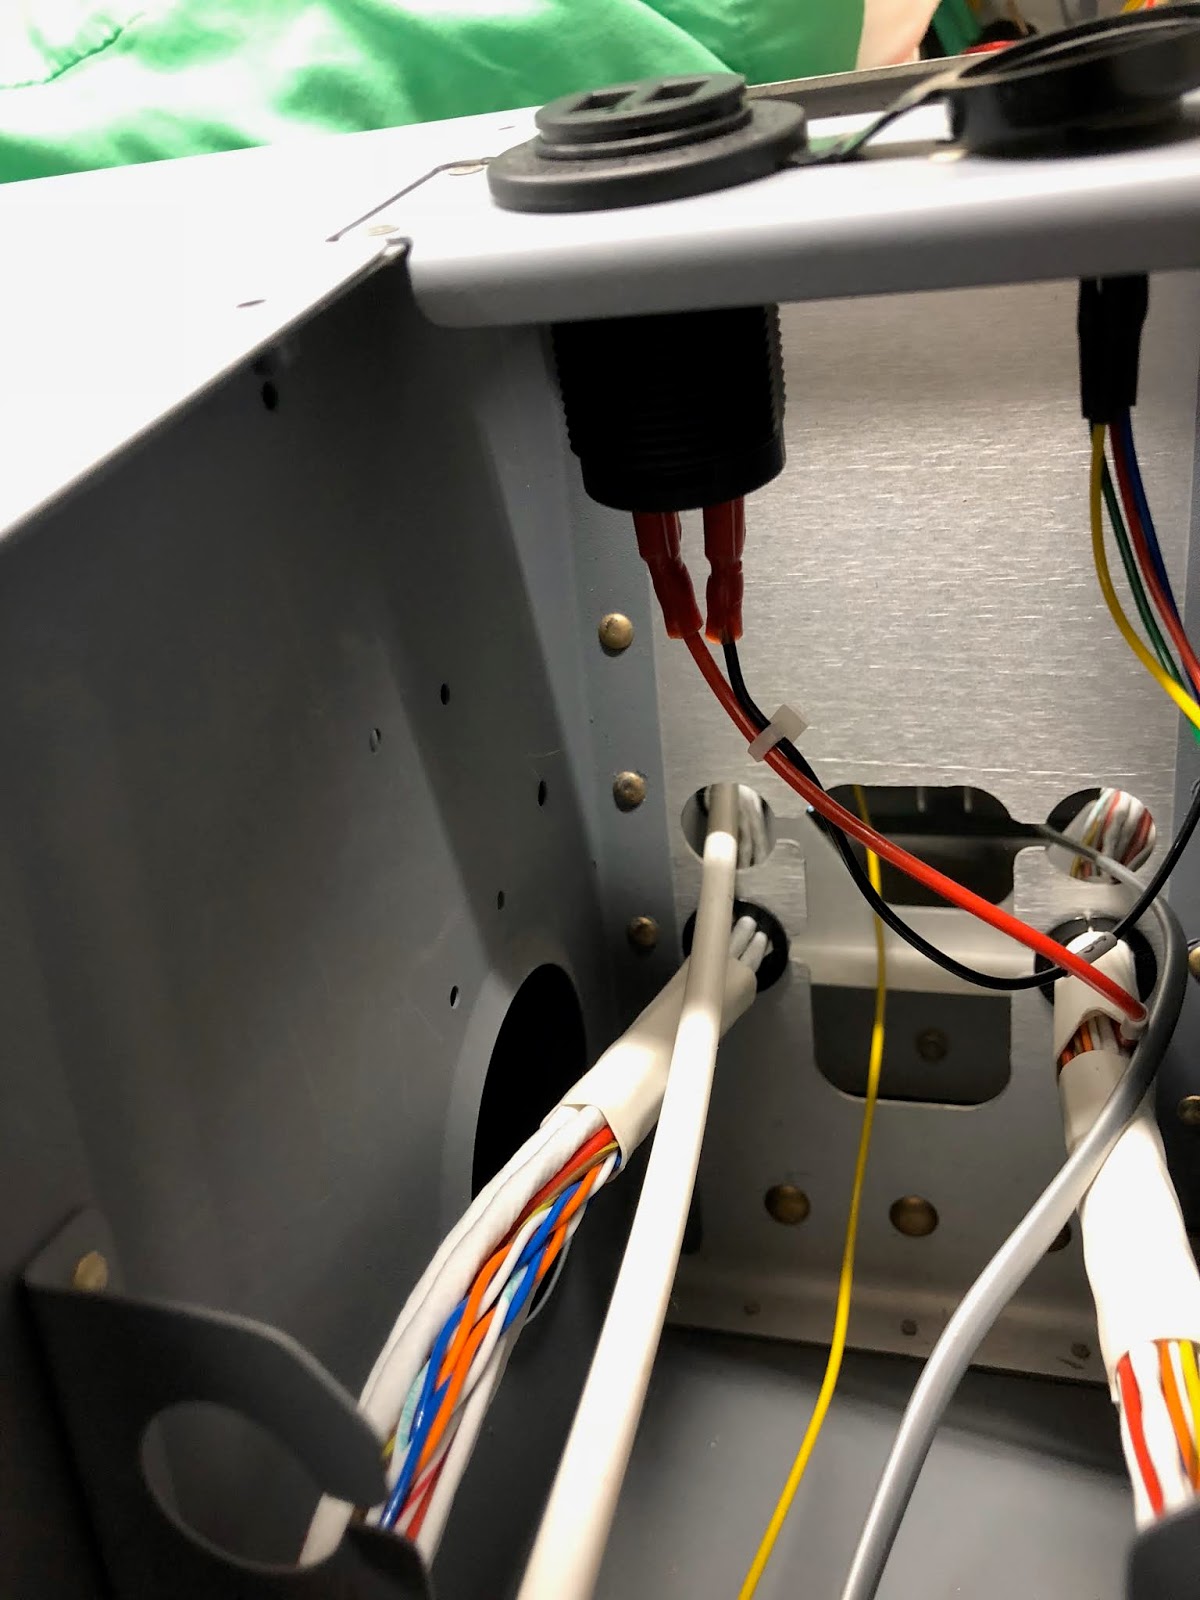
I decided to replace the cigarette lighter with a dual USB charger. There are a lot of these chargers available on Amazon, but the one I got was a little more expensive but supposedly does not radiate a bunch of electrical noise and won't interfere with the radios and intercom.
Hours: .5
I riveted the oil cooler air inlet assembly together.
Section: 50
Hours: 3
I installed the cabin heat cable on the pilot's side. I decided to replace the cables that come with Van's fire wall forward kit with cables that have a pushbutton lock. Some previous builders had recommended this so that you can firmly hold the heat doors closed during the summer.
I trimmed the cable to the correct length with the dremmel tool. Then spent quality time under the panel installing the adell clamps and connecting the cable to the heat flap lever arm.
Heres the cabin heat cable with the push button lock installed in the control panel.
Section: avionics
Hours: 1
I decided to replace the cigarette lighter with a dual USB charger. There are a lot of these chargers available on Amazon, but the one I got was a little more expensive but supposedly does not radiate a bunch of electrical noise and won't interfere with the radios and intercom.
Monday, August 20, 2018
Subscribe to:
Posts (Atom)