Section: avionics, wings
Hours: 5
I finished up the installation of the pitot tube.
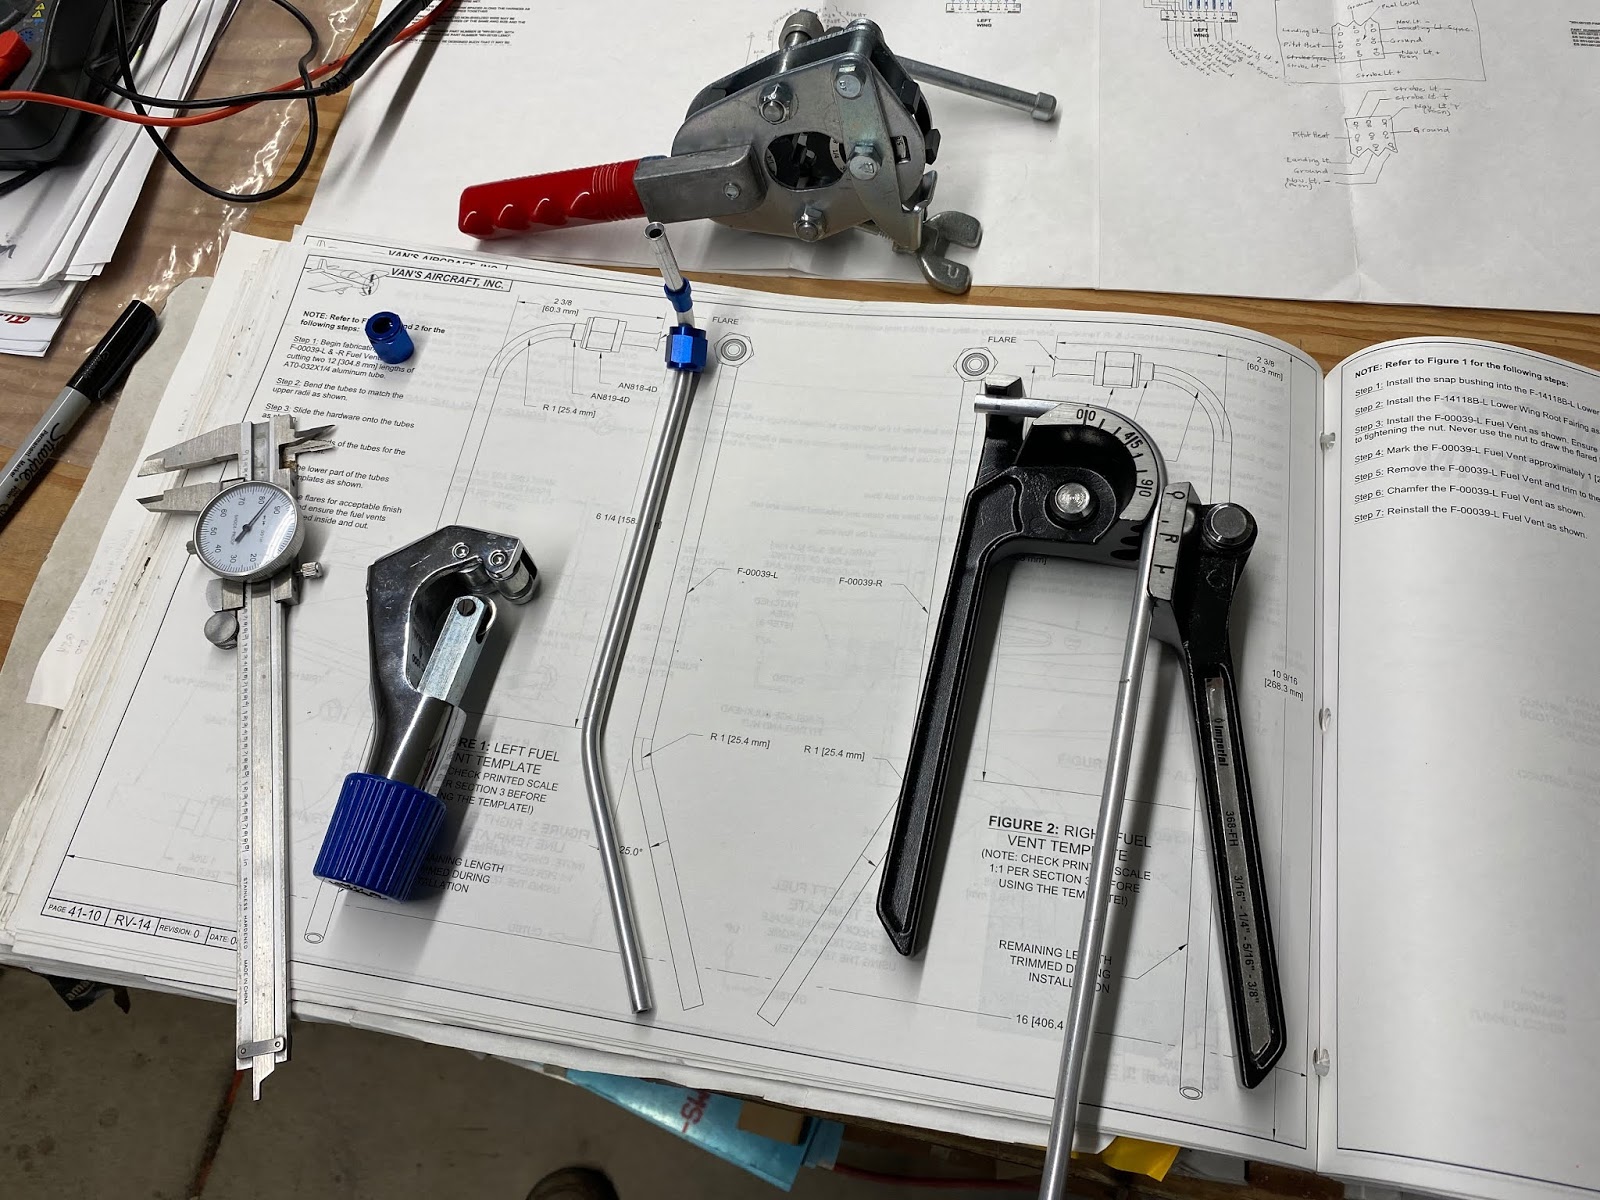
Here are the fittings for attaching the plastic lines to the aluminum lines from the pitot. I decided to use 90 degree connectors so the plastic tubing will not have to make a sharp bend at the end.
I bundled up the excess wiring and laced it up.
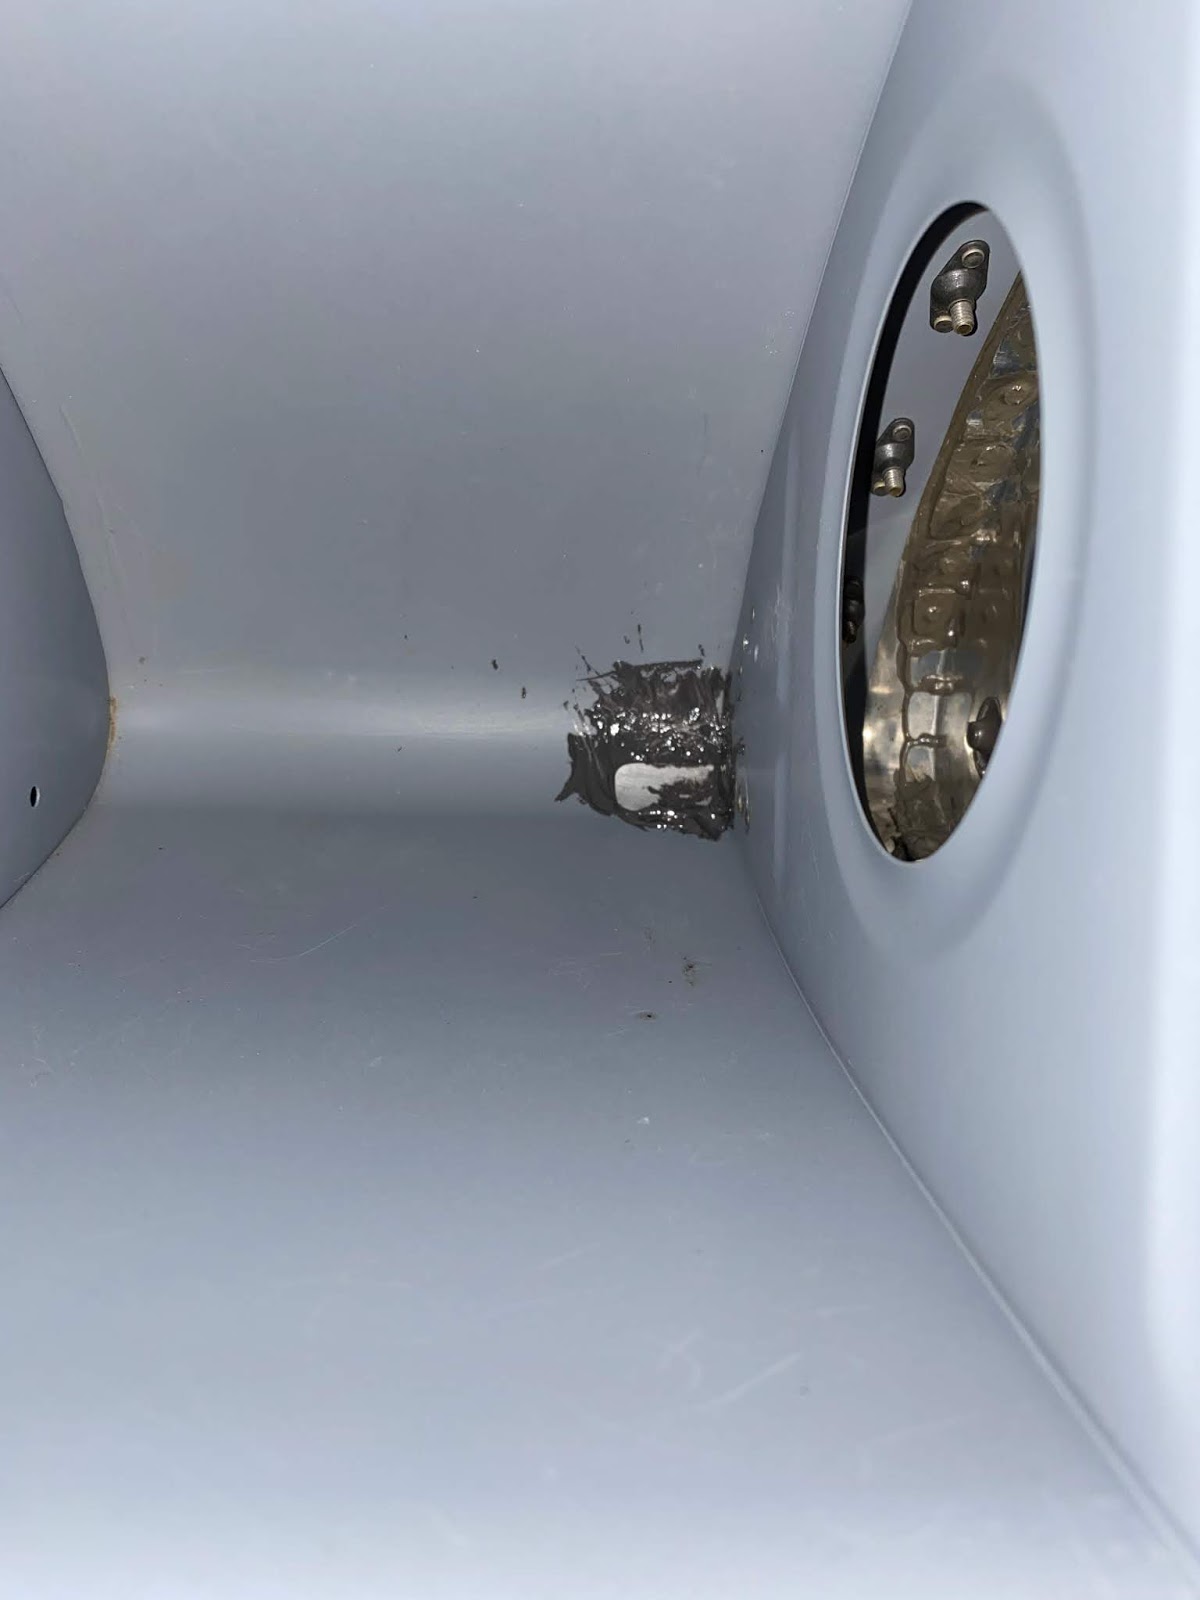
Here's the inside view of where the plastic tubing attaches.
The pitot wiring would not fit through the existing wiring bushing so I wrapped it with spiral wire protector and ran it through the rib opening.
Here is the mast and pitot after installation. The controller box is under the access plate to the right of the pitot mast.