Monday, June 11, 2018

Section: 24
Hours: 4

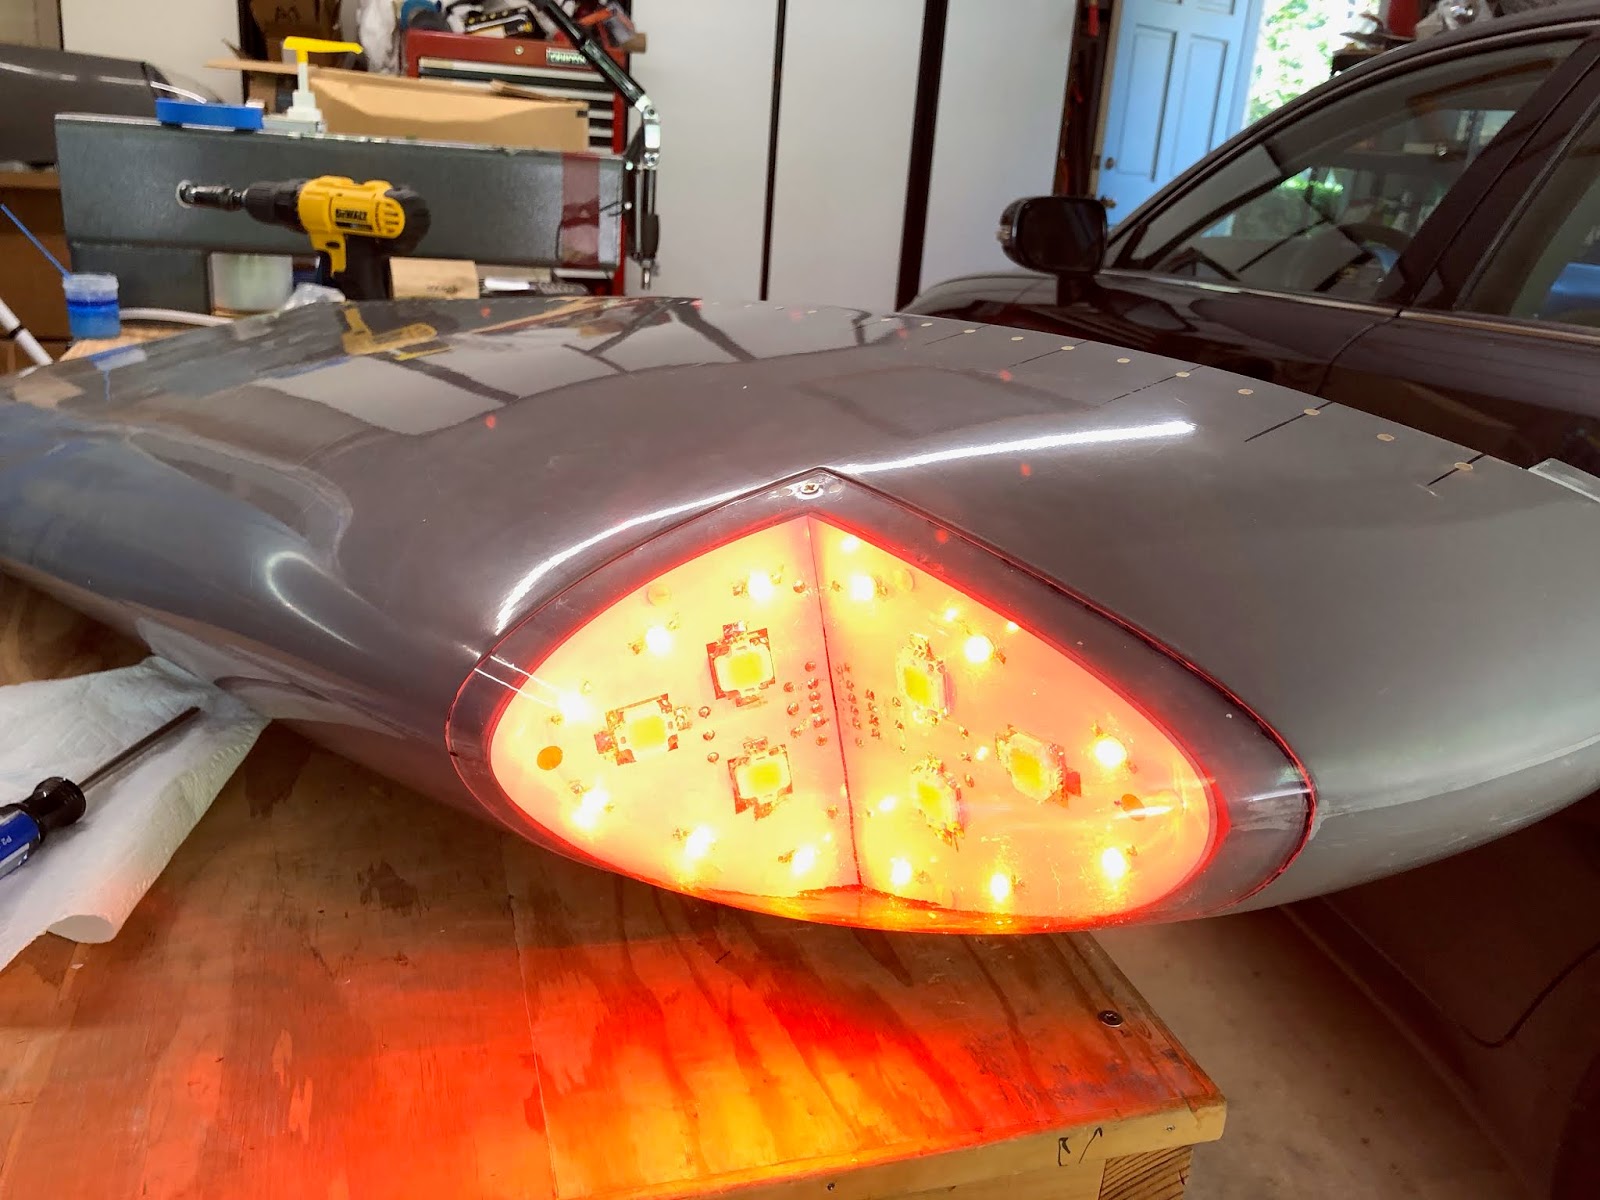
Today I wired up the nav and strobe lights. First I made 2 connector harnesses with a coax shielded section of wire.

I made the harness long enough to reach from the wing tip to the connector on the end rib of the wing. This harness also has to be long enough so it can be routed to minimally interfere with the NAV antenna which will be added later.

Here they are lit up using a small 9 volt battery. These will be very bright when connected to ship power.


Sunday, June 10, 2018

Section: 47
Hours: 2

I fabricated several tension rods for the baffling. I tried to cut the threads on the end of the rods using a cheap Harbor Freight die set without any luck, so I went to the hardware store and bought a slightly less cheap tap and die set. The better die combined with proper application of thread cutting oil die a fine job.

Section: 24
Hours: 5

I worked on installing the navigation and strobe lights in the wing tips. First I cut out holes in the wing tips to allow the PCB to sit flush. Then I trimmed the PCBs to fit in the wing tip by sanding down and beveling the edges. Next I trimmed the clear plastic lens cover.


Friday, June 8, 2018

Section: 47
Hours: 2

The manual calls out that RTV be applied to several sections of the baffling. I taped off the areas and applied the RTV using a popsicle stick and spreading it evenly using an old credit card for a squeegee.

Thursday, June 7, 2018

Chapter: avionics
Hours: 8

I mounted the GEA 24 box on the GTR 45R tray and then moved the instrument panel and wiring harness into the fuselage. The harness will have to be routed behind the sub panel and sorted out, but I was able to make many of the connections to the panel equipment today.


Wednesday, June 6, 2018

Section: 43
Hours: 1

The tach drive port cover was not included in the kit so I ordered it from Vans. The part arrived today and I installed it on the engine.

Section: 47
Hours: 5

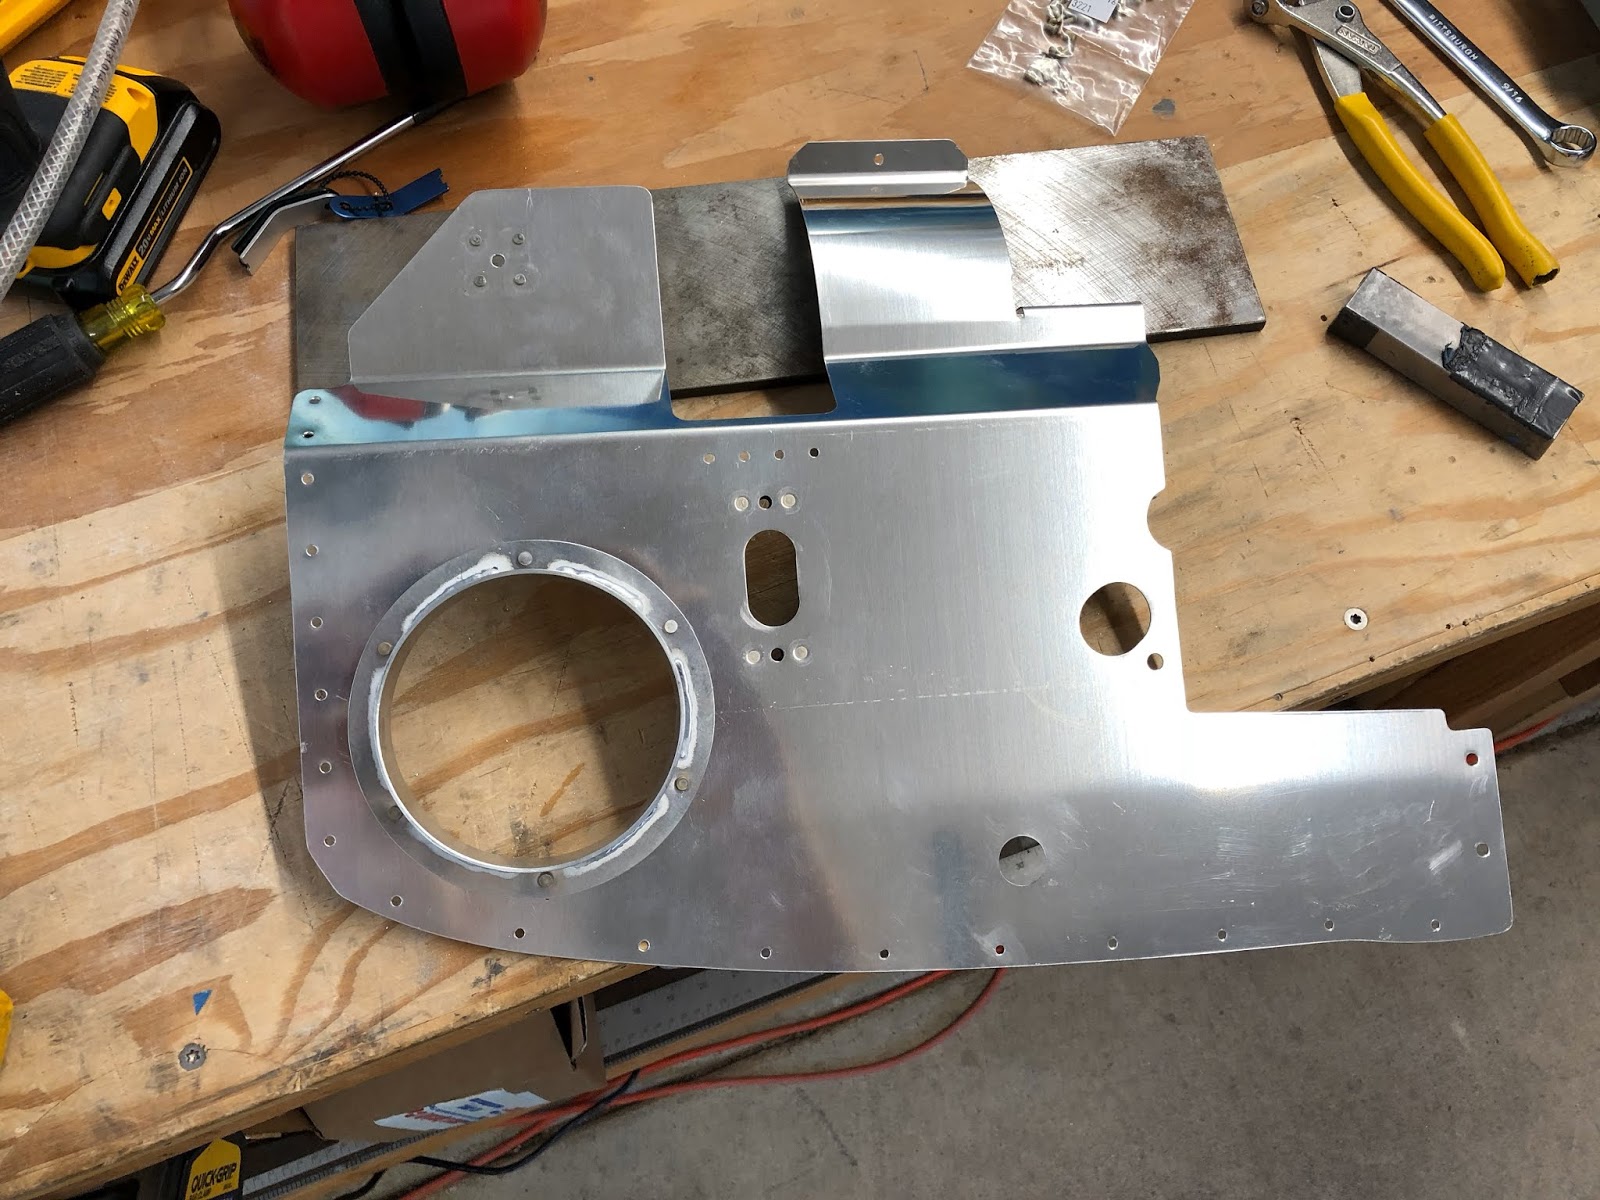
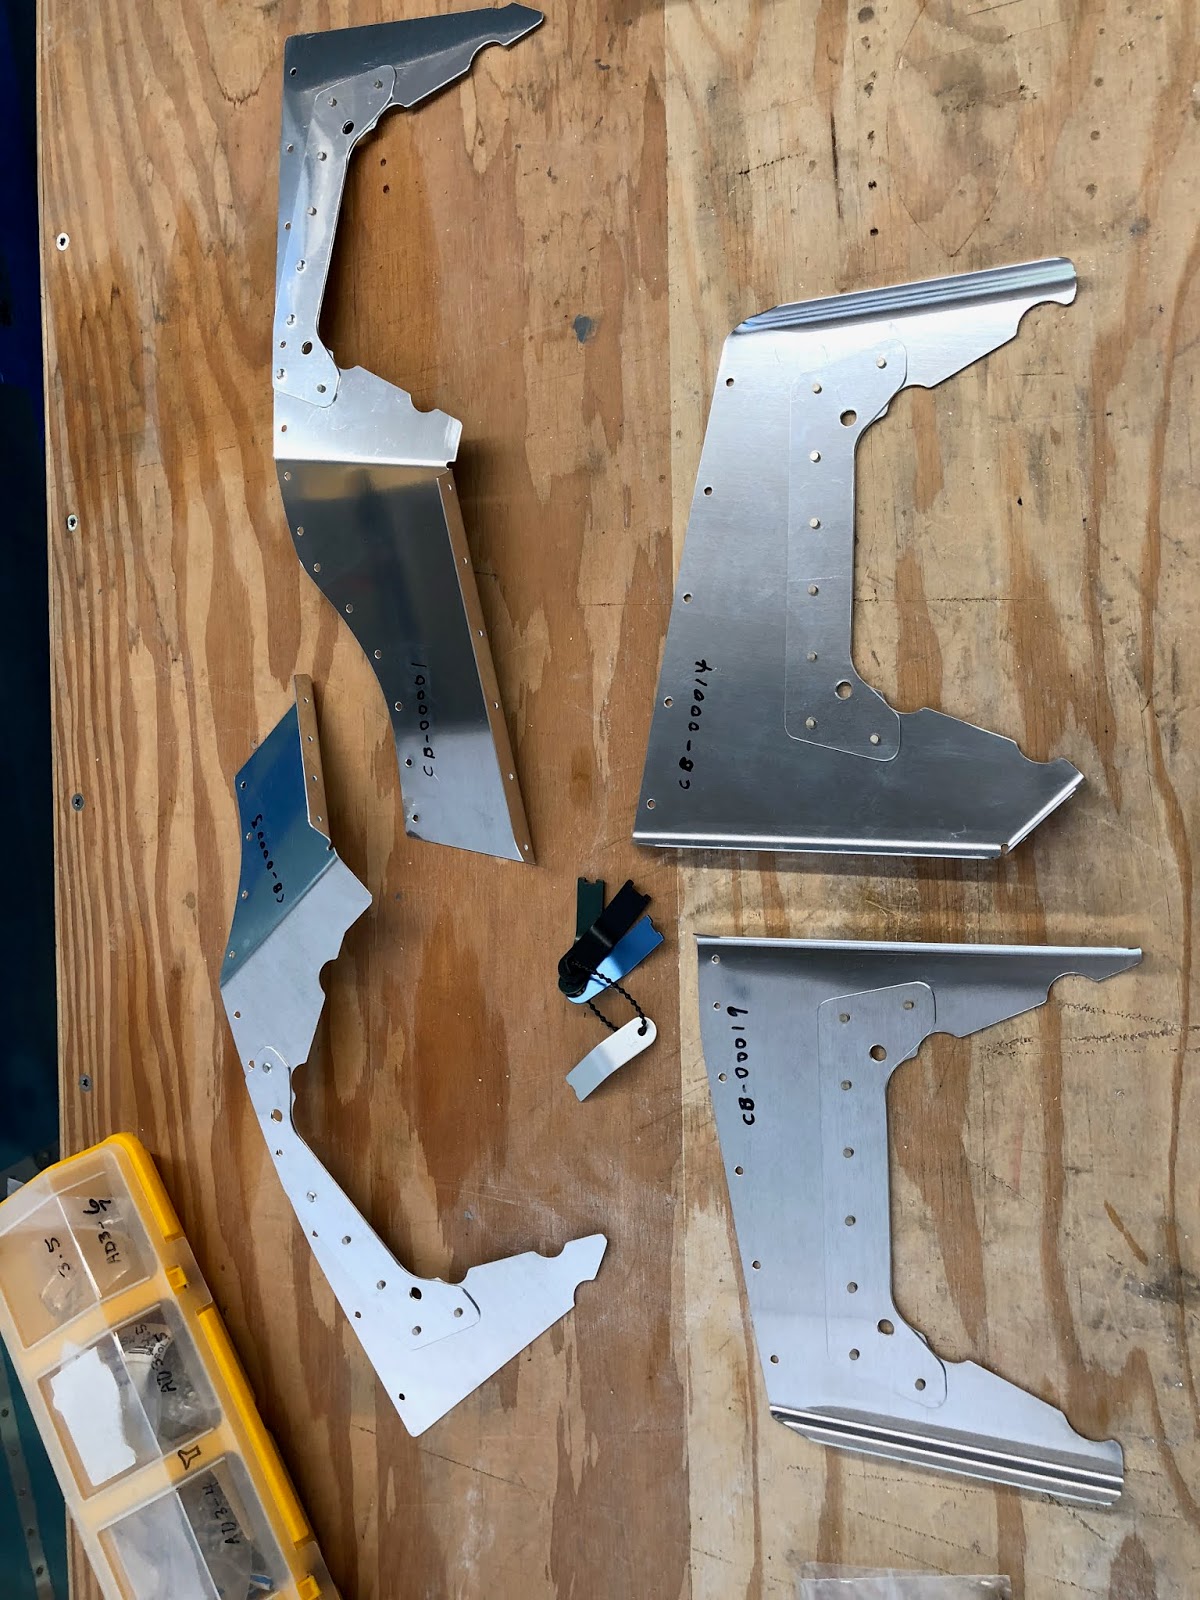
I continued fabricating the baffling.


Tuesday, June 5, 2018

Section: 47
Hours: 7

I'm waiting for some engine parts so I moved on to fabricating the cowl baffle. I decided to not prime these parts as they will be in the warm engine compartment (and I'm tired of priming...)


Friday, June 1, 2018

Section: 43
Hours: 5

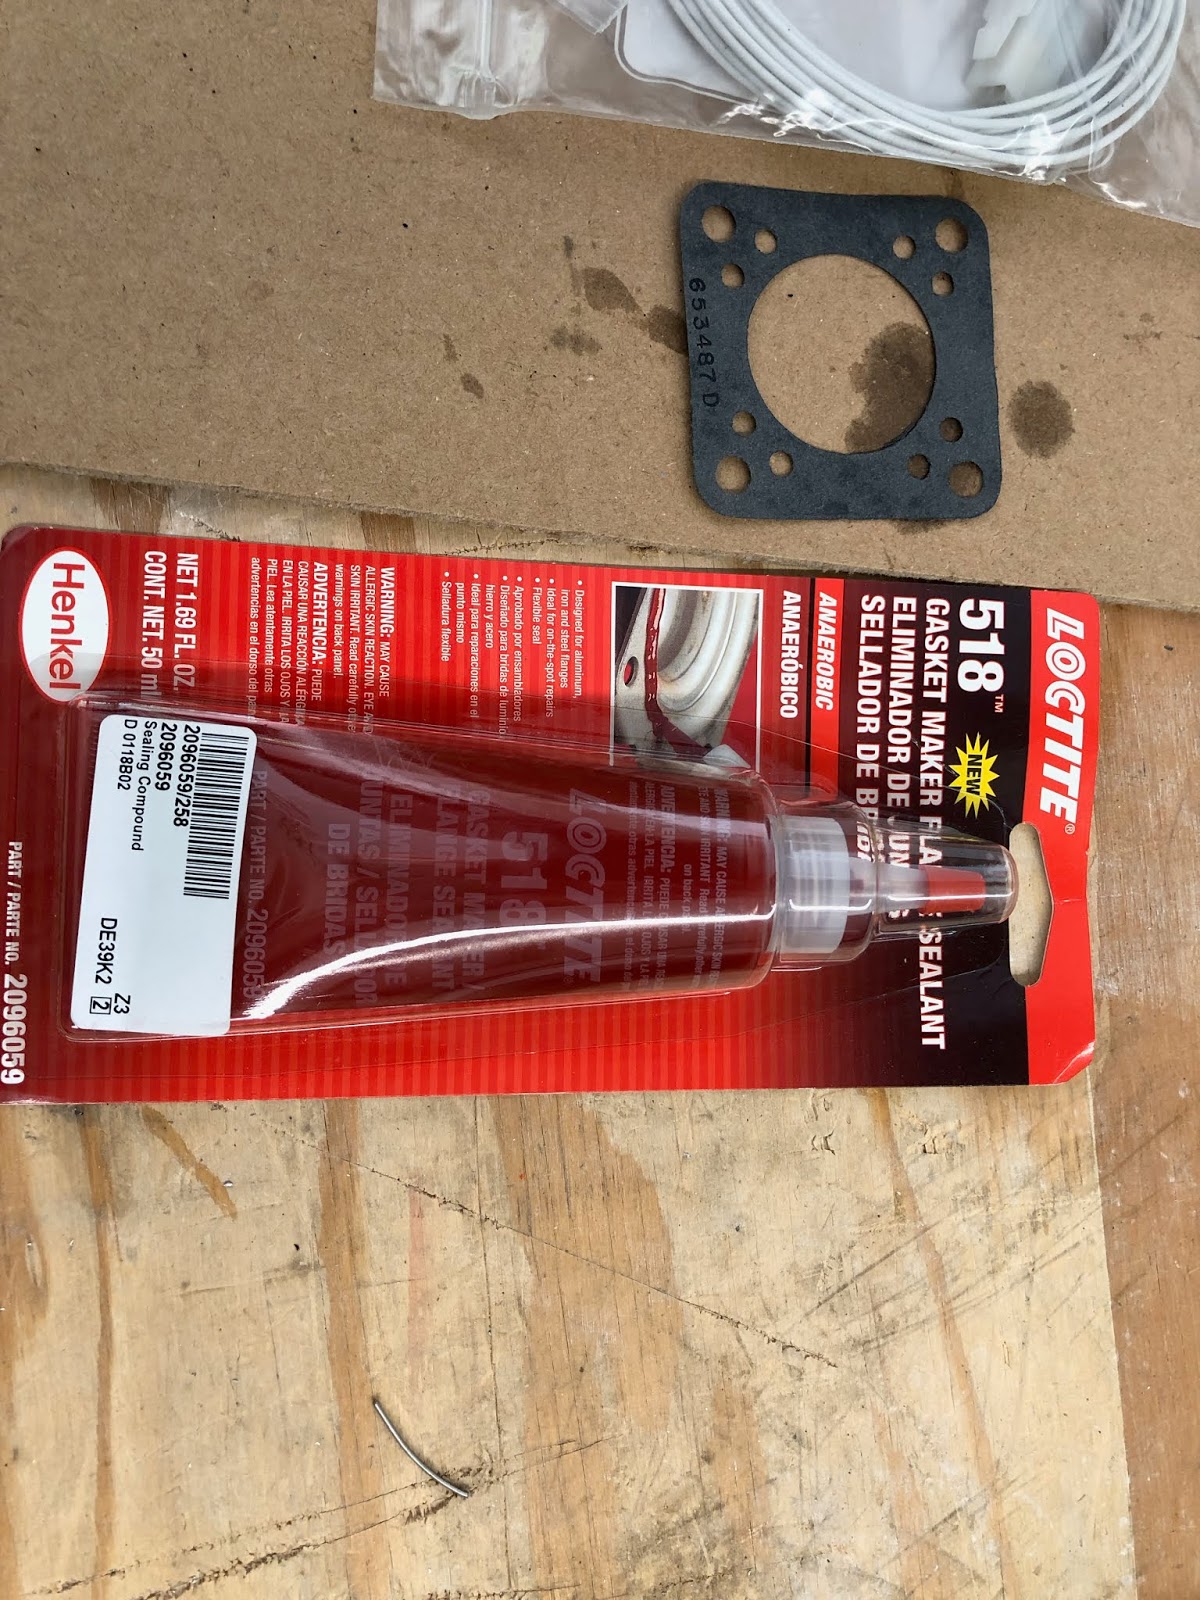
I decided to use a B&C BC410-H backup alternator since I will have an all electronic panel. I installed the alternator. The lower right bolt is very difficult to reach and required a special snap-on wrench. The gasket is sealed using Loctite 518.

Today I also added various fitting to the back of the engine. Many of the fittings have a recommended clocking. I used the adjustable protractor to set the angles.