Wednesday, March 23, 2016

Section: 14
Hours: 4

I match drilled the left wing ribs to the spar and drilled the systems holes for the wiring runs.


The instructions in section 14 have you dimple only the lower flange of the ribs, but I know that the upper skins also have flush rivets. I read ahead and discovered that the inboard 4 ribs do not get dimpled because the wing walk doublers and wing skin get counter sunk. However, the remaining ribs do get dimpled. I went ahead and dimpled the upper flange for all but the inner 4 ribs for both the left and right wing now, rather than wait until chapter 16. It is easier to dimple before the ribs are riveted to the spar.

Tuesday, March 22, 2016

Section: 14
Hours: 4

I drilled the systems holes into the ribs for the right wing and deburred them. The construction manual instructions and drawings for the systems holes didn't add up in the Rev. 1 version. I downloaded the latest Rev.2 drawings and it still wasn't completely clear. I ended up drilling holes for the specified bushings. The number and placement of the holes varies as you move outboard.


Monday, March 21, 2016

Section: 14
Hours: 6

I unwrapped the wing spars, removed the rib bolts, nuts and washers and clecoed the ribs in place. There are three basic ribs forms (W1010,W1011, W1012) and each comes in left and right hand versions.  Not all left hand pieces go into the left wing panel- a mixture of left and right hand pieces go into each wing. It took some very careful reading of the diagrams in the construction manual to get everything in the correct place. I assembled both the left and right wings to make sure I got all the ribs in the correct places. It was a good cross check to do both wings- I did end up with 1 rib mis-sorted which I discovered while assembling the opposite wing.

I match drilled the ribs to the spar for the right wing. I also deburred the just drilled holes.

Saturday, March 19, 2016

Section: 14
Hours: 4

I dimpled all the rivet holes in the bottom flange of all the ribs using the pneumatic squeezer (616 dimples).

Next I finished the edges and assembled the torque tube support subassemblies and final drilled and deburred all the holes.

I had to move the flute in the rib slightly off center between the rivet holes to provide clearance for the bracket. I flattened out the original flute, marked the new location and then squeezed another flute.

I finished up this afternoon assembling and drilling the 4 flap hinge assemblies (two shown here). I had already finished the edges and straightened the flap hinge brackets right after unpacking the wing kit back at the end of October, so this task went fairly quickly today.

Friday, March 18, 2016

Section: 14
Hours: 4

Today was fluting day- the forward portion of all the ribs need to be fluted. Here's the tools I use- fluting pliers, flat pliers, triangle and a wood block with slot and rounded nose for bending the flanges.

When the flanges are formed in the factory, they warp slightly as seen in this photo.

Flutes have to be added to the flange to pull the rib back to flat.  There is a real art to fluting- if you flute too deeply, the rib bends in the opposite direction. Each flute needs to be approximately half way between each rivet hole. I've found that you need slightly deeper flutes towards the middle and shallower flutes on the ends of the ribs. In general I make two passes- the first pass I just lightly flute so the rib will come close to lying flat on the table. Then I hold the rib down on the table and adjust each flute until I see the end of the rib lift slightly off the table.

After fluting, I go around and check all the flanges to make sure they are 90 degrees to the table. Often the flanges are slightly splayed outwards and have to be bent back using the wood block shown below. I initially just eyeball the adjustments.

After getting the flanges close to 90 degrees using the wood block, I check all the rivet hole locations to make sure the flange surface is very close using my drafting triangle. I'll make small adjustments using my fingers to get the final alignment.

Here's the stack of 28 ribs with flutes added. Woody is double checking the instruction manual to make sure I didn't miss anything.

Thursday, March 17, 2016

Section: 14
Hours: 5

I'm back to working on the wings. Today I worked on finishing the edges of the 28 wing ribs. I ran all the edges over the grinding wheel and used the die grinder to deburr all the interior cutouts. Then I final sized all the flange rivet holes using a #40 reamer in the air drill. The reamer leaves very clean holes, but I still did a de-burr pass after reaming. Each rib has 44 holes so that was 1,232 reams and 2464 de-burrs (one for each side of the hole). Lots of work with little to show other than a big stack of ribs!

Tuesday, March 1, 2016

Section: 9
Hours: 4

I trimmed the counter weights and fastened them to the arm of the elevator. The bolts are torqued to 28 inch pounds and marked with torque seal.


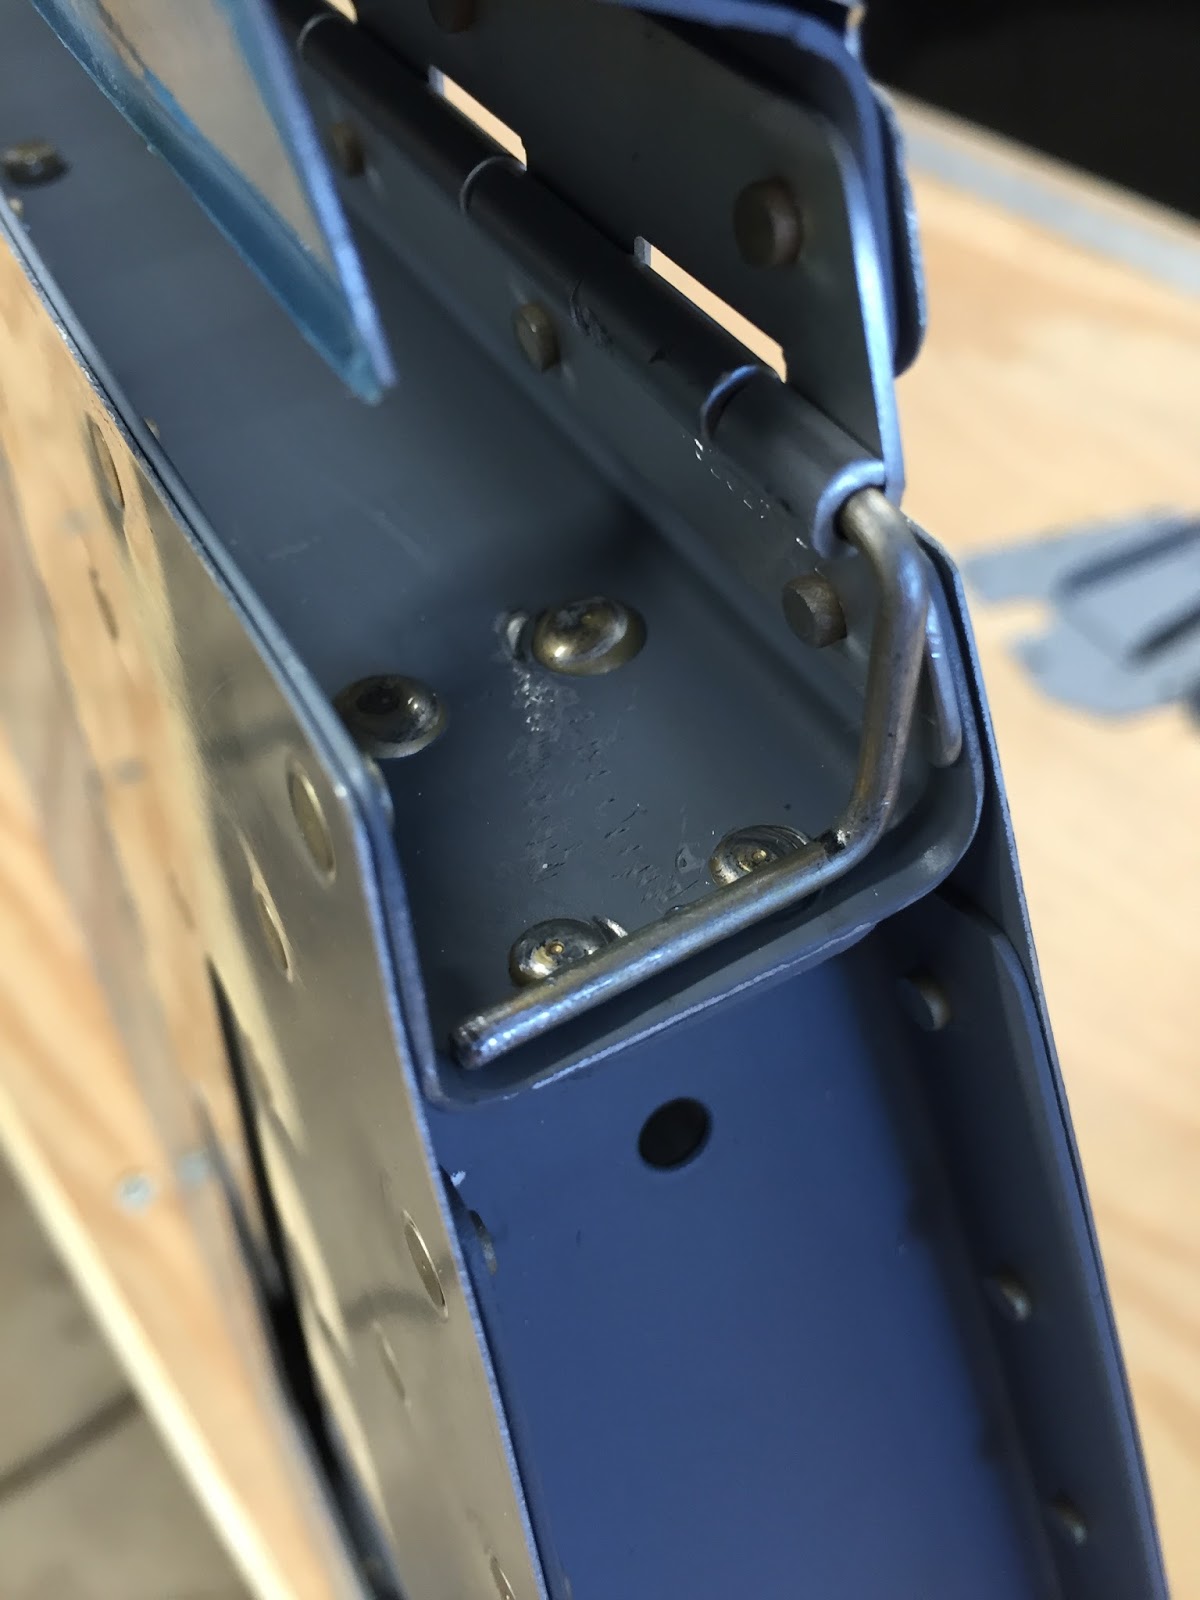
Next I installed the trim tab. I cut the hinge wire to length, bent the end and drilled a hole for the safety wire. My safety wire is out at the airport so I will install that later...

 The piano hinges aligned nicely and the trim tab moves with little resistance. Everything seems to have aligned nicely and the trailing edge looks straight. This is the first moving surface I've completed!


I put together the trim tab servo mount and linkage arm. I need to get a wire crimping tool to attach the pins to the ends of the servo leads, so I didn't install the servo to the elevator yet.