Section: 21
Hours: 8
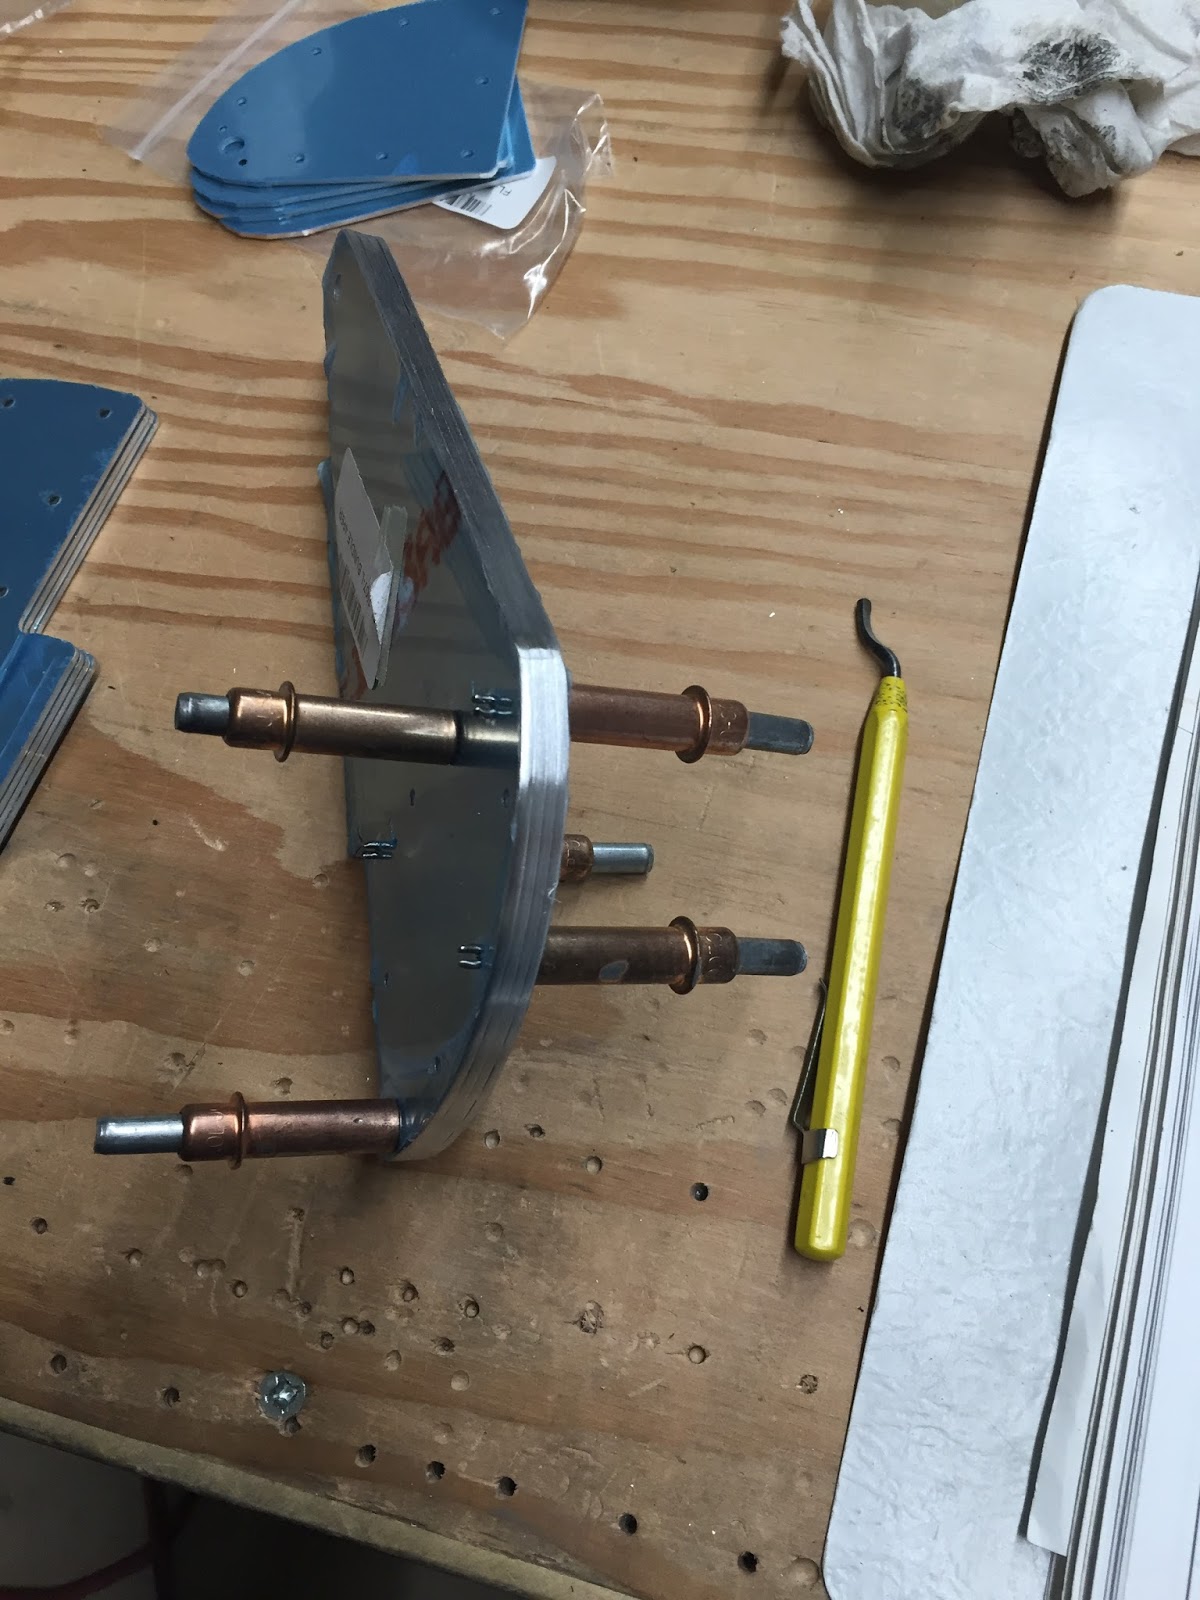
I fabricated a jig per the plans for counter sinking holes in the hinge bracket flanges but I had a difficult time using it. I ended up mounting my counter sink with out the cage attached in my drill press to make these counter sinks. After Googling how to do this operation I discovered this setup is called a "suicide" because it is so easy to screw up. I successfully got it to work, but I took my time and stopped often to measure.
I then disassembled the flaps and dimpled all the holes common to the skins, spar and rib flanges.
Disclaimer: This blog is to provide others insight into my experience and for my own historical purposes. Airplane construction is a serious affair. I have no authoritative skills relating to airplane construction. As such, any use of the information contained on this blog is at your own risk.
Saturday, November 7, 2015
Friday, November 6, 2015
Section: 21
Hours: 8
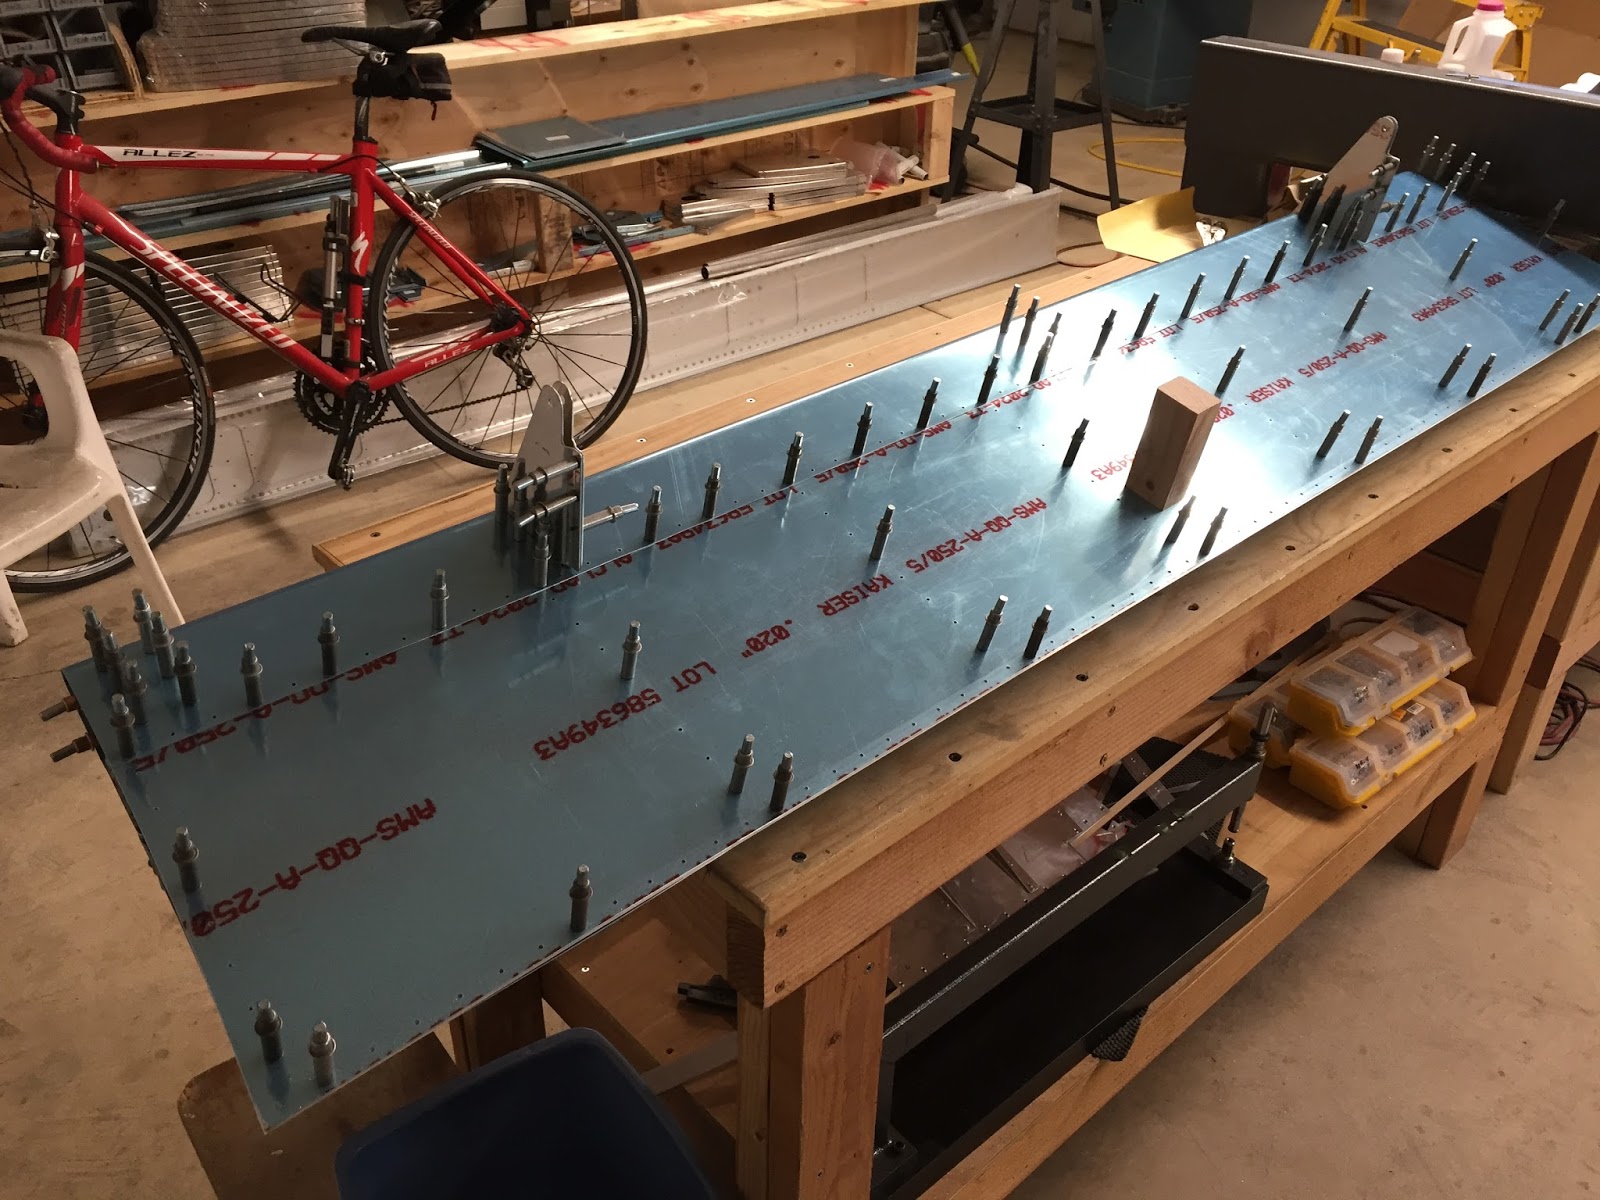
I cut the flap trailing edge pieces to size and match drilled them to the flap skins. The holes are drilled at 84 degrees to the skin surface. I cut a piece of 2 x 2 wood with an 84 degree bevel on the end to use as a drill guide.
I assembled the spar, ribs and skins with clecos. Then I match drilled the hinge flange brackets in place.
Hours: 8
I cut the flap trailing edge pieces to size and match drilled them to the flap skins. The holes are drilled at 84 degrees to the skin surface. I cut a piece of 2 x 2 wood with an 84 degree bevel on the end to use as a drill guide.
I assembled the spar, ribs and skins with clecos. Then I match drilled the hinge flange brackets in place.
Thursday, November 5, 2015
Section: 21
Hours: 8
I clecoed the flap parts together to check for fit. I used the edge break tool to adjust the edges of the nose skin so they will lie flat when assembled later.
Hours: 8
I clecoed the flap parts together to check for fit. I used the edge break tool to adjust the edges of the nose skin so they will lie flat when assembled later.
Wednesday, November 4, 2015
Section: 21
Hours: 8
The 16 flap ribs have to have a tab trimmed off the trailing edge. I started cutting by hand using my Dremel tool, but I wasn't happy about the result. And, I had 15 more to do. So I built a holder and a fence for the Dremel so I could adjust the cut depth and then accurately slice the tabs off the remaining ribs. The holder and fence were worth the effort and I now have it for future jobs. I also polished the edges, adjusted the flange angles and flattened out some puckering and final drilled and deburred the holes.
Hours: 8
The 16 flap ribs have to have a tab trimmed off the trailing edge. I started cutting by hand using my Dremel tool, but I wasn't happy about the result. And, I had 15 more to do. So I built a holder and a fence for the Dremel so I could adjust the cut depth and then accurately slice the tabs off the remaining ribs. The holder and fence were worth the effort and I now have it for future jobs. I also polished the edges, adjusted the flange angles and flattened out some puckering and final drilled and deburred the holes.
Tuesday, November 3, 2015
Section: 21
Hours: 8
A variety of match drilling and counter sink operations have to be performed on the hinge brackets and ribs.
Hours: 8
A variety of match drilling and counter sink operations have to be performed on the hinge brackets and ribs.
Monday, November 2, 2015
Section: 21
Hours: 8
I started prepping the flap parts. There are multiple The thick parts that need edge smoothing and polishing.
The flap hinge brackets have a set of 4 holes that must be laid out and drilled. I ganged the 4 FL-1007-L brackets and drilled them together on the drill press.
Then I adjusted the flanges on the hinge brackets so they would be parallel. Mine definitely needed adjustment to get them into alignment.
The edges of the nose ribs need to be rounded on the buffer.
Hours: 8
I started prepping the flap parts. There are multiple The thick parts that need edge smoothing and polishing.
The flap hinge brackets have a set of 4 holes that must be laid out and drilled. I ganged the 4 FL-1007-L brackets and drilled them together on the drill press.
Then I adjusted the flanges on the hinge brackets so they would be parallel. Mine definitely needed adjustment to get them into alignment.
Straight edge held against flange shows several degrees out of parallel
Straight edge alignment after adjusting the flange.
The edges of the nose ribs need to be rounded on the buffer.
Sunday, November 1, 2015
Section: 22
Hours: 8
I deburred and dimpled the aileron stiffeners, main ribs and skins. I also dressed the edges of the skins.
Hours: 8
I deburred and dimpled the aileron stiffeners, main ribs and skins. I also dressed the edges of the skins.
Subscribe to:
Posts (Atom)