Sunday, September 20, 2015

Section: 9
Hours: 8

To finish the assembly of the elevators, I inserted the rear spar and weighted down the assembley under a straight board to prevent warping. The rear spar is attached with pull rivets to the internal ribs and then riveted to the skins.


The outer edges of the skin are riveted with flush rivets.

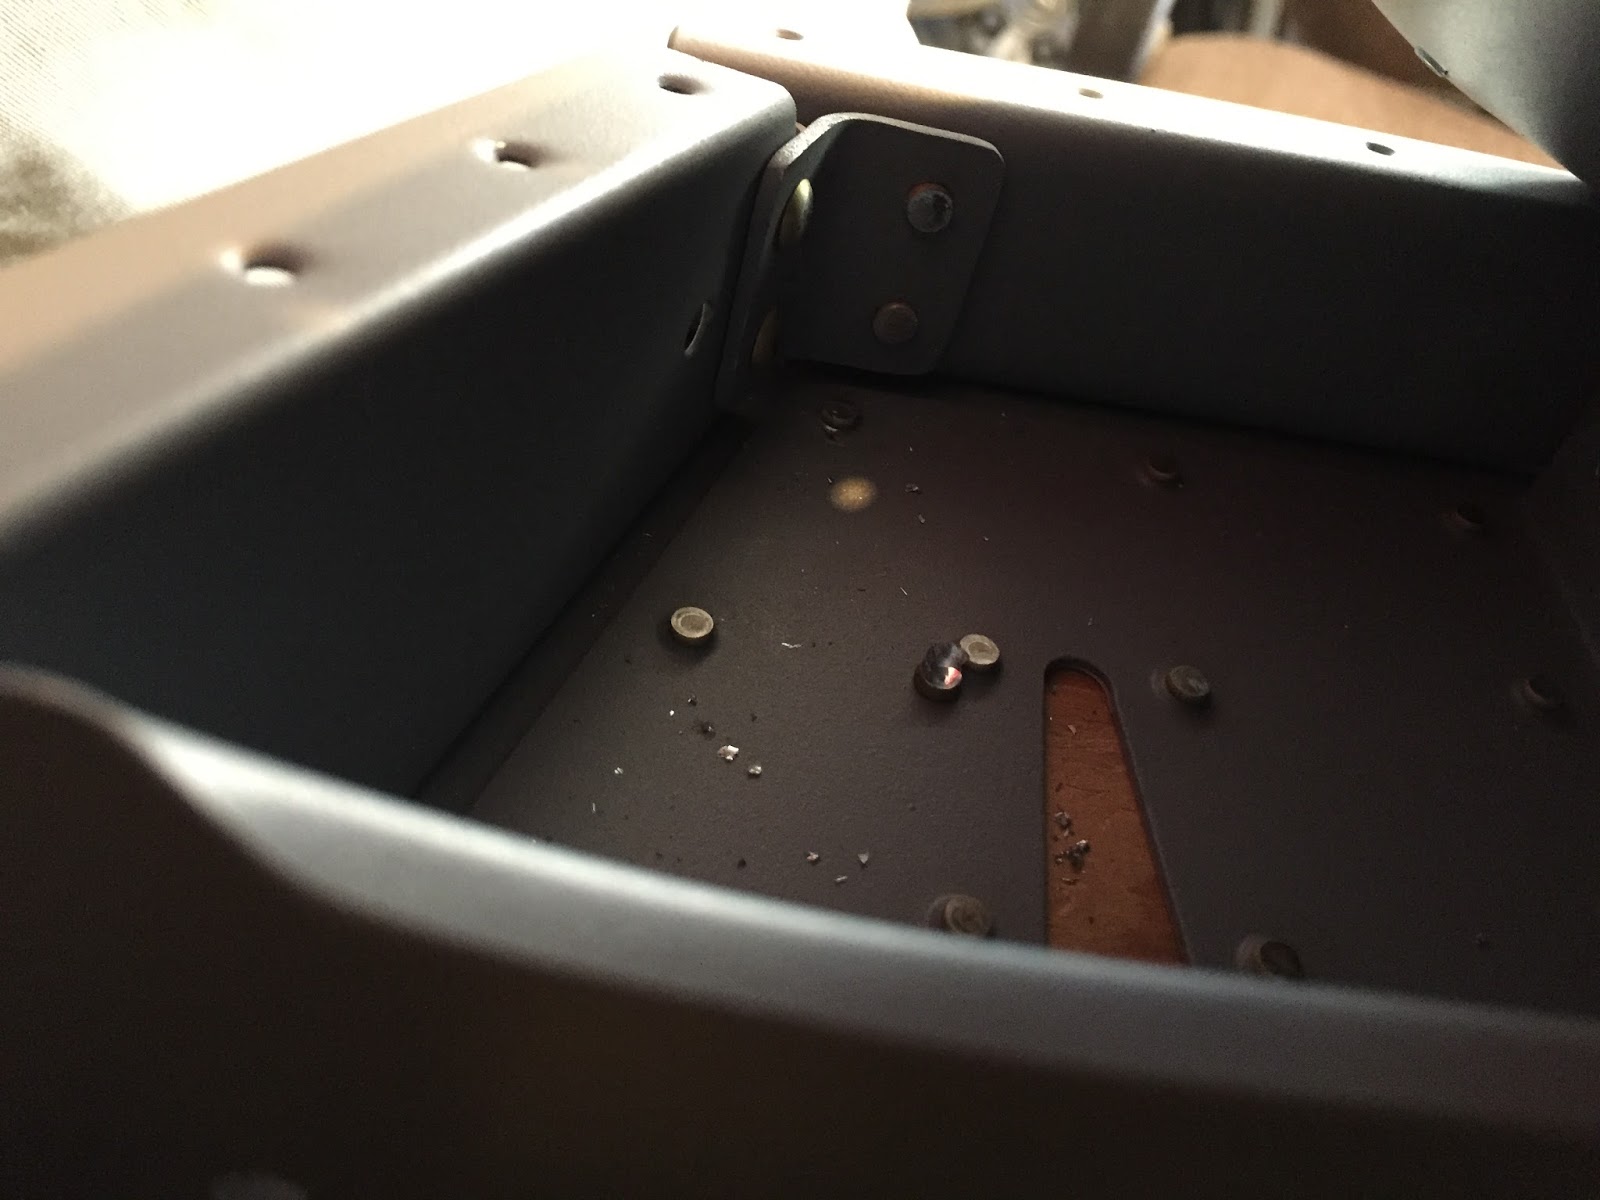
I couldn't squeeze the rivets in this corner of the rear spar and non of the regular rivet gun sets would fit either. I finally used the rivet set holder from my Cleveland C-Frame inserted in my rivet gun with the a 3/16" round set die inserted.

The angle corner brace was a bugger to rivet. I drilled out at least one rivet before I got it.
 I was able to use the squeezer to set the flush rivets along the rear spar. Had to be careful not to squish any of the hinge laces. I used the rubber washer trick to make sure the skin, hinge and rear spar all came together snugly.


To set the end rivet on the rear spar, I had to grind off a corner of the special bucking tool so I could get it securely under the skins and into the corner.
Here's some pictures of the riveted together elevators. I'm going to hold off on gluing the pvc foam ribs until we get some cooler weather. It's been unusually hot for this time of year.


The trim tab is the first moving surface I've assembled so far. The hinge turned out nice and straight and the tab moves without any binding!


Saturday, September 19, 2015

Section: 9
Hours: 8

The elevator skins are joined by pulling rivets in the overlapping ribs halves.


 The elevator top skin is riveted to the rear spar using a special bucking bar. I thought this was going to be a difficult operation, but it worked just fine.


Friday, September 18, 2015

Section: 9
Hours: 8

The elevator ribs and rear spare are back riveted to the skins before assembly. I discovered that if I inserted a rubber gasket under the back rivet set that it became very easy to prevent any sideways movement during riveting. It also kept the ribs from getting marked up by the metal collar on the rivet set.


Thursday, September 17, 2015

Section: 9
Hours: 8

I set the flush rivets in the elevator counter balance skins with the squeezer. I initially had some trouble closing the gap between the skin and the rib, but then I remembered reading that if you insert a rubber washer over the rivet, the parts will get pulled together before the rivet head is formed. I found some washers in the plumbing section of Lowes that worked nicely. To ensure the skins and tip rib did not warp, I clamped them to the work table during the riveting operation.


Here's a video clip showing how the skins get pulled together when you use a rubber washer.

Wednesday, September 16, 2015

Section: 9
Hours: 8

Back to riveting! I assembled the elevator spar with the tip ribs and doublers.


I used a special set of dies in the squeezer to set the rivets in the trailing edge of the trim tab. The dies have a piano wire that keeps them properly aligned during the operation. The rivets are set double flush.


Friday, September 11, 2015

Section: 9
Hours: 9.5

I primed all the elevator parts today.