Saturday, July 7, 2018

Section: avionics
Hours: 5

I mounted the GEA 24 to the back of the GTX 45R tray. Then I trial fitted the instrument panel and started puzzling out how to run the harnesses. SteinAir does not provide any instructions for installation...


Wednesday, July 4, 2018

Section: avionics
Hours: 4

I completed mounting the Garmin GTX 45R tray. I riveted nut plates on the back of the sub panel and screwed the aluminum channel/ angle brackets on. The marker line on the sub panel shows where the canopy frame extends when closed. The brackets have to clear the canopy frame.

The tray is angled so that the GTX 45R can slide out over fuselage side rail.


Tuesday, July 3, 2018

Section: 47
Hours: 2

I installed the tension rods at the bottom of the baffles.

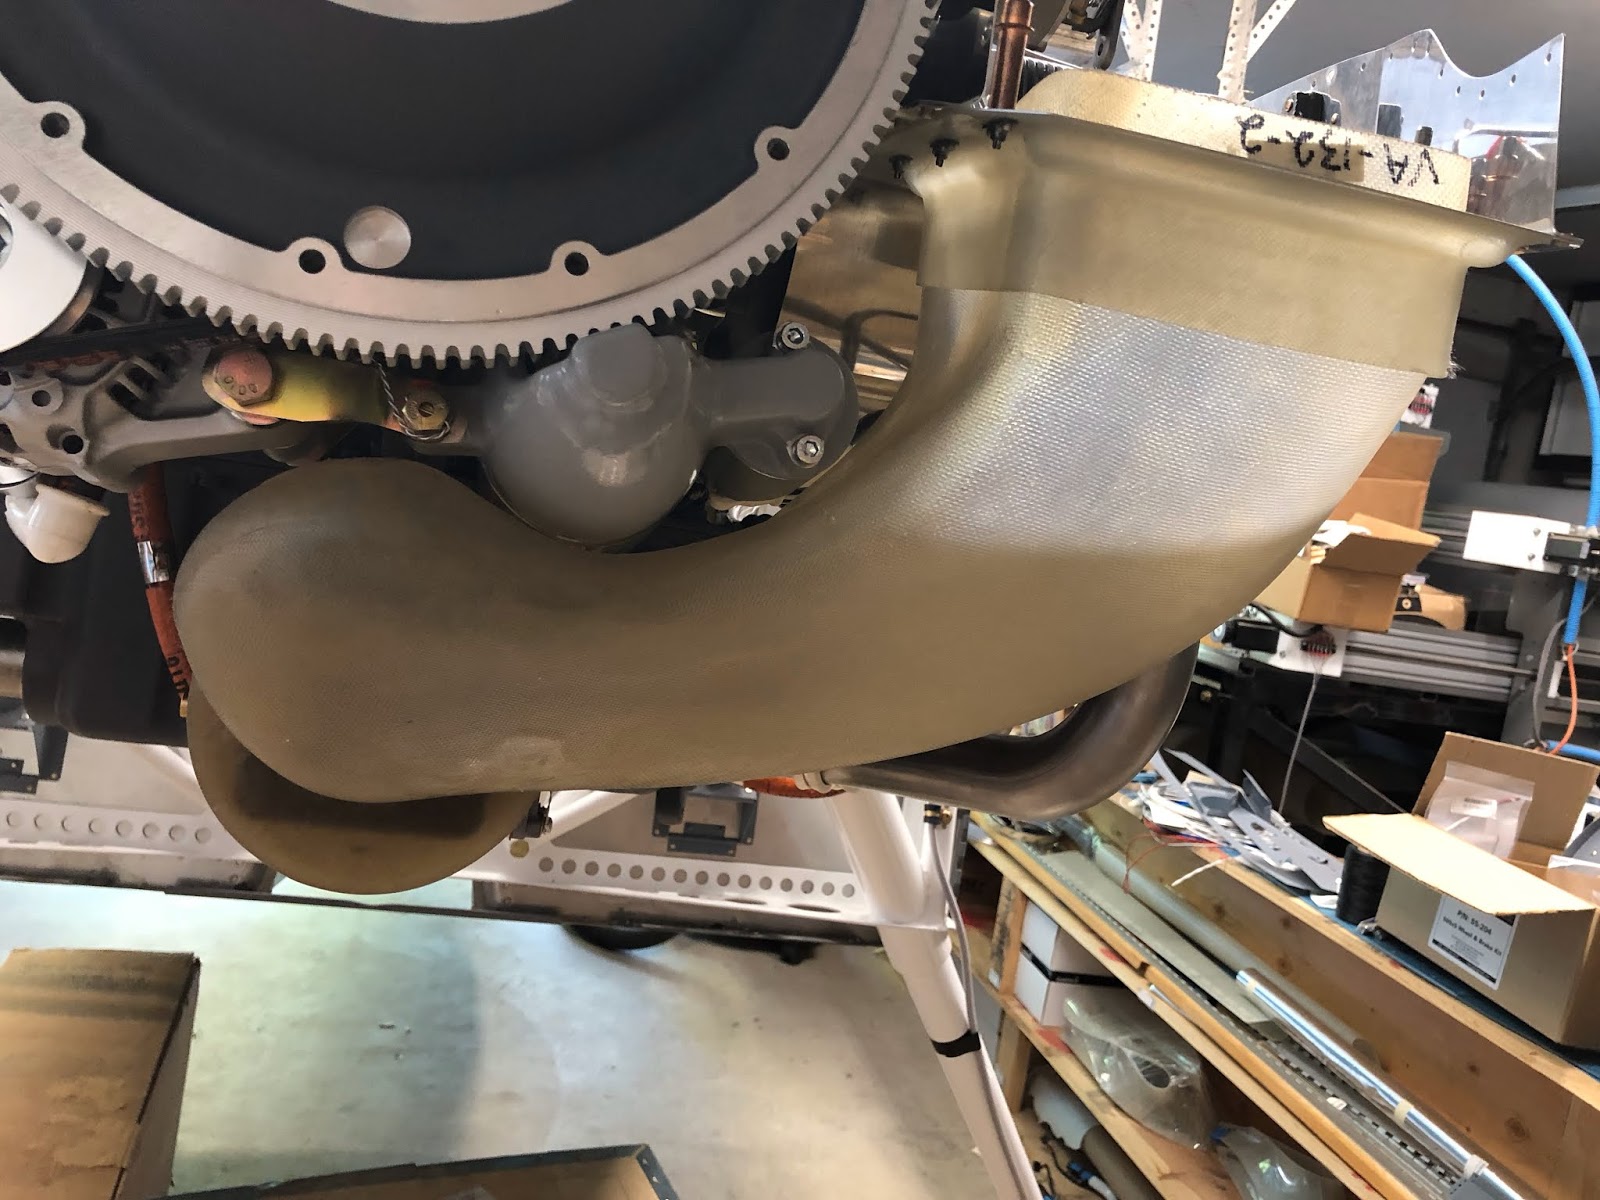
Next I installed the fuel injector servo, main fuel line and began fitting the fiberglass snorkel.


Saturday, June 30, 2018

Section: avionics
Hours: 4

I mounted the canopy frame to the fuselage today so I could check clearance for mounting the Garmin GTX 45R. It has to clear the canopy but also allow sliding it out of tray without hitting the fuselage side longeron.

Now that I have a seat I can sit in the cockpit and make pretend flying noises!

Thursday, June 28, 2018

Section: 47
Hours: 5

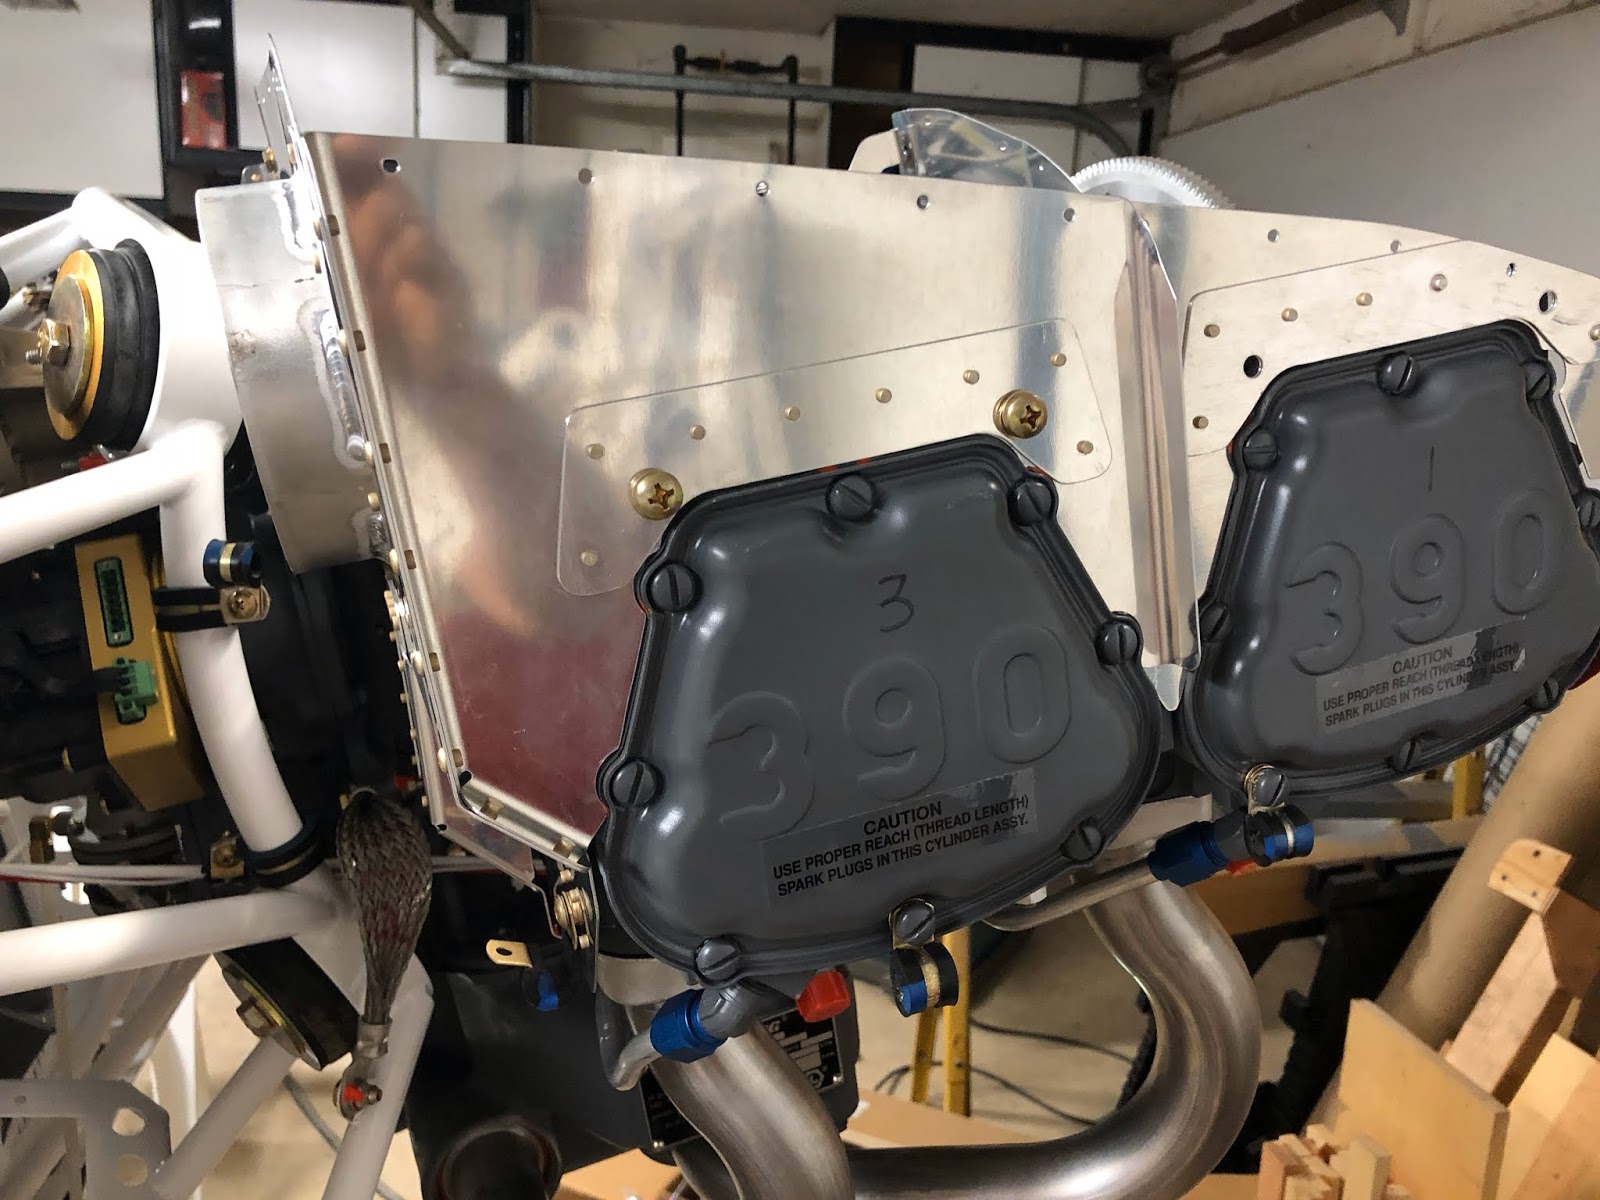
Today I installed the baffling. One tricky part is the screw that goes into the lower right back of the engine. It screws into an insert that is hidden in a port in the engine case. When I first removed the screw, I heard something drop on the floor. Luckily it dropped where I could easily find it and I figured out what it was. To attach the baffle in this area, you have to push the insert into the port hole in the engine case, line up the hole in the insert and then thread the bolt in all while holding the insert in place. Not and easy job...

Here is the rest of the baffling installed.


A large box from Flightlines Interior arrived today!

Wednesday, June 27, 2018

Section: 43
Hours: 4

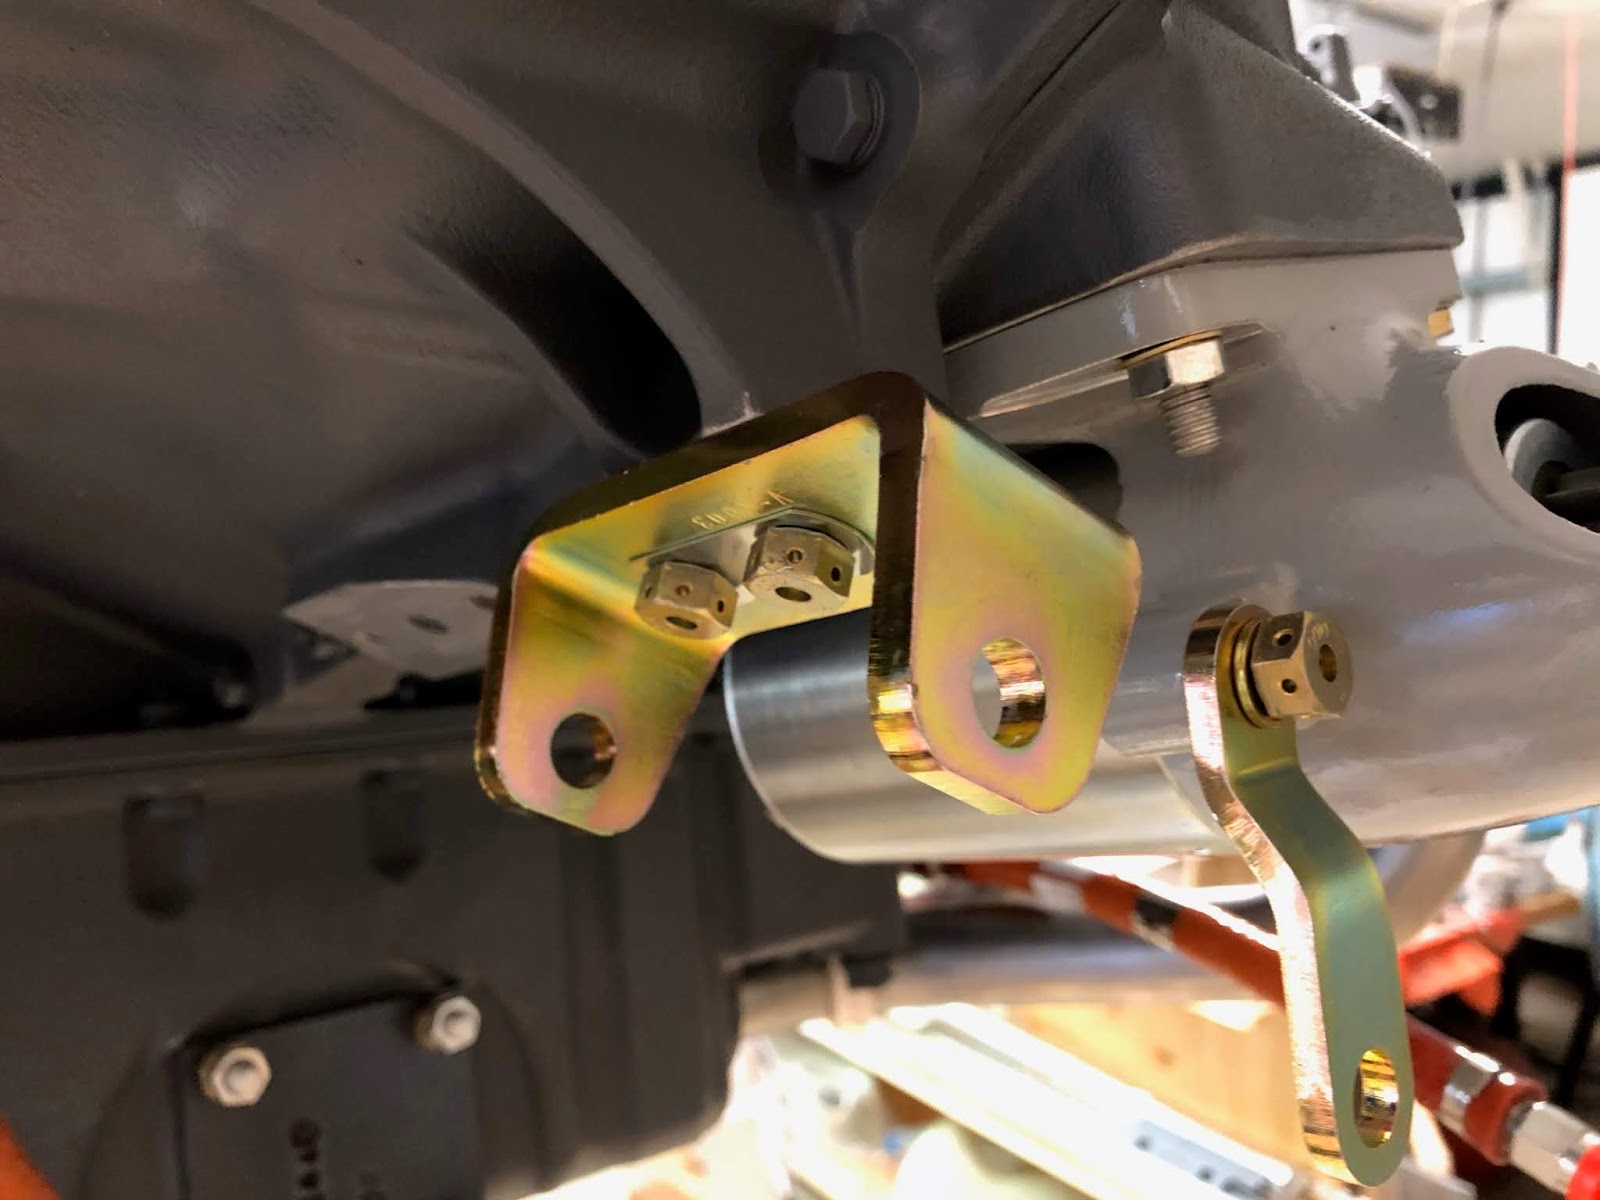
I mounted and wired the alternator.


Then I installed the oil temperature probe.

Tuesday, June 26, 2018

Section: 43
Hours: 5

Today I worked on wiring the starter and installing the alternator. First I installed the cable for the starter.

This is my favorite tool for installing adel clamps. It is a vise grip with a slotted nose. You clamp the ends of the adel clamp using the slotted nose then line up the adel clamp bolt holes by running an awl through them. Insert the bolt, run a nut onto the bolt and remove the vise grip. Works like a charm!


Next I started on mounting the alternator.