Section: 9
Hours: 8.5
The elevator trailing edge skins are supported by a set of pvc foam ribs that are glued to the structure. The kit provides several blocks of foam that must be shaped into the final rib shapes using templates printed in the instruction manual. I used a light mist of 3M Super 77 spray adhesive to attach the paper templates to the foam blocks. Then I used the band saw to rough cut the shapes and the stacked the ribs and used the belt sander, several sanding blocks and files to achieve the final shapes.
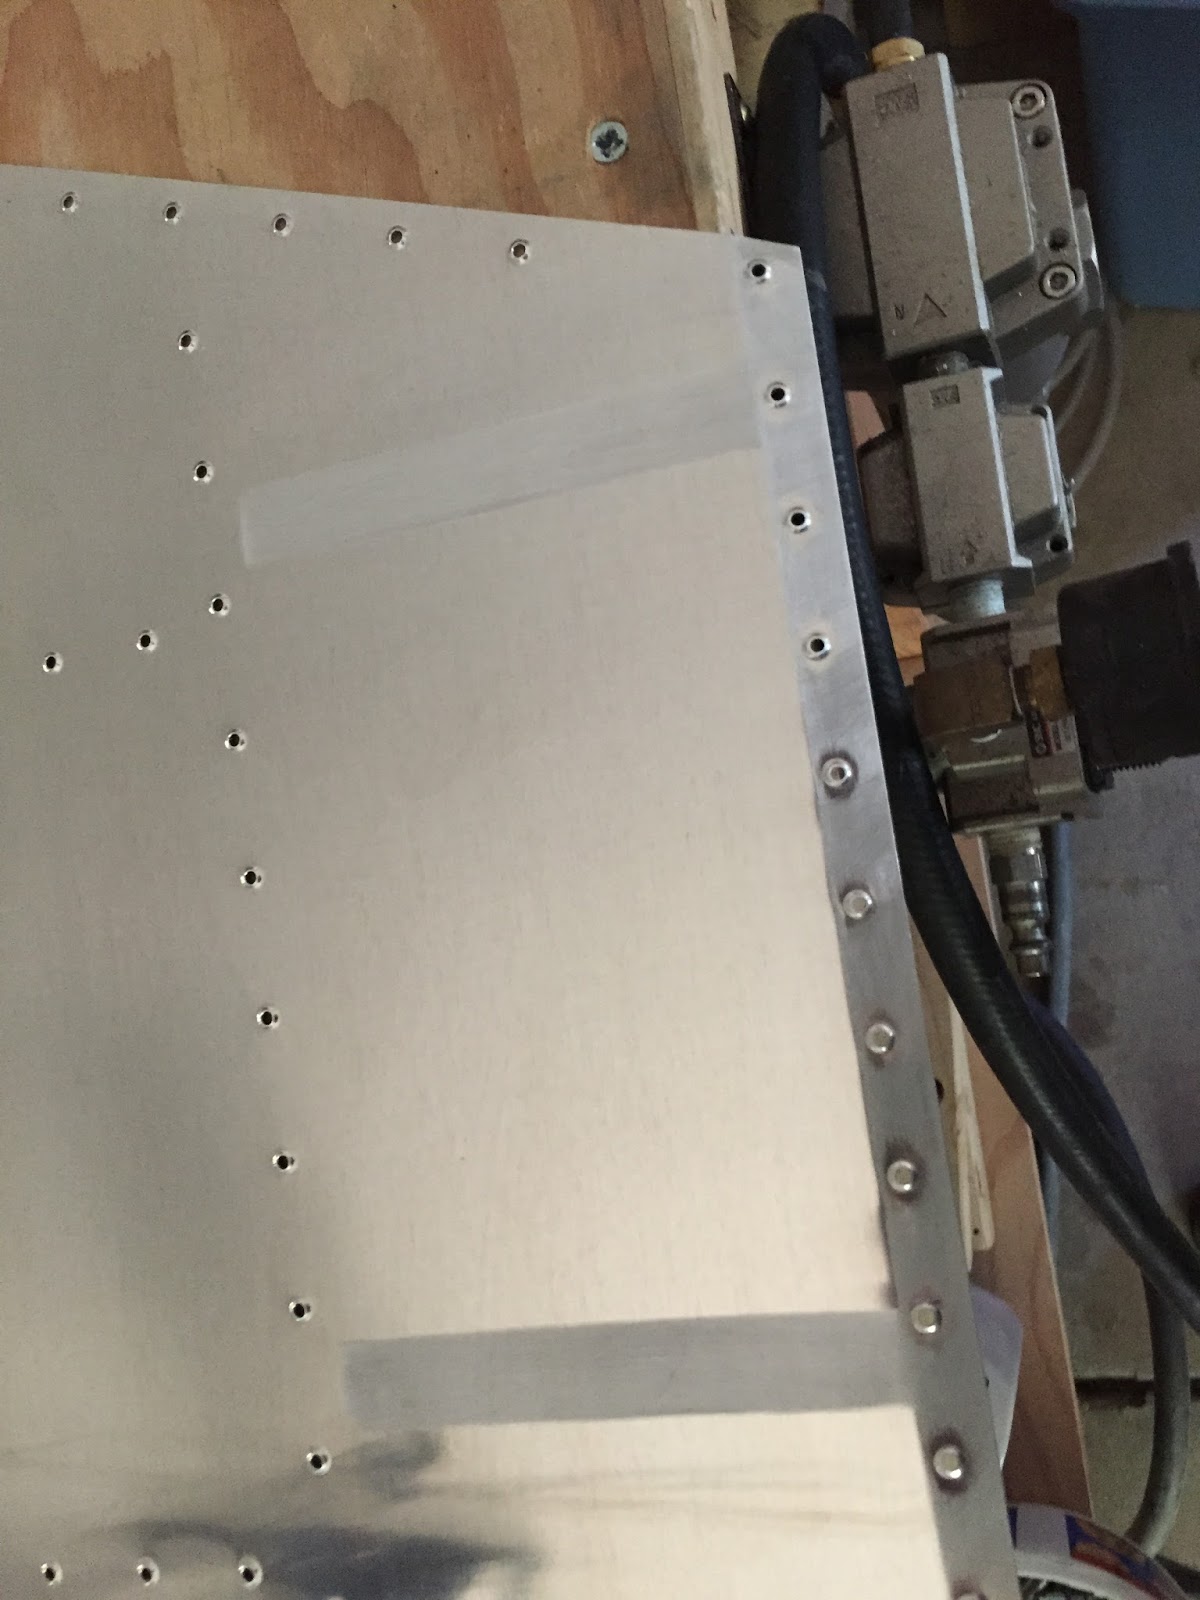
I trial assembled and match drilled the elevator ribs, spars and skins. I also fitted and match drilled the trim tab hinge to the rear spar.
I spent a bit of time carefully bending the close-out tabs of the left top and bottom skins. Several builders had reported problems getting these bends to match up between the upper and lower skin so I was extra careful. Measured 3 times before bending. The fit came out very good.


I've observed several RV's that had problems with the alignment of the elevator tab hinge so I was especially careful with the hinge match drilling step. I aligned the hinge material with the pilot hole per the plans, but I also used cleco clamps to attach the hinge at multiple points along the rear spar. I used my micrometer to ensure the hinge edge was parallel to the the whole length of the spar before drilling any match holes. Rather than drill from one end and progress to the other end as the plans suggest, I drilled four locations equally spaced along the length and clecoed the hinge in place. Once the parallel alignment of the hinge edge was assured, I then drilled the remaining holes. I used the same procedure for match drilling the tab spar. Afterwards I was able to insert the hinge pin and the parts freely moved without binding.