Section: 8
Hours: 8
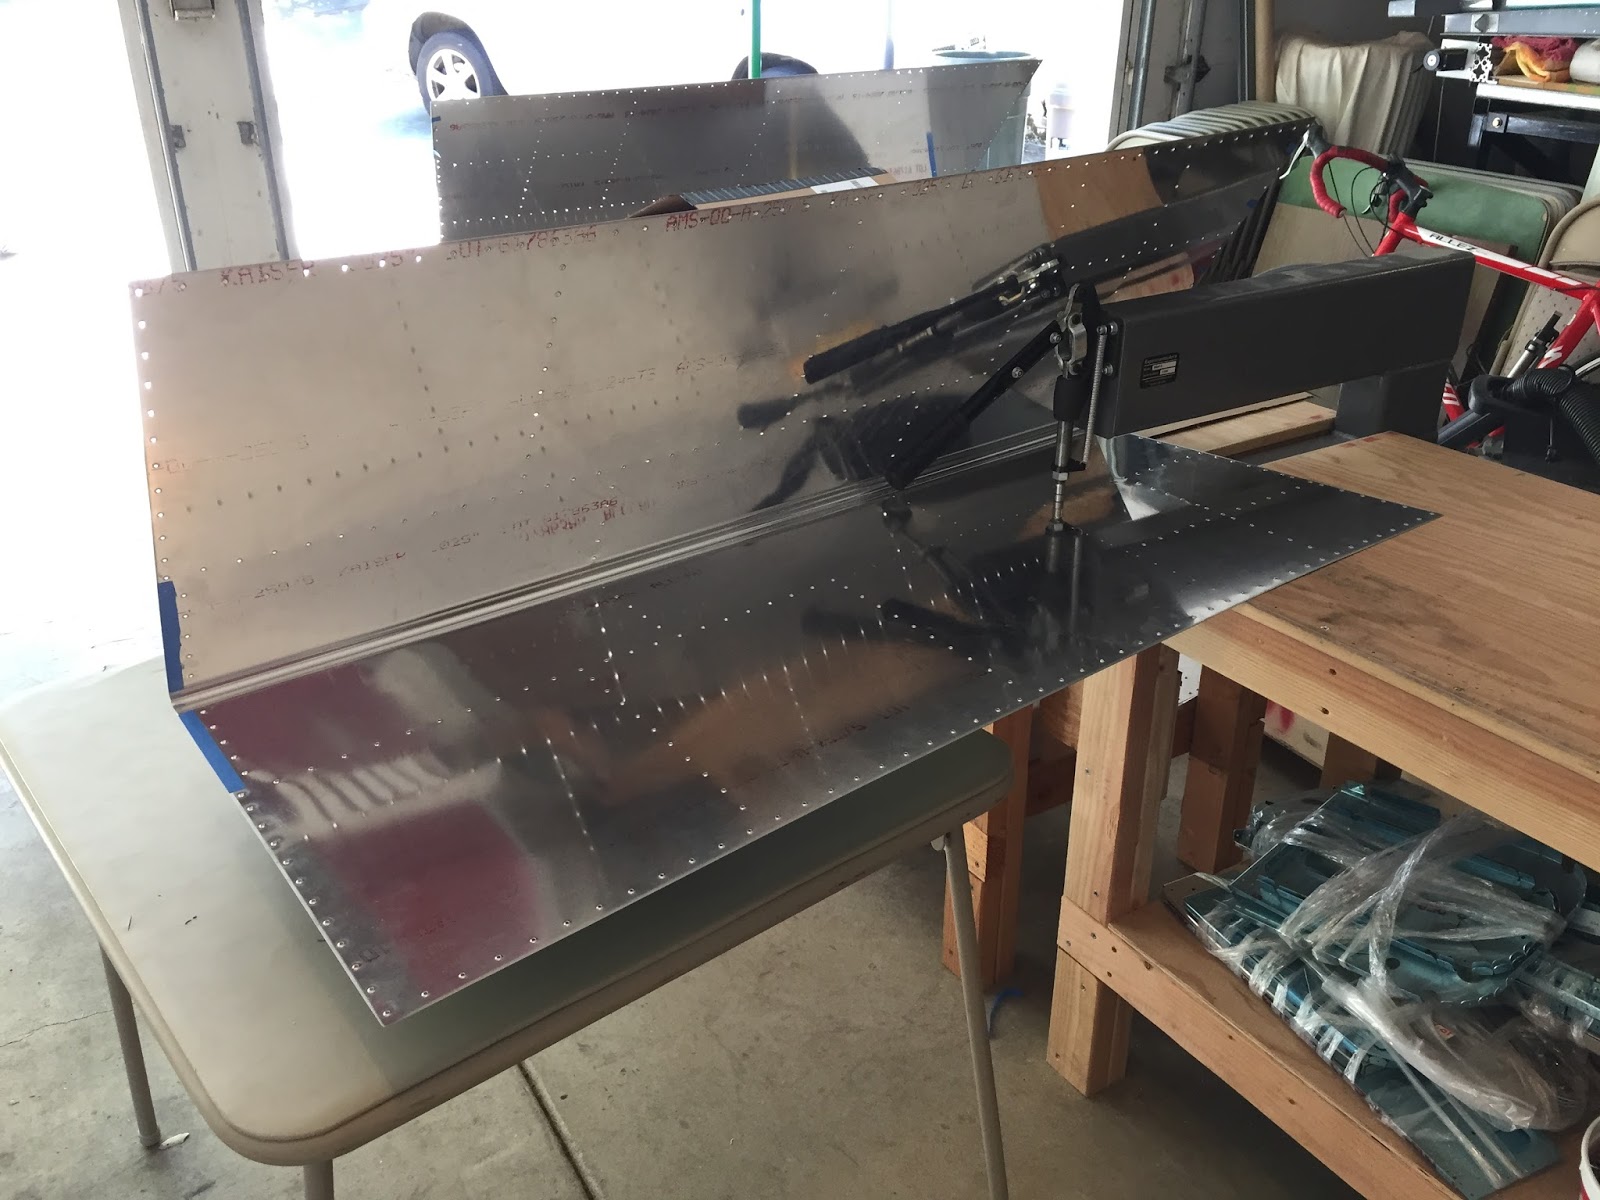
I had fun with my DRDT-2 dimpler and the horizontal stab skins today.
Disclaimer: This blog is to provide others insight into my experience and for my own historical purposes. Airplane construction is a serious affair. I have no authoritative skills relating to airplane construction. As such, any use of the information contained on this blog is at your own risk.
Thursday, August 13, 2015
Wednesday, August 12, 2015
Monday, August 10, 2015
Sunday, August 9, 2015
Section: 7
Hours: 8
I spent the WHOLE day wangling with the rudder leading edge . The manual specifies that you use duct tape to attach the skin to a pipe and then curl the skin around the pipe to the appropriate bend. Sounds good in theory, but in practice I found it to be a difficult process. It took me multiple times with the pipe and duct tape and a lot of hand bending before I was able to get the bends to match the templates from the construction manual. It will be interesting to see how well these fit when assembled to the vertical stab...
Hours: 8
I spent the WHOLE day wangling with the rudder leading edge . The manual specifies that you use duct tape to attach the skin to a pipe and then curl the skin around the pipe to the appropriate bend. Sounds good in theory, but in practice I found it to be a difficult process. It took me multiple times with the pipe and duct tape and a lot of hand bending before I was able to get the bends to match the templates from the construction manual. It will be interesting to see how well these fit when assembled to the vertical stab...
Wednesday, August 5, 2015
Section: 7
Hours: 8
Today I continued back riveting ribs to the rudder skins.
Next I pulled some rivets to add the skin joiners.
The plans specify that you drill and countersink the trailing edge extrusion at an angle normal to the center line of the trailing edge. I cut an angle block on my table saw as an alignment guide. I mounted the angle block on my drill press and made all the countersinks at the specified angle.
Next I joined the skins with pull rivets. I laid one skin flat on the table and curled the other back so I could reach in to pull the rivets. A little masking tape from the skin to the nearby dimpler worked well. I peeled the backing off the double sided tape on the trailing edge as I went and the skins and trailing edge mated nicely.
I wanted the trailing edge to come out straight so I manufactured a jig from some 2"x2" aluminum angle that I purchased from the hardware store. I match drilled the jig to the trailing edge holes and bored out a hole large enough for the rivet squeezer every 6th hole. Using this arrangement, I was able to cleco the entire trailing edge and then begin riveting widely spaced rivets to maintain a straight edge. It was somewhat cumbersome because I had to shift the jig for the next set of rivets and then recleco multiple times before I was done, but the trailing edge turned out straight!
Here's some shots of the assembled skins and rudder spar before closing the leading edge skins.
Hours: 8
Today I continued back riveting ribs to the rudder skins.
Next I pulled some rivets to add the skin joiners.
The plans specify that you drill and countersink the trailing edge extrusion at an angle normal to the center line of the trailing edge. I cut an angle block on my table saw as an alignment guide. I mounted the angle block on my drill press and made all the countersinks at the specified angle.
Next I joined the skins with pull rivets. I laid one skin flat on the table and curled the other back so I could reach in to pull the rivets. A little masking tape from the skin to the nearby dimpler worked well. I peeled the backing off the double sided tape on the trailing edge as I went and the skins and trailing edge mated nicely.
I wanted the trailing edge to come out straight so I manufactured a jig from some 2"x2" aluminum angle that I purchased from the hardware store. I match drilled the jig to the trailing edge holes and bored out a hole large enough for the rivet squeezer every 6th hole. Using this arrangement, I was able to cleco the entire trailing edge and then begin riveting widely spaced rivets to maintain a straight edge. It was somewhat cumbersome because I had to shift the jig for the next set of rivets and then recleco multiple times before I was done, but the trailing edge turned out straight!
Here's some shots of the assembled skins and rudder spar before closing the leading edge skins.
Tuesday, August 4, 2015
Section: 7
Hours: 8
I found I was spending a lot of time searching through all the brown bags looking for parts lately so I decided to do some organizing. I found some nice plastic bins at Harbor Freight and emptied all the brown bags into the bins. I can now visually find what I'm looking for. All the rivets are now safely contained in plastic bags stored in individual bins sorted by size, length and manufactured head. The screws, nut plates and other hardware are all visible and sorted into clear bins labeled with the number of the bag they came from.
Today I began back riveting the rudder ribs to the rudder skin.
Hours: 8
I found I was spending a lot of time searching through all the brown bags looking for parts lately so I decided to do some organizing. I found some nice plastic bins at Harbor Freight and emptied all the brown bags into the bins. I can now visually find what I'm looking for. All the rivets are now safely contained in plastic bags stored in individual bins sorted by size, length and manufactured head. The screws, nut plates and other hardware are all visible and sorted into clear bins labeled with the number of the bag they came from.
Today I began back riveting the rudder ribs to the rudder skin.
Saturday, August 1, 2015
Section: 7
Hours: 10
I didn't fly to Oshkosh this year and greatly missed it. I've decided that I won't miss next year and I'm setting a goal of getting the RV-14 finished and flying by then. This may be overly ambitious, but life is settling down right now and I've decided to let my iPhone apps move to the back burner for awhile. Time to spend more time in the garage!
Today I finished working on the rudder parts. I washed all the parts with detergent, acid etched with Stewart Systems Ekoetch Aluminum Etch, dried and then painted with Stewart Systems Ekoprime Primer smoke gray primer.
Hours: 10
I didn't fly to Oshkosh this year and greatly missed it. I've decided that I won't miss next year and I'm setting a goal of getting the RV-14 finished and flying by then. This may be overly ambitious, but life is settling down right now and I've decided to let my iPhone apps move to the back burner for awhile. Time to spend more time in the garage!
Today I finished working on the rudder parts. I washed all the parts with detergent, acid etched with Stewart Systems Ekoetch Aluminum Etch, dried and then painted with Stewart Systems Ekoprime Primer smoke gray primer.
Subscribe to:
Posts (Atom)