Section: 10
Hours: 8
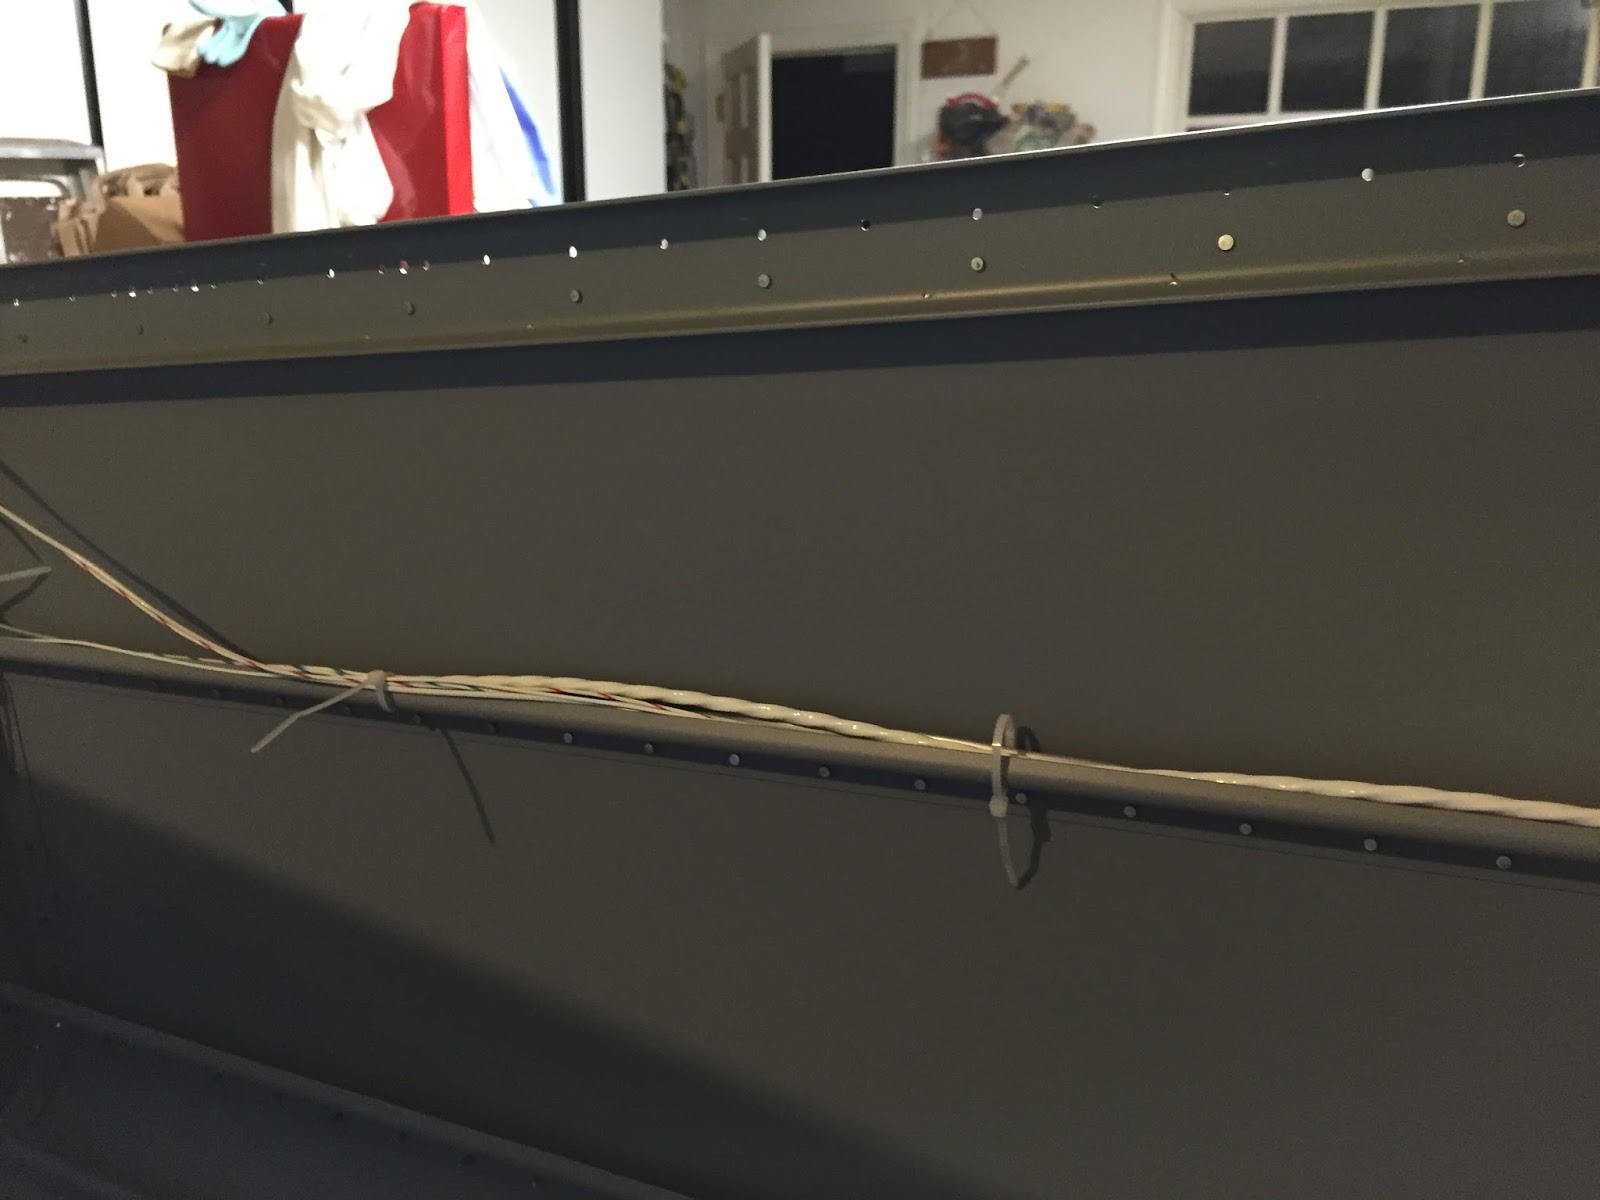
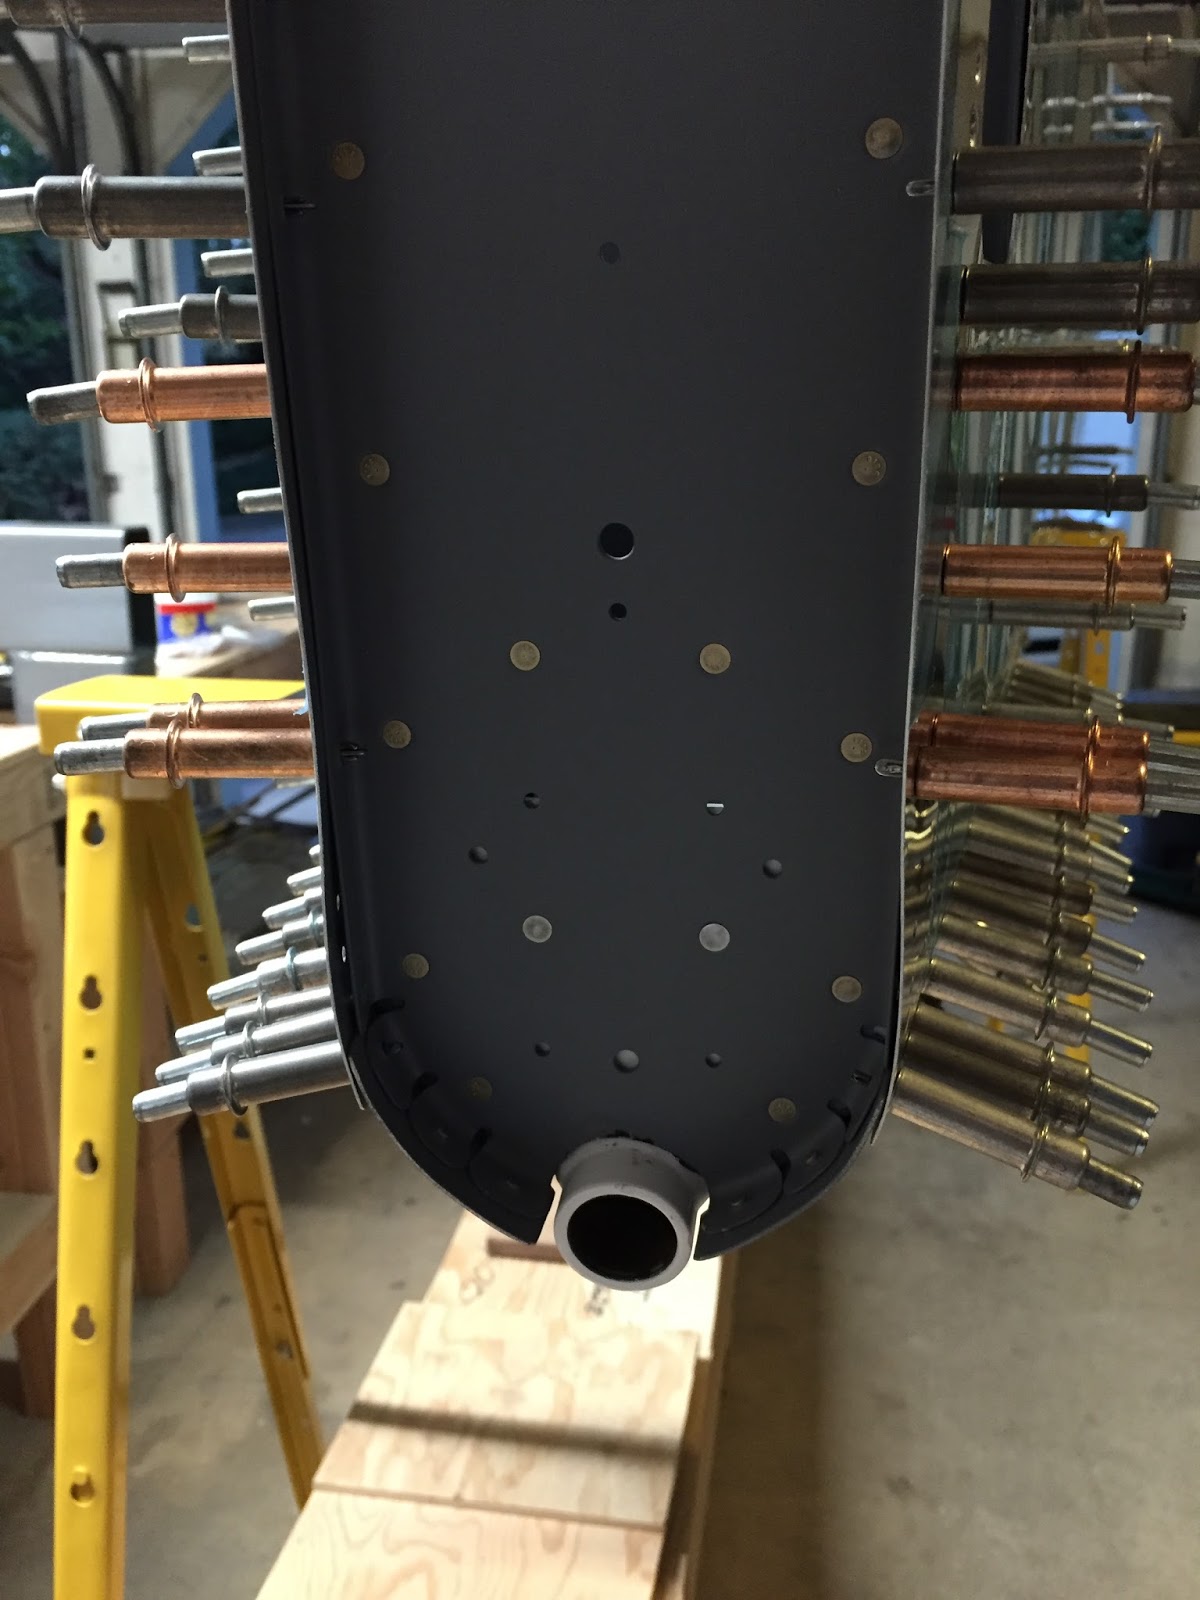
Today I installed the static ports and static lines. I wasn't real excited about the kit provided materials for this job so I purchased the SafeAir pitot static kit that comes with nice couplers, hoses and machined static ports.
I also installed the rudder cables.
Disclaimer: This blog is to provide others insight into my experience and for my own historical purposes. Airplane construction is a serious affair. I have no authoritative skills relating to airplane construction. As such, any use of the information contained on this blog is at your own risk.
Tuesday, October 20, 2015
Sunday, October 18, 2015
Section: 10
Hours: 8
Today Deb and I tackled the hardest set of rivets on the bottom aft skin joint area. Turned out great!
Hours: 8
Today Deb and I tackled the hardest set of rivets on the bottom aft skin joint area. Turned out great!
Saturday, October 17, 2015
Friday, October 16, 2015
Section: 10
Hours: 8
I wasn't able to reach to where the side skins join the bottom skin so I enlisted my wife, Debbie to handle the rivet gun. She took the sheet metal class at Oshkosh last year, so she already had some training. I inserted rivets in every other hole and put a square of rivet tape on to hold them in place. Then we went down the row, me on the bucking bar and Deb on the rivet gun and we finished the job in record time. Not a single smiley or skin dent in the whole row!
Hours: 8
I wasn't able to reach to where the side skins join the bottom skin so I enlisted my wife, Debbie to handle the rivet gun. She took the sheet metal class at Oshkosh last year, so she already had some training. I inserted rivets in every other hole and put a square of rivet tape on to hold them in place. Then we went down the row, me on the bucking bar and Deb on the rivet gun and we finished the job in record time. Not a single smiley or skin dent in the whole row!
Thursday, October 15, 2015
Section: 10
Hours: 8
More riveting on the side skins today. It was basically a repeat of yesterday but on the other side.
Hours: 8
More riveting on the side skins today. It was basically a repeat of yesterday but on the other side.
Wednesday, October 14, 2015
Section: 10
Hours: 8
I riveted the side skins to the longerons, side stiffeners and the bulkheads.
The tail wheel spring mount must be shimmed properly between the rear bulkheads and then bolted in place.
I was able to pull the skins at the junction of the aft bottom skin piece after riveting. It turned out better than I thought it would.
I was able to reach over the top of the side skin to buck the rivets along the stiffer and longeron.
Here's some shots of the shop heads along the longeron and stiffener.
The tabs on the bulkheads pulled down nicely to the skins after riveting.
Hours: 8
I riveted the side skins to the longerons, side stiffeners and the bulkheads.
The tail wheel spring mount must be shimmed properly between the rear bulkheads and then bolted in place.
I was able to pull the skins at the junction of the aft bottom skin piece after riveting. It turned out better than I thought it would.
I was able to reach over the top of the side skin to buck the rivets along the stiffer and longeron.
Here's some shots of the shop heads along the longeron and stiffener.
The tabs on the bulkheads pulled down nicely to the skins after riveting.
Tuesday, October 13, 2015
Section: 10
Hours: 8
I clecoed the side skins and then adjusted the fit of the tail wheel spring mount to the aft bottom skin and F-01412 aft bulkhead. Then I riveted the aft bulkhead to the aft bottom skin and then riveted the spring mount to the aft bulkhead.
Then I inserted the aft bottom skin assembly back into the tail and worked some more on bending skin edges to help close up the gaps.
Hours: 8
I clecoed the side skins and then adjusted the fit of the tail wheel spring mount to the aft bottom skin and F-01412 aft bulkhead. Then I riveted the aft bulkhead to the aft bottom skin and then riveted the spring mount to the aft bulkhead.
Then I inserted the aft bottom skin assembly back into the tail and worked some more on bending skin edges to help close up the gaps.
Subscribe to:
Posts (Atom)