Hours: 4.5
After riveting in the nut plates for the tank screw fasteners, you counter sink the screw holes to a width of 0.370", which is a pretty big countersink. Luckily the #30 countersink pilot centers in the nut plate screw hole which allows forming a nice countersink.

Double checking the countersink against a dimple in a trim scrap the same thickness as the tank.
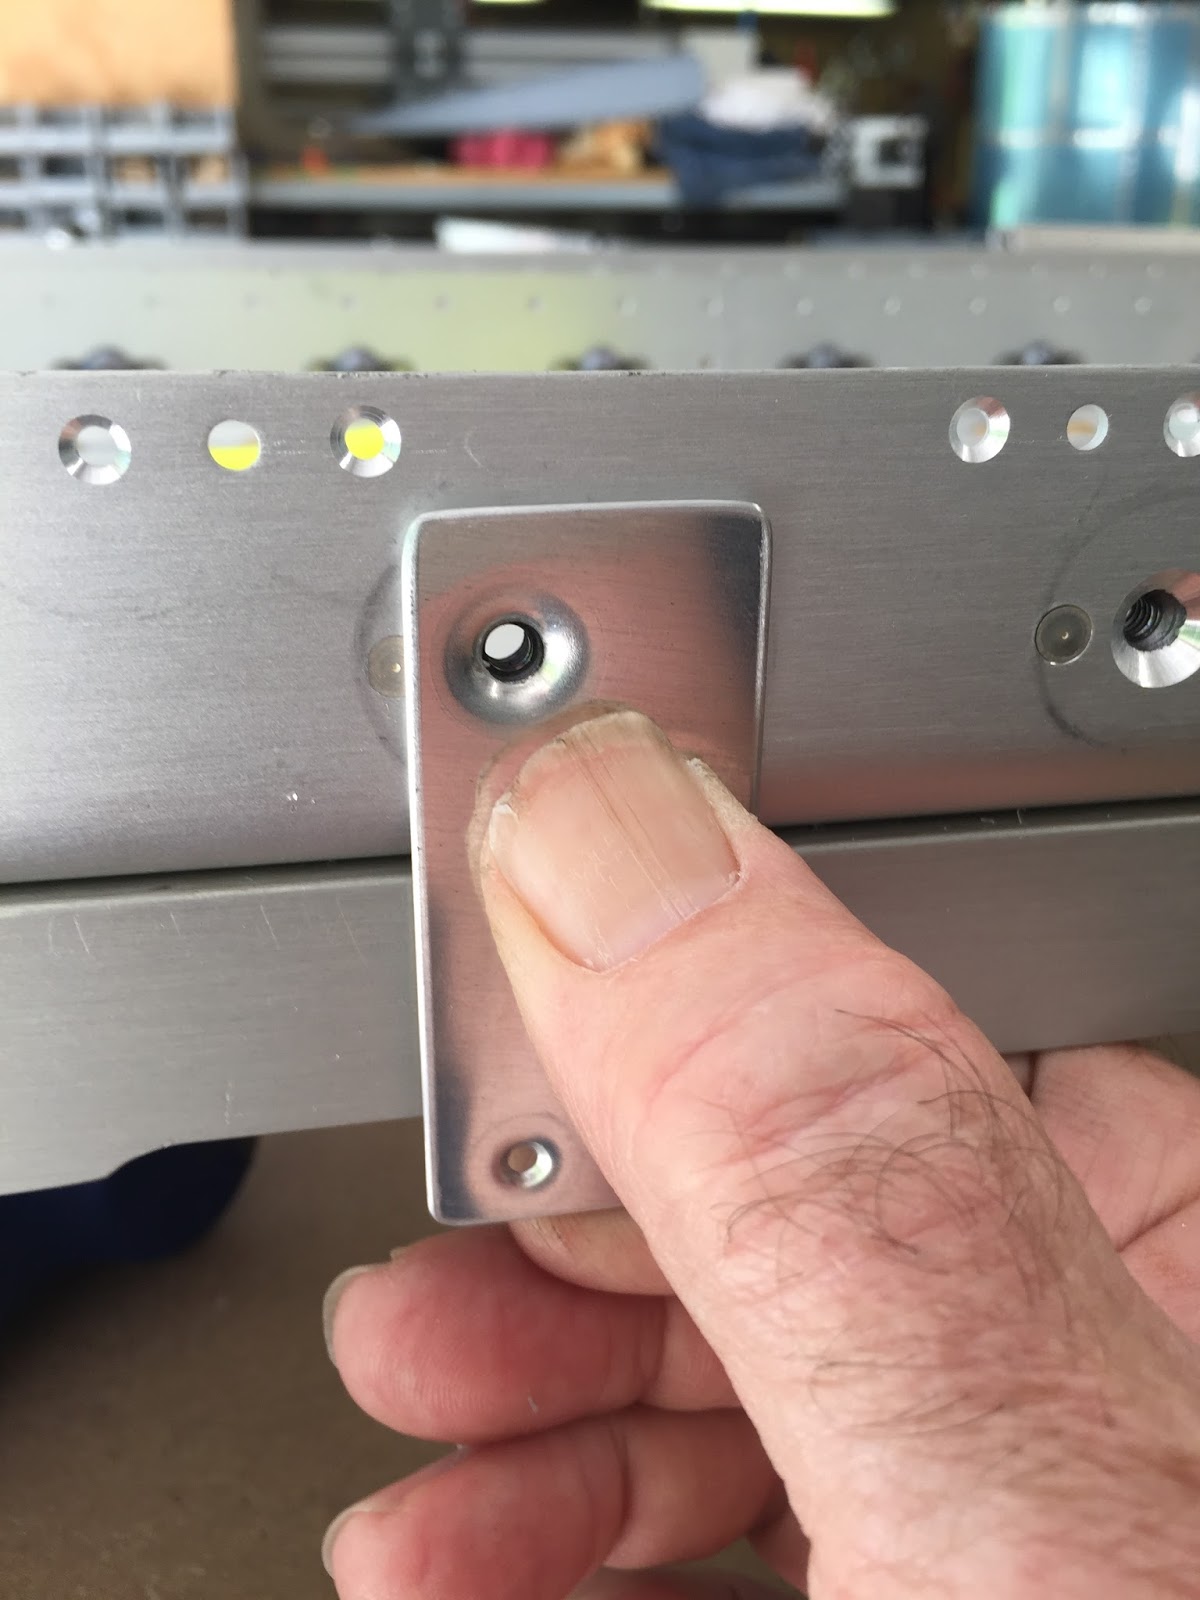
Next you attach nut plates for the access plates - 12 on each spar.


After the access nut plates are riveted, you countersink the screw holes - more large countersinks only possible because the pilot of the countersink engages the screw hole in the nut plate.

Then you come a single line task in the manual- "countersink all the rest of the holes to accept a dimpled wing skin". That's a LOT of holes. I was able to finish one flange of 1 spar this afternoon. That means there are 3 more flanges with lots of holes left to go.

I ended up doing these countersinks using my electric drill. I got tired of listening to my air compressor while using the air drill. Also, it is easier to run the electric drill at lower rpm's to prevent chatter and make a cleaner countersink.

No comments:
Post a Comment